SewWhat-Pro Embroidery Software Review + Tutorial
This post may contain affiliate links, which means I’ll receive a commission if you purchase through my links, at no extra cost to you. I sometimes receive free products for review. Please read disclosure for more information.
If you’re new to embroidery and looking for software to edit embroidery designs, you’ve probably heard of SewWhat-Pro. It’s been around for quite some time and has made a name for itself as an entry-level embroidery editing software. It’s affordably priced and rivals its competitors in functionality.
Choosing embroidery software can be VERY confusing to new embroiderers, especially those with minimal graphics experience.
Therefore, I’ve put together this quick SewWhat-Pro embroidery software review to give you an idea of what this program does and does not do. I’ll review each of the features and show you how to use the program a bit with a quick SewWhat-Pro tutorial along the way.
Overall, I find this software easy to use. I think it’s as easy to use as Embrilliance Essentials! (And it’s half the price, too.) You can watch a few SewWhat-Pro tutorials on YouTube (I recommend The Baby’s Booty channel) or scan the manual and have a grasp within a few hours of the full functionality of the program.
Now, let’s get started with this SewWhat-Pro review!
Using SewWhat-Pro for Free for 30 Days
Almost every embroidery software gives you the ability to try before you buy. Several of the big players allow you a period of time with the software to explore (many of) the functions but not save your work.
One of the best things about SWP is they offer a 30-day full-featured trial with the ability to save 60 designs, each with up to 3 color stops. That way when you know what you’re getting before you purchase. I recommend you first download the trial to see if it does what you want before deciding to purchase.
Go HERE to the seller’s page, open up the description, and follow the link to the free trial to download that first.
What is SewWhat-Pro used for?
SewWhat-Pro is essentially an embroidery file customizer and editor.
You can import embroidery designs that other people have created and customize them to your needs. This means resizing with stitch density in mind, splitting designs, adding borders, and even using .ttf fonts installed on your computer to add lettering, for instance. Cool, right?
SewWhat-Pro, however, is NOT a digitizing embroidery software, meaning you can’t import a .jpg or .png image and make it into an embroidery design. You’ll need different software for that. Digitizing is much more difficult to learn than editing premade embroidery files.
Now, keep in mind this is a $65 program. I think this is a GREAT program for the price. Full digitizing programs that give you the option to extensively edit and create new designs will run you at least $1000. This is not one of those programs and is not meant for someone wanting to embroider or digitize professionally.
However, for the hobbyist, SewWhat-Pro combines the most basic editing features with ease of use.
Intro to SewWhat-Pro Interface
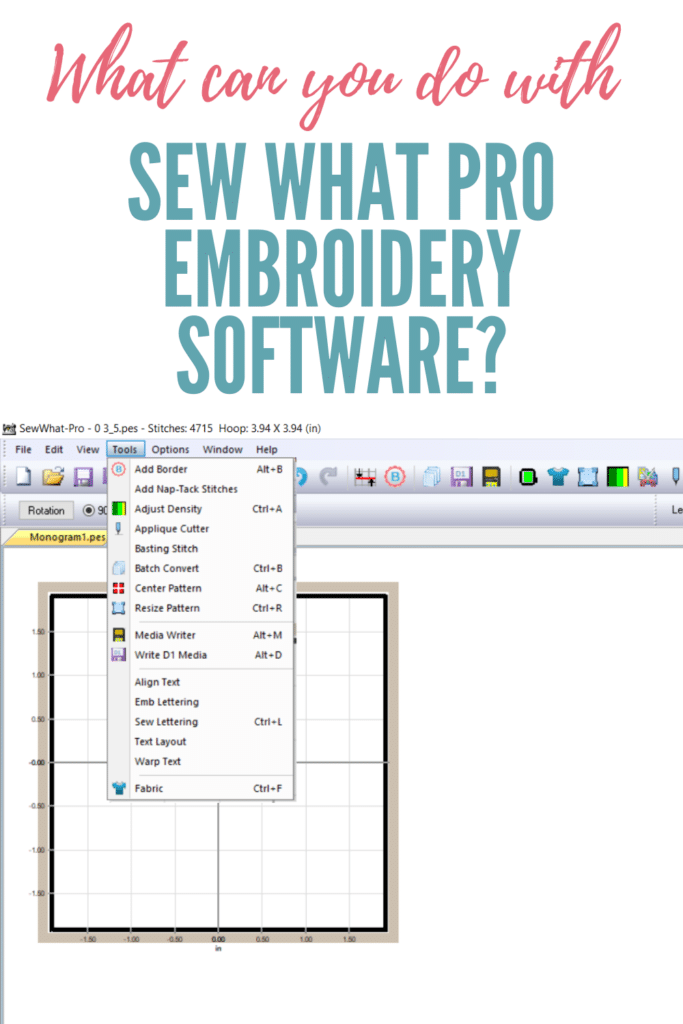
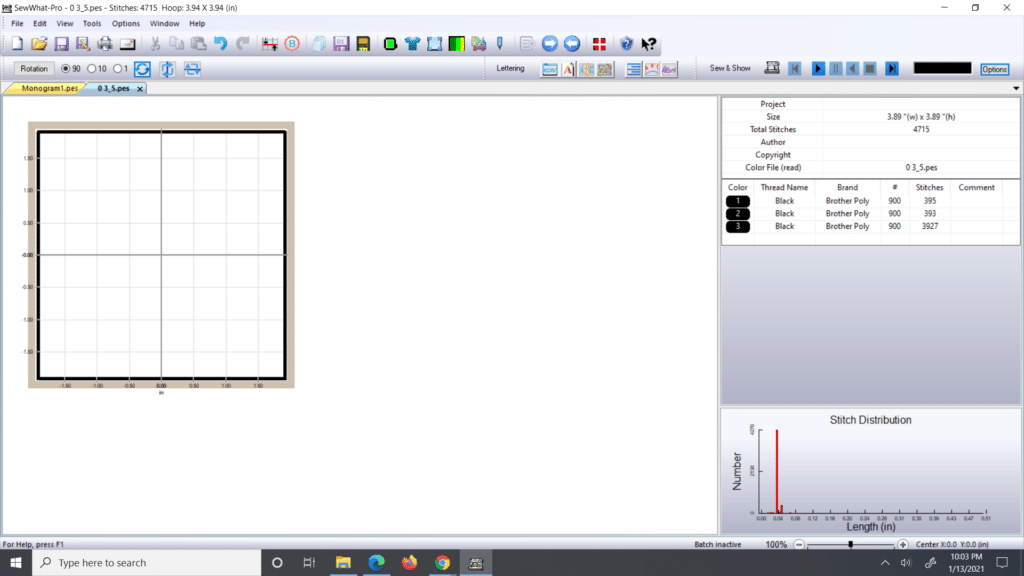
Here’s a screenshot below of the user interface showing where some of the main features of SWP are located.
Overall, the interface is very clean and not too confusing. In the Edit, Tools, and Options tabs on the top, you’ll find most of the editing functions clearly displayed when clicked on. The icons you see on the top of the program are largely duplicates of the functions located under the tabs, so don’t worry if you have no idea what those mean!
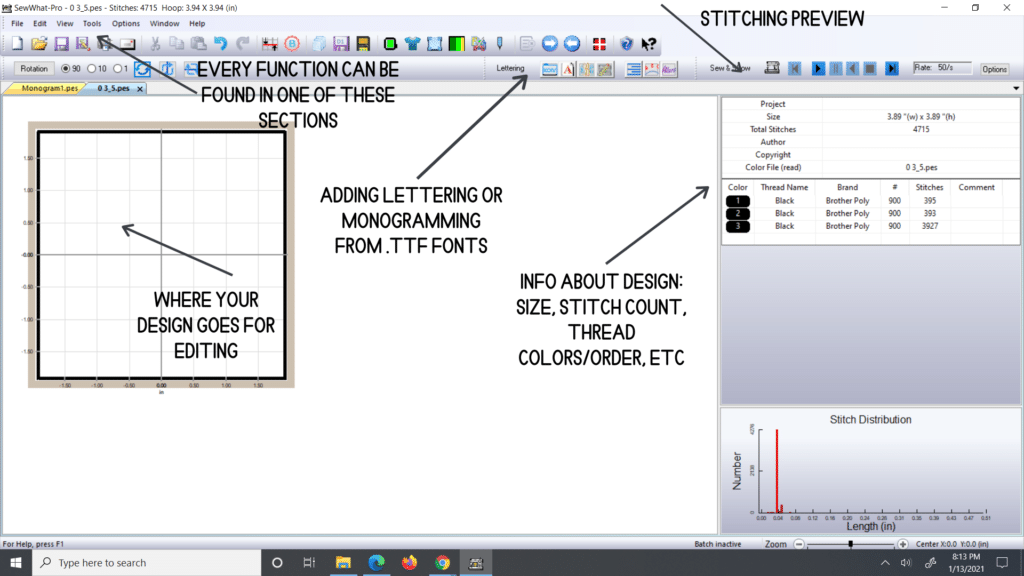
You’ll also see the hoop on the left of the screen, which is where you’ll place your design. The area to the right is the information about your imported design. You can change what your installation of SewWhat-Pro looks like under the View tab.
SewWhat-Pro Tutorial + SewWhat-Pro Review of Features
Let’s go through in some detail what this program does and show you how to use it.
File Conversion
The first thing SWP can do is convert from one embroidery file format (for instance, .pes) to another (ex: .jef).
This is helpful if you purchased designs for a Brother embroidery machine that you want to use on a Janome embroidery machine. You can convert single files or this can be done in batch using the Tools section.

Editing Imported Designs
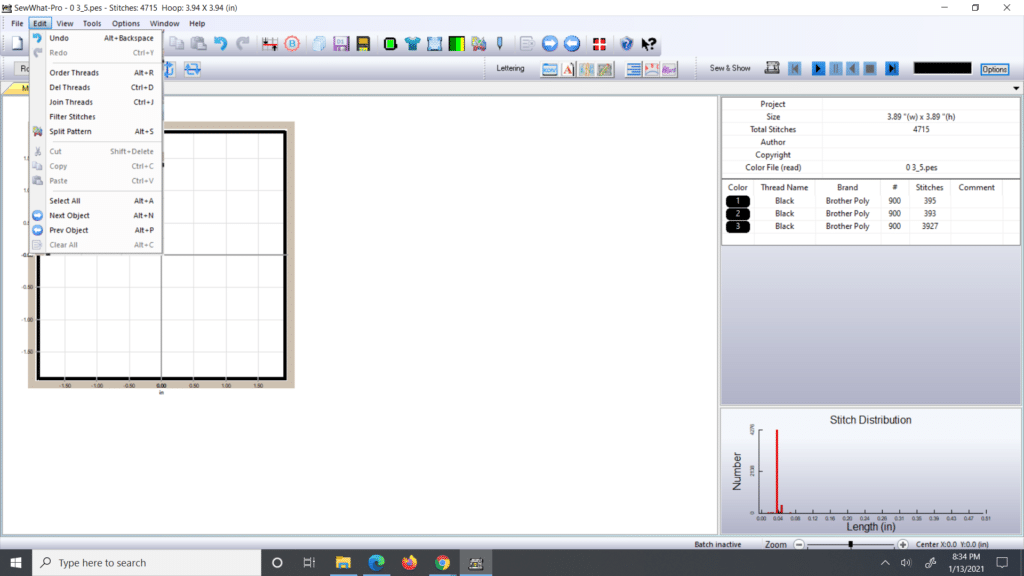
Once you’ve imported a design you’ve purchased or digitized in another software, you’ll be able to start editing it. Clicking on the Edit tab brings up several options for editing. Here’s what you can do:
- Change the thread stitching order of your design.
- Change thread colors. You can choose from many popular embroidery thread charts and switch thread colors and preview what the design will look like before stitching.
- Join all threads of one color together to stitch at the same time. This includes adjacent threads of the same color, all threads of the same color, or threads of the same color starting at a certain point in the list of threads.
- Split designs! This is a MUST HAVE in an embroidery program for me. Since my max hoop size is 5″x7″, I am only able to use my 5″x12″ repositional hoop with big designs that have been split.
- Filter out or delete threads of a certain color or below a certain length. (You cannot undo this, so be careful!)
- Merge one or more designs that you load (this is actually under the File tab). Same with print a preview template for aligning your designs on your embroidery blank.
Tools to Customize Embroidery Designs
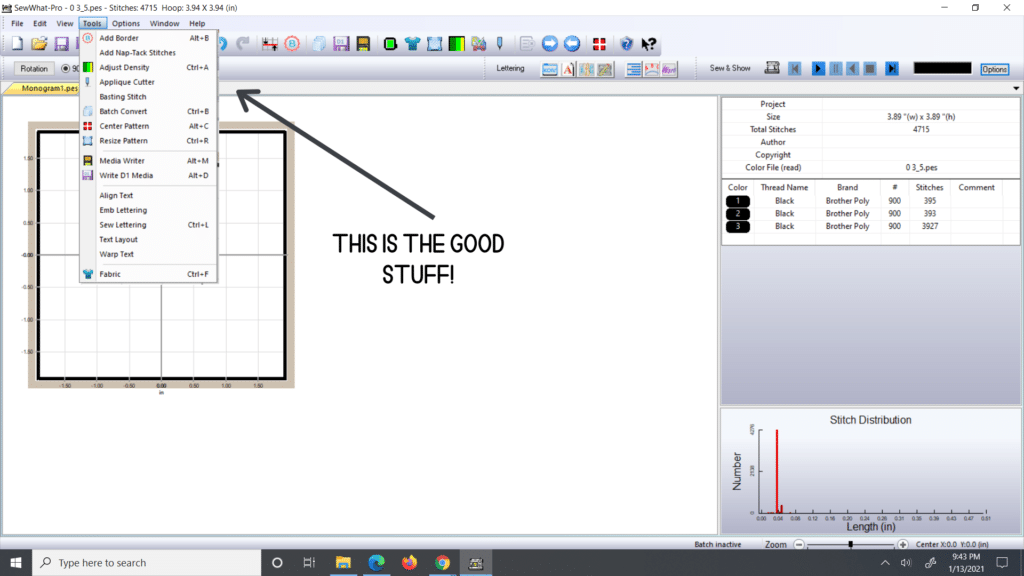
- Add a ton of borders to the edges of your designs, including stippling and other quilting designs. You can also add a border to make a design into a patch! How cool, right? You are also able to cut appliques from designs made.
- Add nap-tack stitches, known as knockdown stitches in Embrilliance, which are stitches that go underneath parts of the design to tack down nap on fabrics. These are great when embroidering towels and blankets, for instance, and are made very simply by this program. In my Hatch embroidery software, creating a Hatch smash stitch is much more difficult, although there are more customization options.
- Change stitch density to make designs work better for thicker or thinner fabrics.
- Add a basting stitch, also known as a basting box, to stitch before an embroidery design. (Learn how to add one with SewWhat-Pro in my basting box tutorial.) This will help hold slippery or stretchy fabrics in place during active embroidering. It is great when you are floating fabric in your hoop, but you’ll need to be careful what fabrics you use it on.
- Resizing a pattern while keeping stitch density constant. Taking a 2″ wide 1000-stitch design and making it into a 3″ wide 1000-stitch design is not ideal, for instance. You will want to rescale with constant stitch density and length in mind. There is a limit to resizing and still producing good results, however.
- Select a fabric texture and color to give you a realistic view of how your design will look stitched out on your project. This will turn the hoop graphic into the color and texture of your fabric.
Adding Text in SewWhat-Pro
Using text is my favorite part of SewWhat-Pro! It gives you the ability to turn built-in computer fonts into embroidery lettering and use embroidery fonts you’ve purchased.
The digitizing of the .ttf computer font is hit-and-miss, but this is SUCH a cool function that saves time and money if you’re not a professional embroiderer. I like to add names to designs to personalize embroidered items, for instance. Specifically, here are several of the things SewWhat-Pro can do:
-
- Insert lettering or monograms using fonts on your computer. There are a handful of monogram orientations and frames even! While, again, this function works better on some fonts than others, you do have the option of adding or removing underlay stitches and adjusting stitch density and stitch angle to give you better control over the final product. (Read more: how to make a monogram with SewWhat-Pro.)
- Use fonts that are embroidery files to add lettering.
- Wrap text on a curve and do various other decorative functions.
Previewing Before Stitching
Have you ever downloaded an embroidery design and wondered what the stitching order was and how exactly all those threads were going to come together to form the final design?
If so, you can preview the stitching of the design by clicking “Sew and Show” on the top right of the screen. If you have your volume up on your computer, prepared to be frightened by the sudden sound! Luckily, if you click under options near the preview, you can turn that sound off.
Can you digitize with SewWhat-Pro?
Just to reiterate, no, SewWhat-Pro is not a digitizing program. You can only import embroidery machine files and no .jpg, .png, or .svg files to digitize.
If you are needing to auto-digitize, consider SewArt, also made by the same company. Embrilliance Stitch Artist, Hatch, and Embird are three options for more robust digitizing software that allow for manual design creation. While manual digitizing is the “best” way to create designs, it does have a VERY steep learning curve for users who aren’t graphics savvy.
Does SewWhat-Pro work with Mac?
SewWhat-Pro is meant for Windows computers, meaning Macs, tablets, phones, and Chromebooks won’t be able to run this software. With Mac computers, there are some workarounds, though. Embrilliance is native to Mac and may thus be a better option for Mac users. Make sure to try out SewWhat-Pro before you purchase, though!
SewWhat Pro Review – Conclusion
As you can see from this SewWhat-Pro review, I think it is an affordable, entry-level option for embroidery machine dabblers.
It allows you to split designs, merge designs, resize appropriately, and add text from your computer font files to form words, names, and monograms. With the ability to create appliques and even patches from designs you import, this makes this software even better. They also give their free trial so you can decide if their interface is easy enough for you to use.
It is important to note, though, that this is not a digitizing program. If you purchase knowing exactly what you’ll be getting, I think you’ll also be very happy with it!
Thank you so much for this awesome detailed explanation of what Sew What Pro is and it many uses. I am new to embroidery and after realizing how expensive this craft is I am mindful of most purchases. 😉 Once again thank you.
Thanks! Glad it was helpful 🙂
Thank you for this great explanation. You gave me answers I needed to make my decision to purchase this. I’m excited now!
Claude
Best value for money editing software Once you have used it makes editing easy, use on all formats, you won’t use any other
I definitely agree with you!
Really enjoyed the explanation of this software. Very helpful in making a decision on which one to choose.
Thanks!