How to Make a Serger Pillowcase – Tutorial & Pattern for 2 Types
This post may contain affiliate links, which means I’ll receive a commission if you purchase through my links, at no extra cost to you. I sometimes receive free products for review. Please read disclosure for more information.
I love making pillowcases. They’re easy to construct, don’t require much fabric, and are a fun way to add personality to a bed or room.
I used to always sew pillowcases with my sewing machine, but now that I have a serger at home, it’s faster and easier to use it!
It creates the seam and finishes raw fabric edges of pillow covers in less than 10 minutes. (Want to see a bulk production of pillowcases? Check out my post about the fun holiday pillowcases I make my kids using seasonal-themed fabric.)
This easy serger pillowcase tutorial will have you serging a DIY pillow cover in no time!
I’ll show how to serge a pillowcase using just one fabric and also two different fabrics, the second contrasting fabric acting as an accent.
Sizing Notes
The pillowcases I’m making this tutorial for are queen-size pillows. These will also fit over a standard pillow with a little extra room at the opening. I prefer to make larger pillowcases for my standard pillows to allow for future shrinkage and also give the option of changing to a larger queen-size pillow later if desired.
If you have a different-sized pillow, all you need to do is adjust the length of your cut fabric accordingly. For standard and king-size pillowcases, respectively, the final pillowcase dimensions need to be roughly 20″x26″ and 20″x36,” respectively. If you’re trying to cover an odd-sized pillow, this recommendation here suggests making a pillowcase 1/2 to 1″ greater in length and 2 1/2 to 4″ greater in width than your pillow size.
The Importance of Prewashing
It’s best if you pre-wash your fabric to get rid of initial shrinkage. When doing so, use the washer and dryer settings that you plan to use when actually laundering your pillowcase. Since I always wash and dry my bedding on hot, that’s how I prewashed this fabric.
How to Serge a Pillowcase – Tutorial
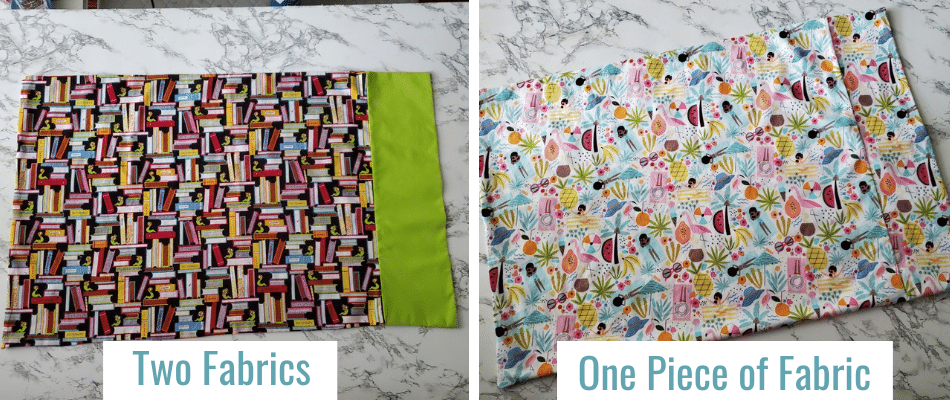
There are two patterns I’ll be discussing. First, how to make a pillowcase using two pieces of fabric to give the opening a contrasting look. Second, how to serge a pillowcase with just one piece of fabric.
Serger Pillowcase Supplies
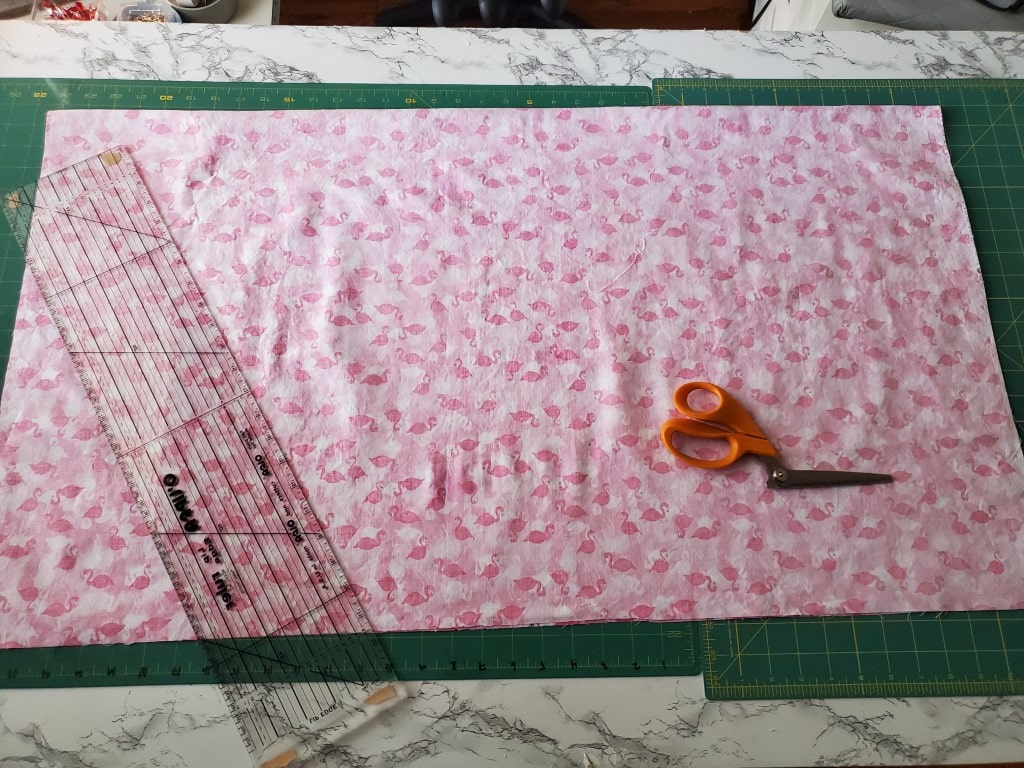
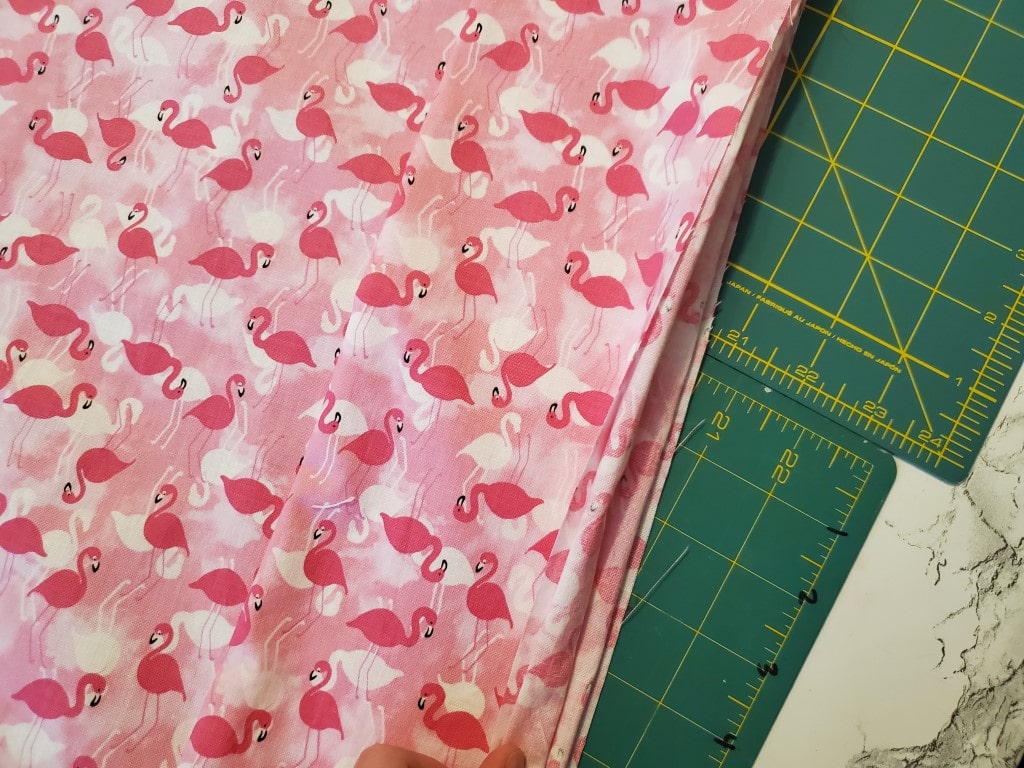
- For a one-color pillowcase: 41″x37″ piece of fabric. (Or, fold and cut 20.5″x37″ like shown above.)
- For a two-color pillowcase: one piece of body fabric cut 26″x41″ and one piece of coordinating fabric cut 11″x41″
- Serger (LOVE my Brother serger!) with serger thread cones (read best serger thread types to learn more)
- Scissors or rotary cutter, clear ruler, and self-healing mat
- Iron and ironing board
*The seam allowance for this project is 1/2″. If you prefer a different seam allowance, you will need to adjust the size of the pillowcase fabric.
**I used a four-thread overlock stitch. My tension is set on 4 for both needles and loopers, the differential feed is 1.0, the stitch length is 3.0, and the cutting width is 6. These settings may need to be adjusted for your serger, so use a test scrap of fabric before starting to serge your pillowcase.
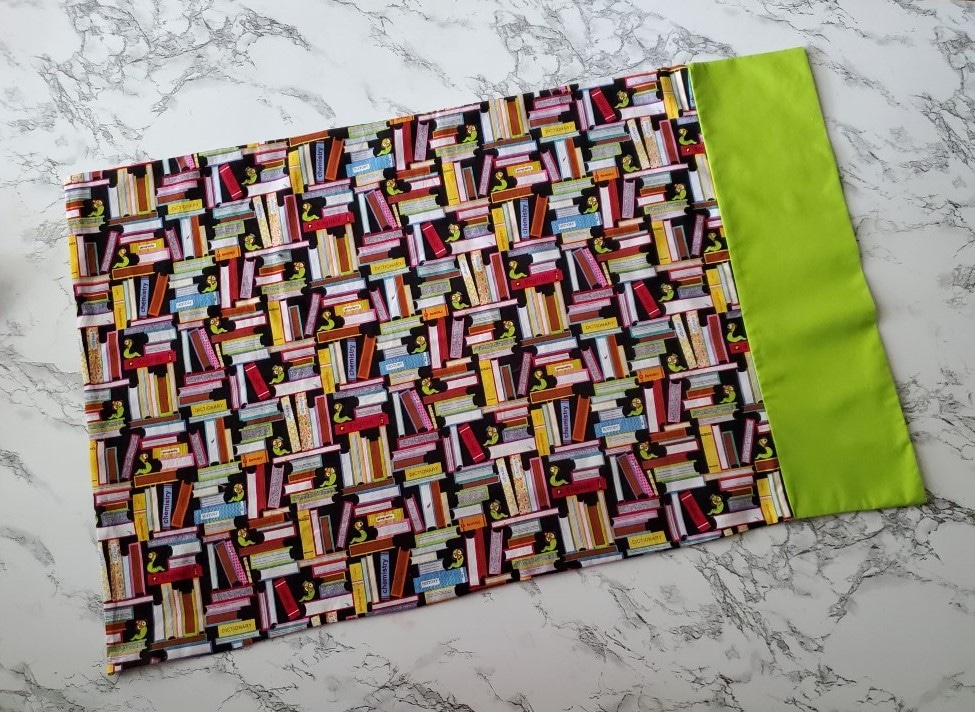
1. Overlocker Pillowcase with Two Coordinating Fabrics
While you could sew your contrasting fabric to the pillowcase body and then serge the pillowcase together at the side seams, I prefer to serge the band and body separately and then put them together.
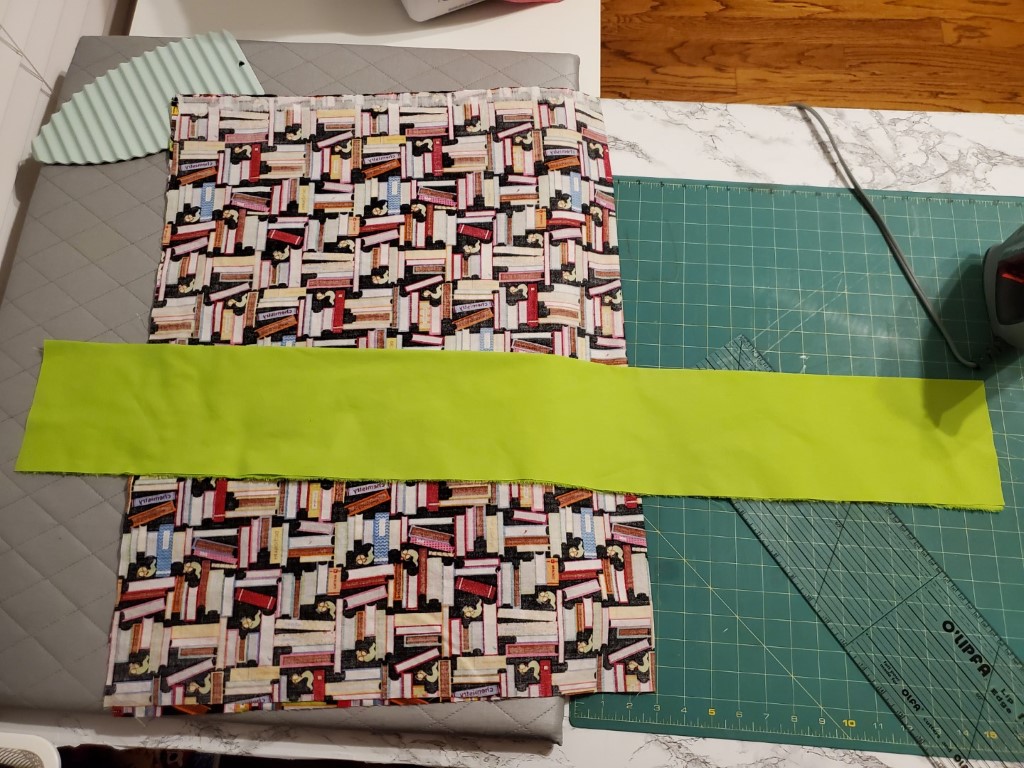
First, cut and press your two pieces of fabric.
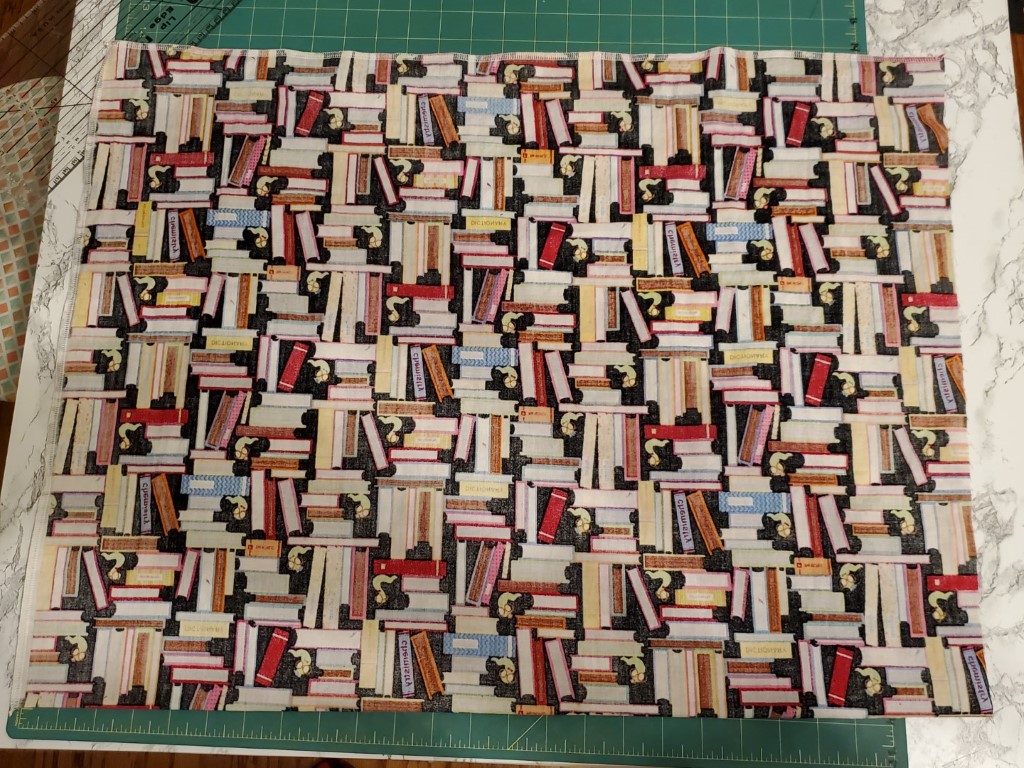
Next, fold the body piece of fabric right sides together so the 41″ side is folded in half.
Then, serge with a 1/2″ seam allowance around the long side and one of the short sides. The short side that is not stitched will be near the opening of the pillowcase.
If you’re using directional fabric, make sure that you pay attention to how it will look when turned right side out.
When I serge corners, I like to turn in my fabric to decrease the fabric bulk there, as shown below.
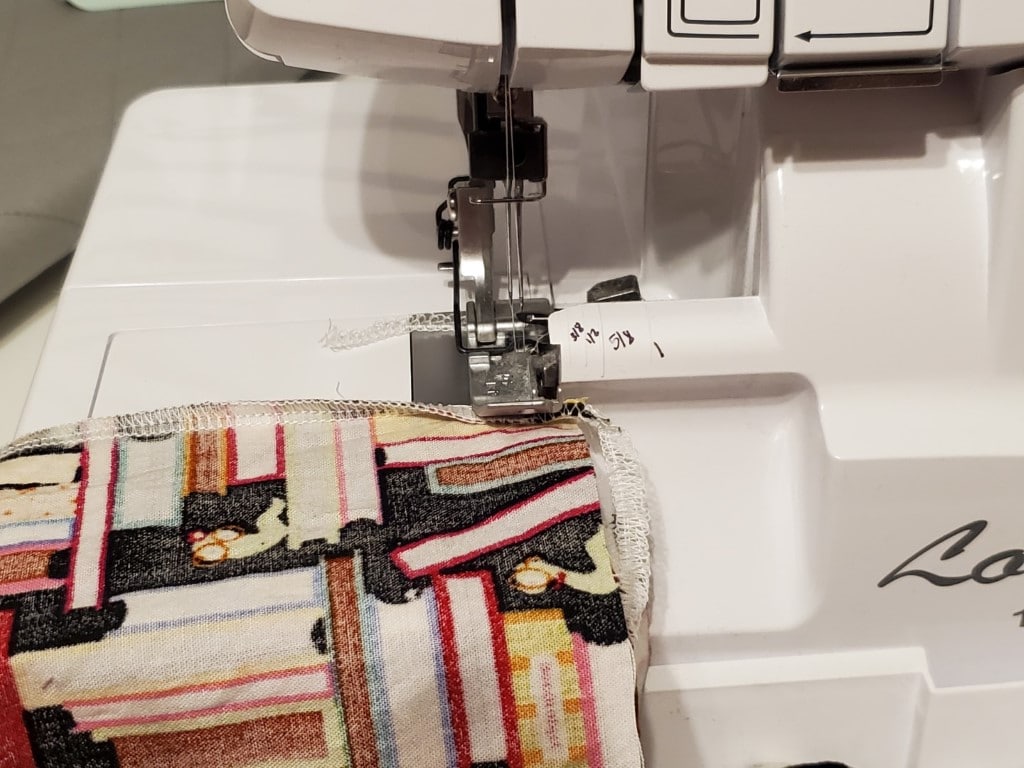
Make sure to thread your chains back underneath your overlock stitch or tie, cut, and use Fray Check, which is what I did here.
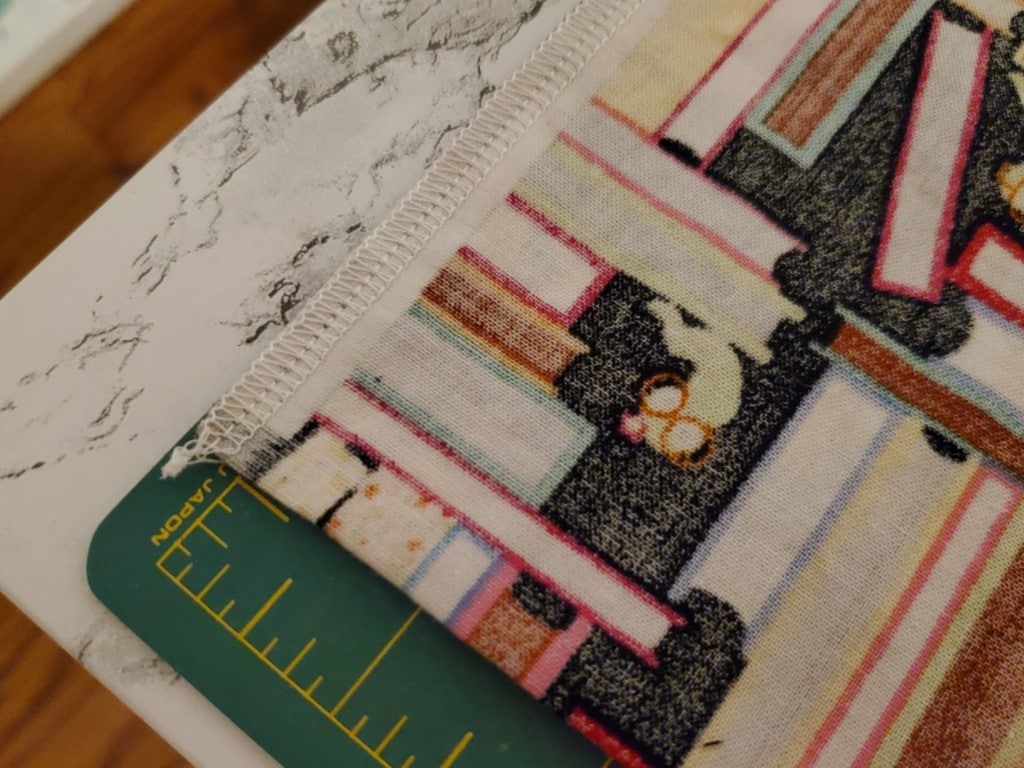
Then, turn the pillowcase right side out and press out the corners.
Next, fold the long skinny piece of end fabric in half with the wrong sides together to measure 5.5″x41″. Then, fold it in half the other way with the right sides together so the final dimension is 5.5″x20.5″. Serge with 1/2″ seam allowance the two open ends together.
Now, match the right side of the small band with the right side of the body of the pillowcase with raw edges together. The seam you just put on the contrasting fabric needs to be facing out. Make sure to match that seam with the enclosed seam of the pillowcase body.
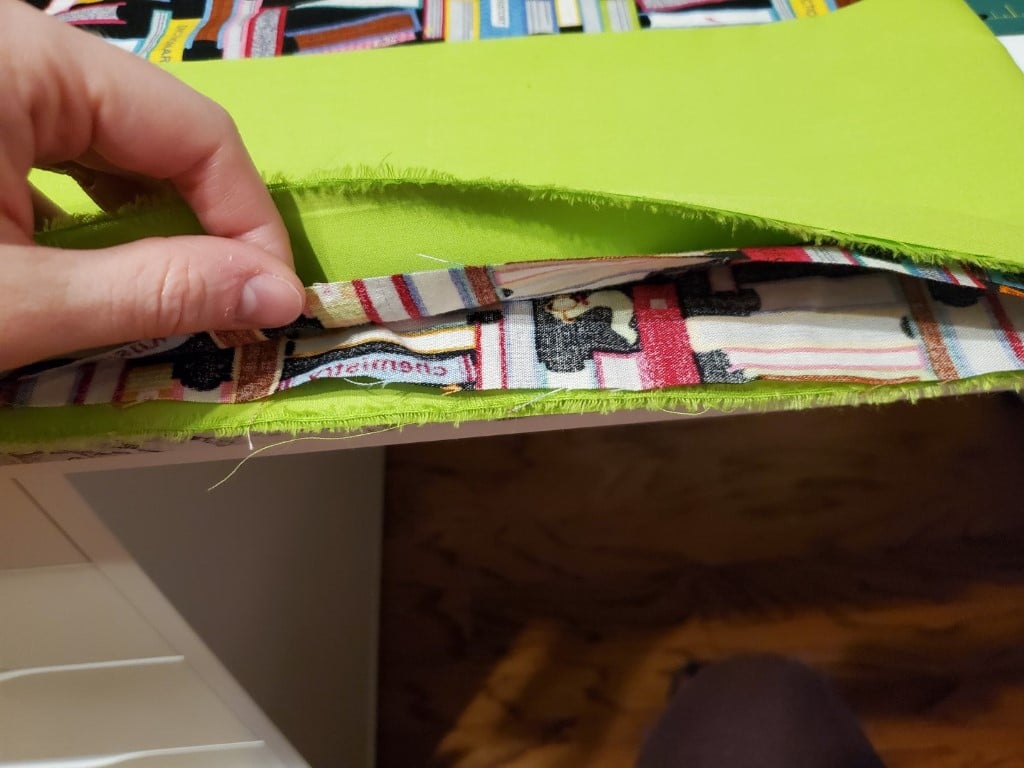
Serge along the raw edges of these two fabric pieces. Once done, turn the band away from the body of the pillowcase and press. Yay!
**You can also create your band where the side seam is on the inside before serging it to the rest of the fabric. I usually don’t take to the time to do this, though .**
2. Serge a Pillowcase with One Fabric Only
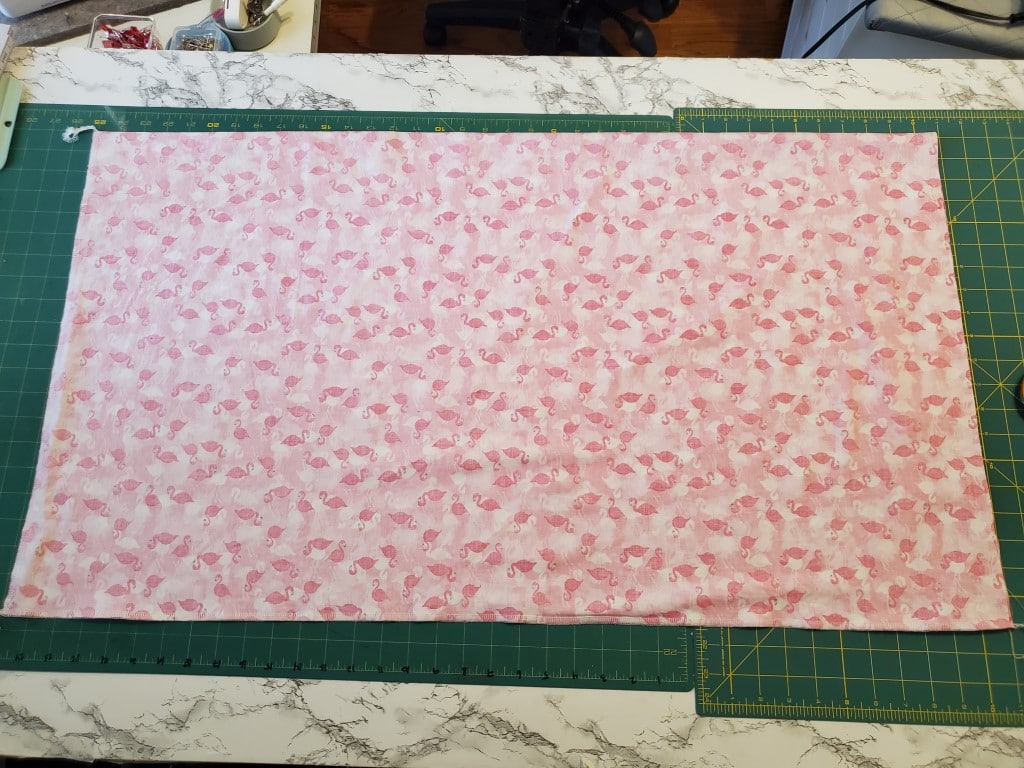
Making a serger pillowcase with only one big piece of fabric is about as easy as it gets.
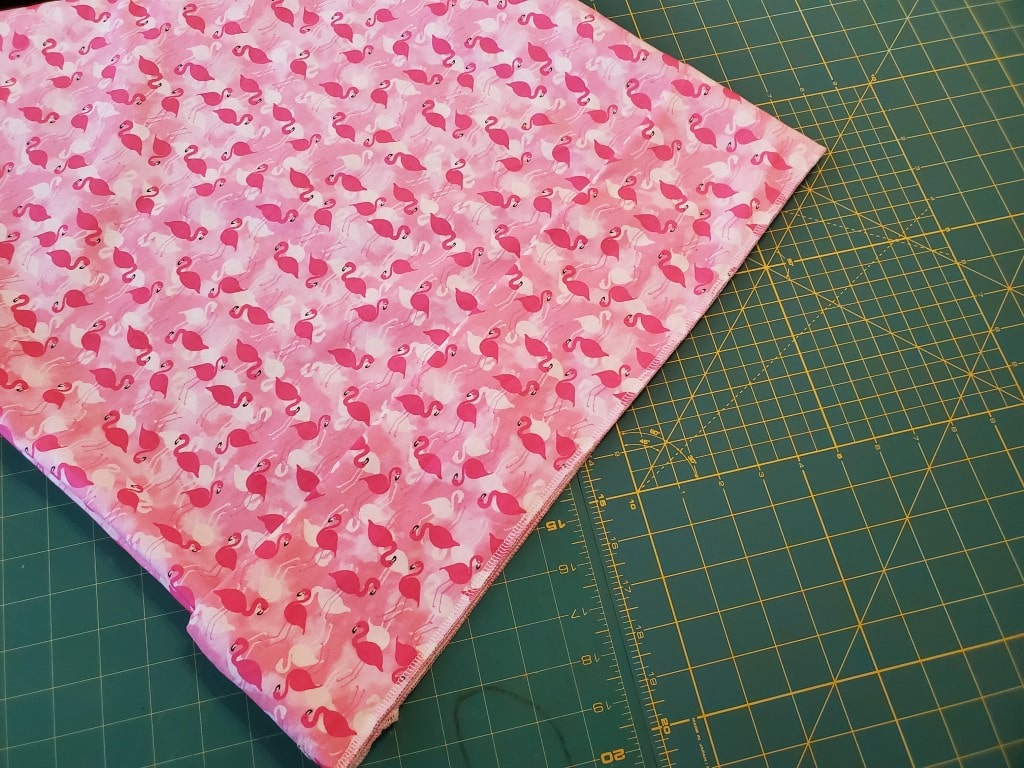
After cutting your fabric, fold the body piece to 20.5″ x 37″ with right sides together. Then, using a 1/2″ seam allowance, serge along the long end parallel to the fold and one of the short ends. Again, if your fabric is directional, pay attention to print orientation here. It’s kind of difficult to see in the picture below, but the end on the right is not serged close.
Now, it’s time to make the band of the pillowcase out of the fabric. First, with right sides still together, fold the open end of the fabric back 5.5.” This means the wrong side will meet the wrong side. Press a crease.
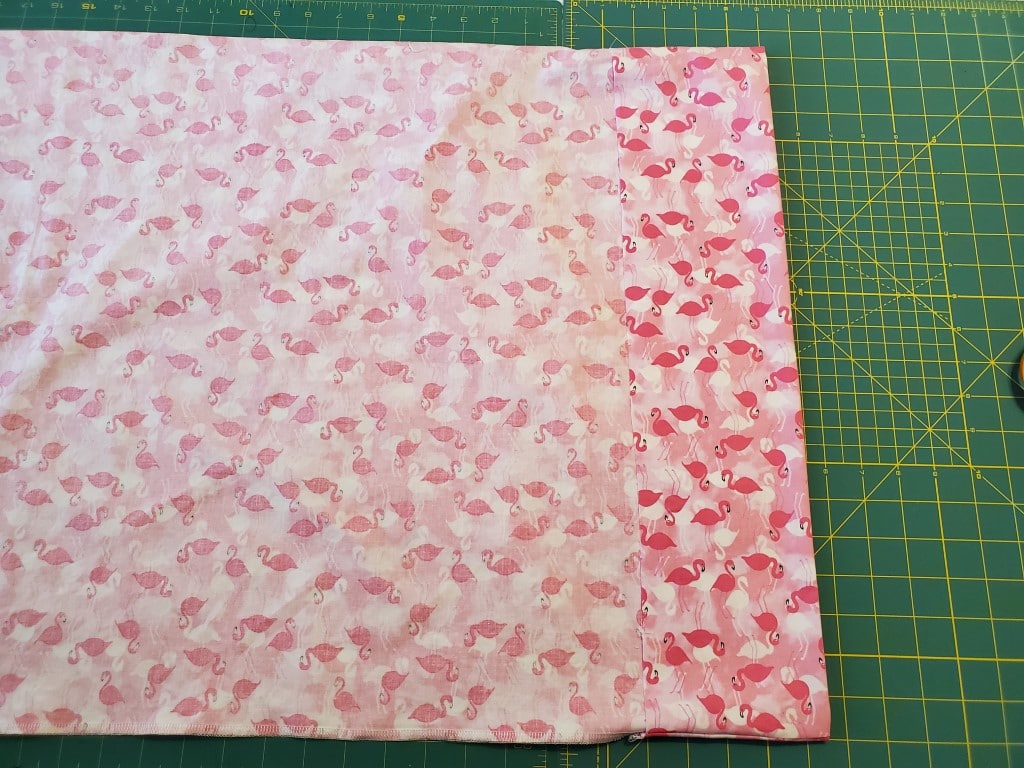
Now, turn your pillowcase inside out and fold that 5.5″ piece back again one more time, as shown below. The right sides will meet. (This is very similar to the above tutorial using two pieces of fabric. The only difference is the fabric is still connected!)
Serge along this opening with a 1/2″ seam allowance.
Knot, loop in, or cut and fray-check your serger thread chains. Then, turn the band back away from the body of the pillowcase and press. All done in less than 10 minutes!
Like pillowcases? Two of the first sewing tutorials I posted were how to make an envelope pillowcase out of a shirt and how to sew a toddler pillowcase from an adult pillowcase if you want to learn more!