9 Awesome Pressing Tools in Sewing & Their Uses
This post may contain affiliate links, which means I’ll receive a commission if you purchase through my links, at no extra cost to you. I sometimes receive free products for review. Please read disclosure for more information.
If you want your projects to have a handmade, not homemade, look, using the right pressing tools when sewing is a crucial first step.
My mom always said, “If you don’t have time to press, you don’t have time to sew.” As a rebel beginner sewist, I didn’t always press my projects when instructed.
However, after realizing the difference that proper ironing or pressing made, I begrudgingly admitted my mom was right and began collecting (and using!) different types of pressing tools in my sewing ventures.
I now have an entire shelf of pressing aids, so let me give you a tour and explain the specific uses for each one!
Types of Pressing Tools for Sewing
I’ll start with the most common pressing tools and move on to the tools with smaller areas of use.
As a beginner sewist, the must-have pressing tools are an iron, ironing board, and pressing cloth. The other tools are more specialized and can be acquired later if needed.
Also, quilters may need different tools than garment sewists, who may need different tools than those who work with heavy-duty fabrics. These are just examples of pressing tools in sewing, and thus, you do NOT need all of them.
1. Iron
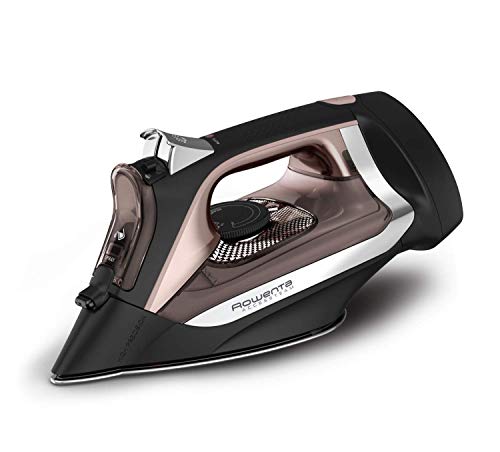
The most important pressing tool is a good-quality, dependable iron.
A full-size iron with variable steam options and temperature ranges is indispensable when ironing large fabric yardages before cutting.
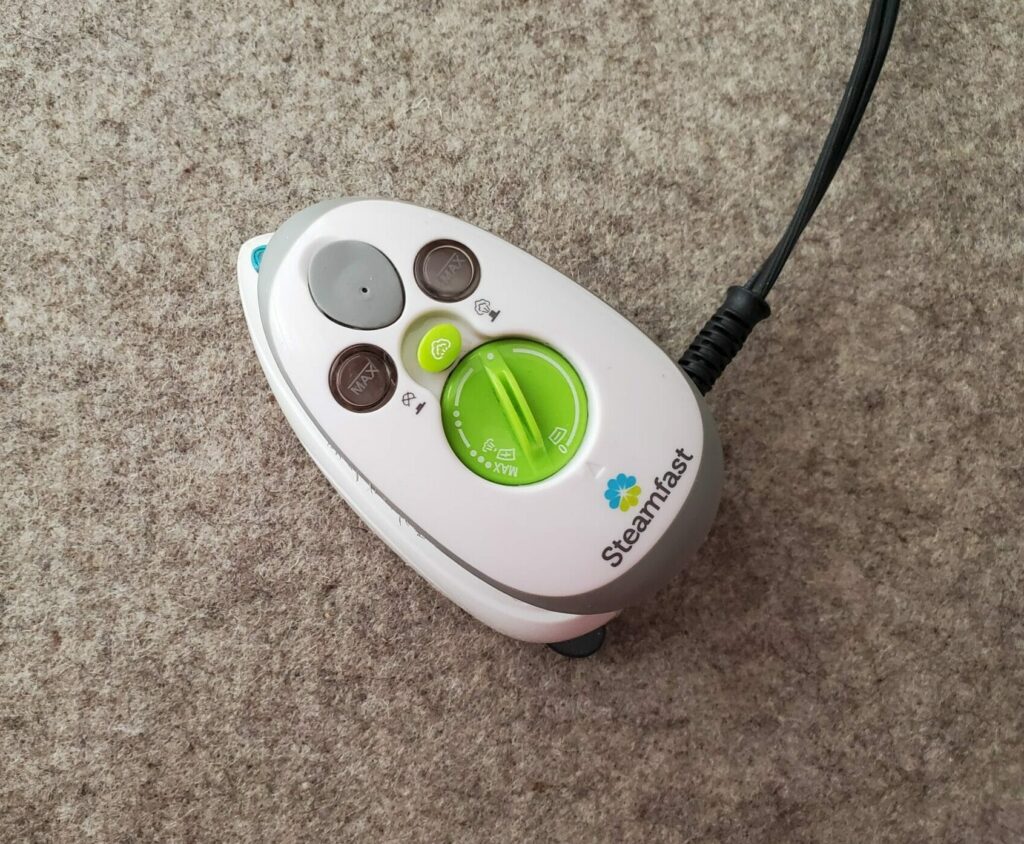
However, if you plan to make doll clothes, work with small appliques, or press embroidered items in the hoop, a mini-iron is a nice addition for accessing small spaces and corners.
I have two crafting mini-irons that I love (the Steamfast (above) and a Clover mini-iron.) I only use the Clover when piecing-in-the-hoop or working with Barbie doll clothes but frequently pull out the Steamfast for projects.
2. All-Purpose Ironing Board

Choose a sturdy ironing board with a thick, smooth, padded surface. I also recommend buying an ironing board that has adjustable height so you can be comfortable ironing.
A full-size ironing board is useful for pressing large areas of fabric.
However, you can purchase travel-size ironing boards if you have space constraints. Or, you can make your own.
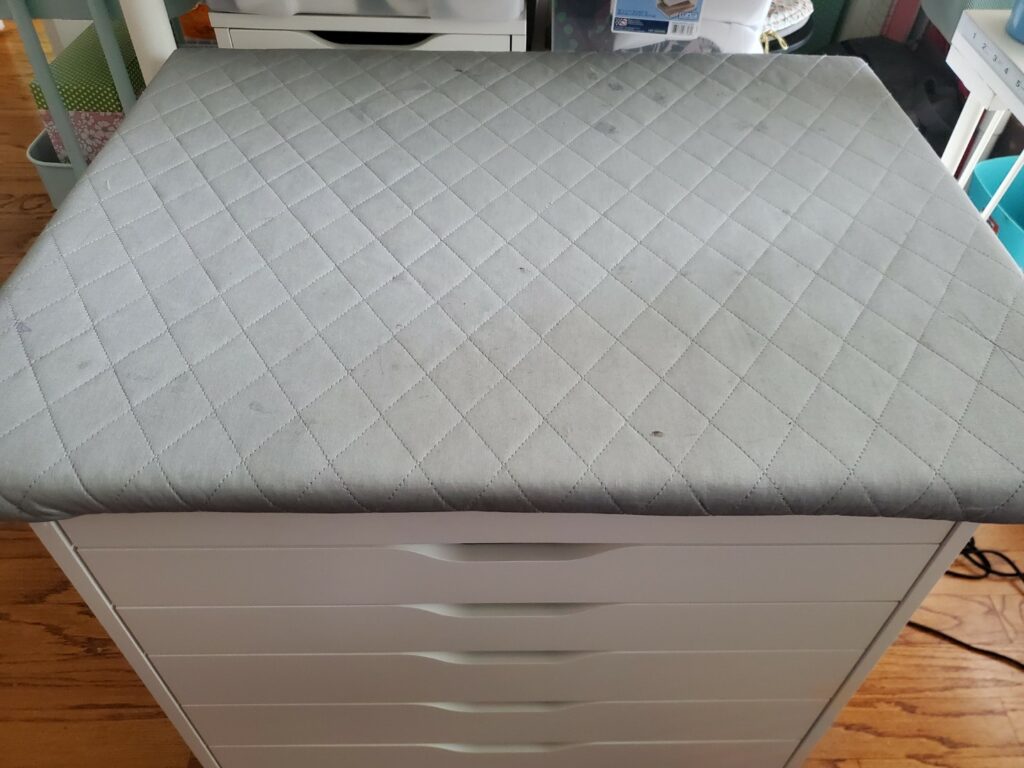
I made the above pressing board with a piece of wood, some batting, and quilted ironing board fabric.
It needs a desperate recover thanks to it being my favorite (and most frequently-used) ironing surface.
It sits on top of an ALEX cart from IKEA and rolls along with me as I sew. I love that I can iron while still sitting in front of my sewing machine!
3. Sleeve Board
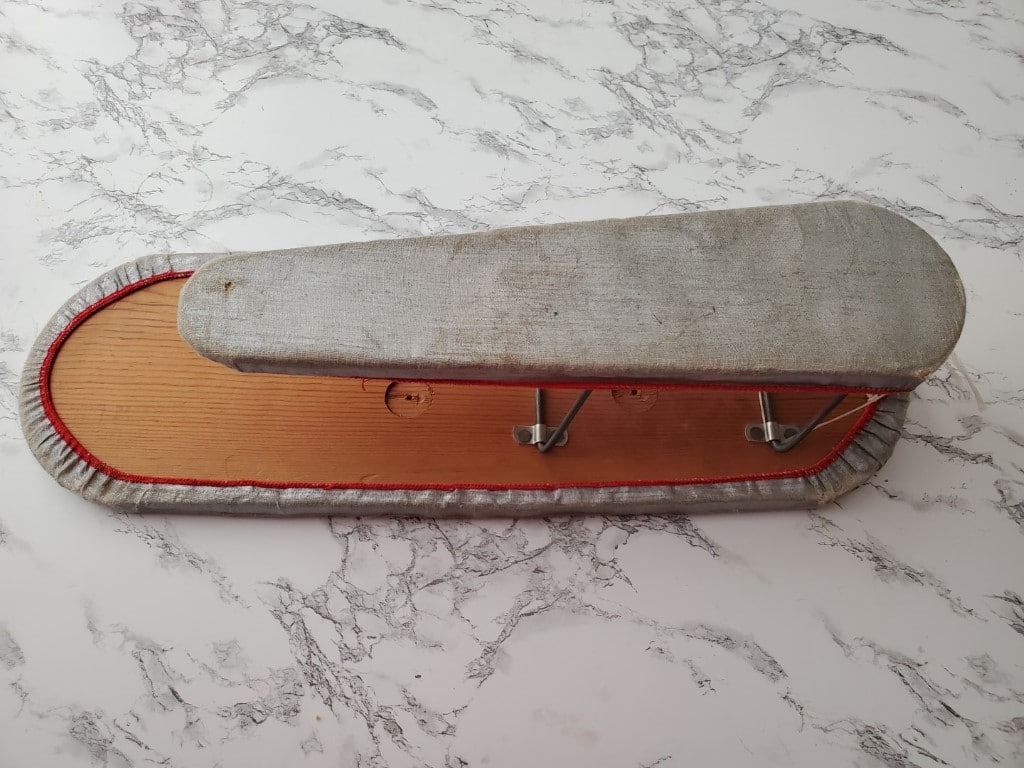
A sleeve board is essentially two small ironing boards connected together with one side larger than the other.
The smaller side of the sleeve board is used for pressing narrow garment pieces like shirt sleeves and pants legs. It also doesn’t leave side creases in the fabric because you press just one layer of fabric in the round rather than both sides simultaneously.
The larger side is perfect for longer straight seams. I’ve also been known to use the curved sides of the board for shoulder seams or other rounded seams. (This takes some finagling.)
Handed down to me by my grandmother, my homemade sleeve board has ironing board fabric covering a thin layer of wool over wood. (Here’s a tutorial to make your own from a fellow sewing blogger if you’re interested.)
4. Seam Roll
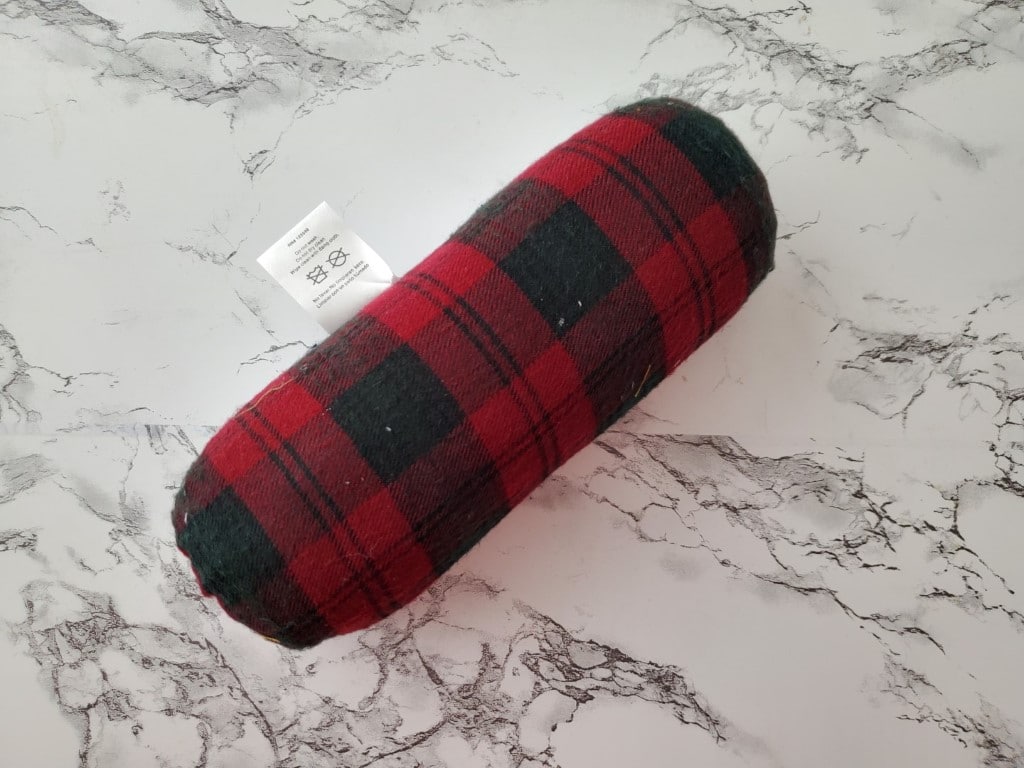
A seam roll is a small, tubular pressing cushion used to press the seams inside circular garment pieces like sleeves and pants legs.
It differs from a sleeve board in that its narrow, cylindrical shape lets most draped fabric fall to the sides of the roll, leaving only a small point of contact between the iron and the fabric. Thus, using a sleeve roll decreases the likelihood of the seam imprinting on the right side of the fabric when pressed.
In contrast, on a sleeve board, the flat surface means more fabric comes into contact with the iron, meaning a higher likelihood of fabric ridges appearing on the right side of the fabric after pressing the seam.
Also, because the iron touches the seam only at the very top portion of the roll, a seam roll is better for pressing seams on fabrics that mark or get shiny when ironed.
5. Tailor’s Ham
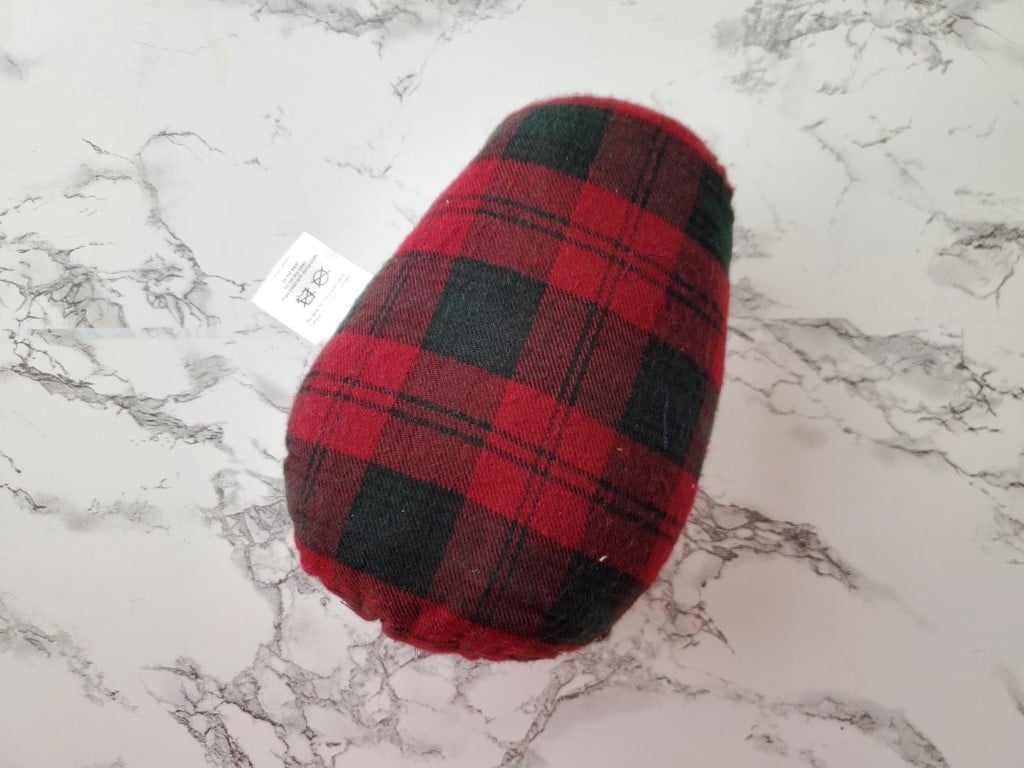
A tailor’s ham is especially useful when constructing garments thanks to its rounded ham shape.
As such, this firm, stuffed pressing tool aids with pressing shaped, curved areas such as darts and princess seams, sleeve caps, and collars.
You can make your own tailor’s ham or purchase a pre-made one, which is what I did.
The ham above is two-sided with both a cotton and wool side. The wool side is my favorite to use because it retains more steam, resulting in a better-pressed seam.
6. Clapper, Point Presser, or Tailor Board
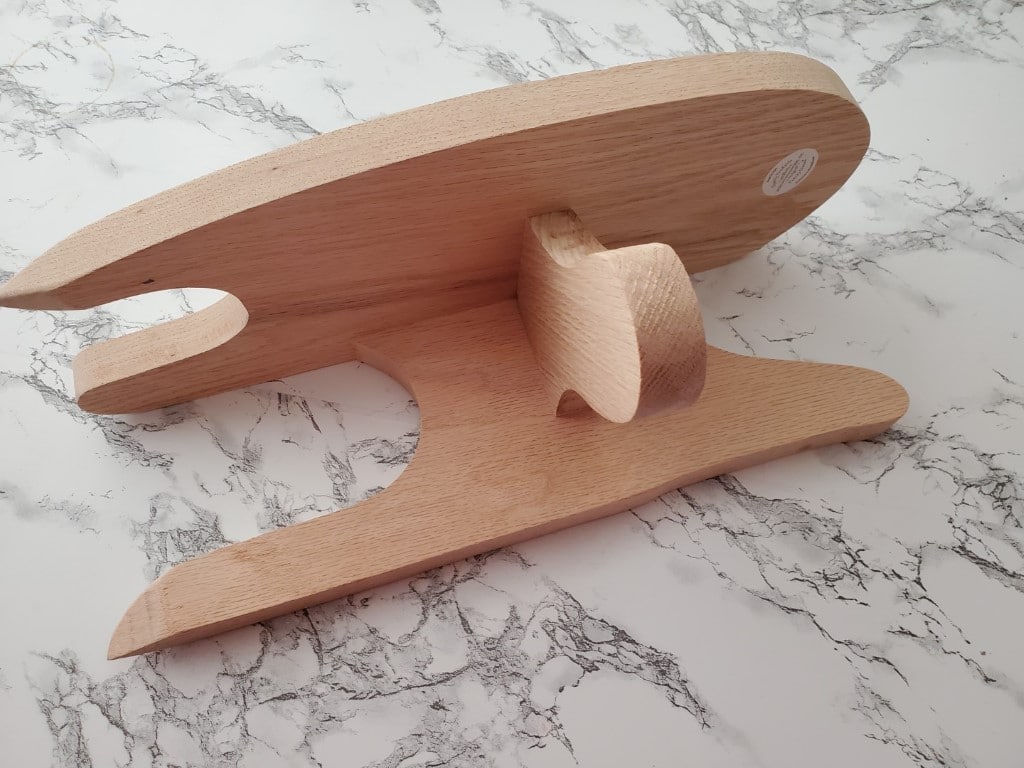
If I had to choose the one best pressing tool, my tailor board has my vote!
Wooden pressing tools are versatile and made from different hardwood types (depending on the manufacturer). This one is characterized by curves, points, and other shapes that mold to different-shaped seams and pieces of garments.
It’s especially indispensable when pressing collars, sharp corners, curved seams, and circular items. If you’re intrigued, here are some videos from Jackson Woodworks, which is where I got my tailor board, to show how it works.
A tailor board is like one big compilation of other more specific pressing tools. For instance, a clapper and point presser are featured together below.
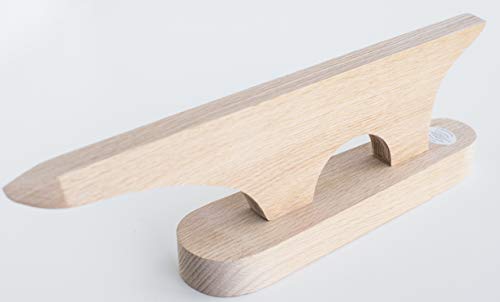
The clapper (bottom portion) sets creases and flattens seams like nobody’s business.
It’s especially helpful for pressing heavy fabrics like wool that are difficult to crease with just an iron and board.
To use a clapper, steam the fabric with an iron, and then press the base of the clapper on top of it. The clapper then holds heat and steam in the fabric and provides pressure, forming a nice, flat seam.
On the top of the clapper above is the point press, which helps with pressing collar points and seams in other small corners.
The first time you use a wooden pressing tool, you may notice a slight smell, some residue, and wood particles splitting as they absorb the wet heat.
Sand it down the first few times after you use it, and it will be better! And, if you want to make your own, here’s a pattern for one from Serger Pepper.
7. Pressing Mitten

A pressing mitt or mitten is a padded glove worn on your hand (or fitted on a sleeve board) that is used for hand pressing.
Hand pressing means using your hand as a pressing surface for hard-to-reach and curved areas.
The insulated mitt protects your hand from heat, and you can mold the mitt to the shape of the seam you need to press. With a similar scope of use as the pressing ham, the pressing mitten is intended for rounded areas like sleeve caps.
8. Wool Pressing Mat
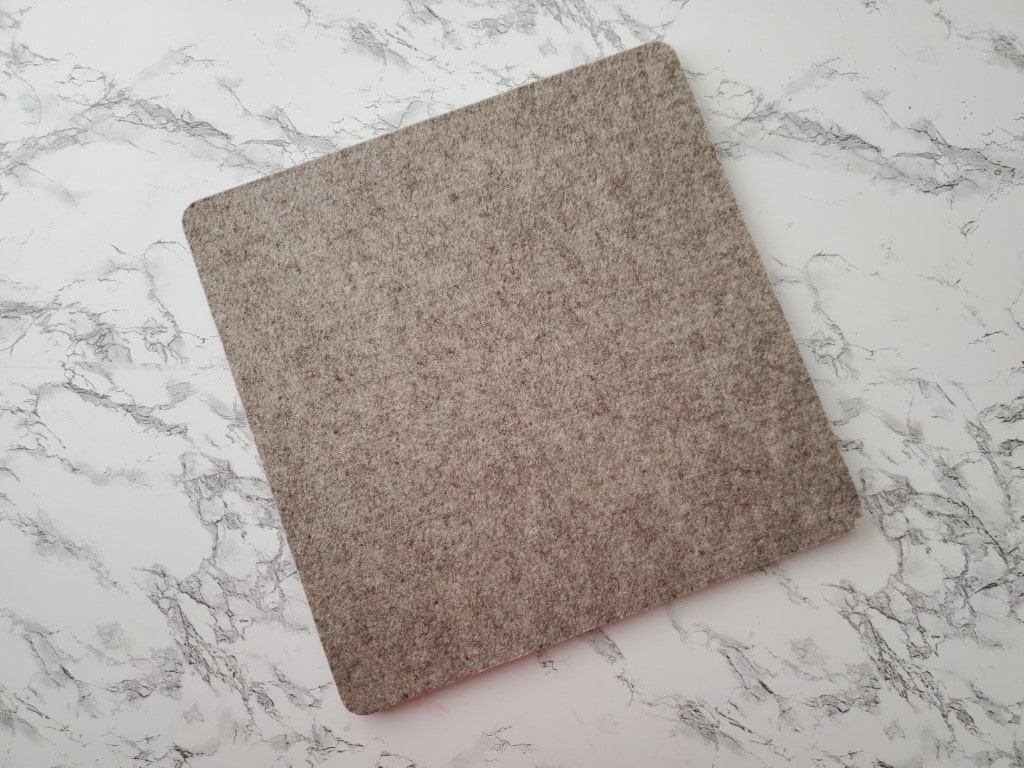
A small wool pressing mat is a recent addition to my room, and I’ve grown to appreciate its usefulness after the initial and very overwhelming barnyard smell aired out.
One thing I really like is that wool pressing mats can be placed anywhere, turning any small space into an ironing surface.
Wool pressing mats are commonly used by quilters, as they “double-sided press” quilt pieces and other fabrics. This is because wool retains heat and absorbs moisture, so fabrics placed upon the mat receive heat from both the mat and the iron. Thus, there is no need for additional fabric sprays or steam.
Wool pressing mats also provide a non-slip surface and can be pinned directly into, which helps iron tightly rolled fabric pieces or awkward shapes.
9. Needle Board

Use a needle board when pressing fabric with nap or pile (like when ironing velvet or corduroy) which would otherwise be squished with the solid surface of an ironing board.
Simply place the pile side of the fabric down on the cushion and press according to the fabric directions.
Pressing Cloths & Their Importance
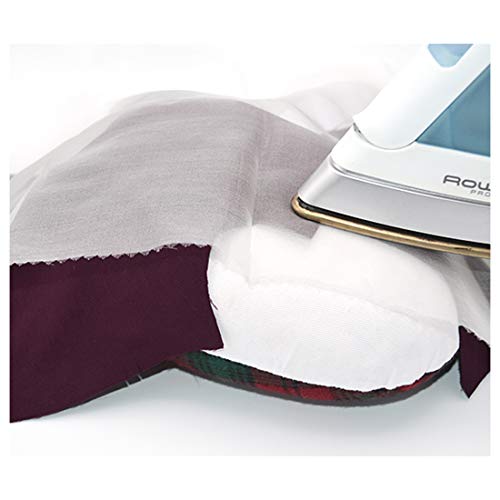
Delicate fabrics and many others require a pressing cloth to keep the iron from burning them, causing shine, or leaving other marks.
A press cloth is also important when adhering fusible interfacing to the back of fabric.
You can purchase a dedicated pressing cloth or use a piece of scrap fabric that’s the same as the fabric you’re pressing. Or, you can make your own sheer pressing cloth from muslin, organza, or another lightweight, transparent fabric so you can still see the fabric or interfacing underneath as you press.
Using Sprays When Pressing
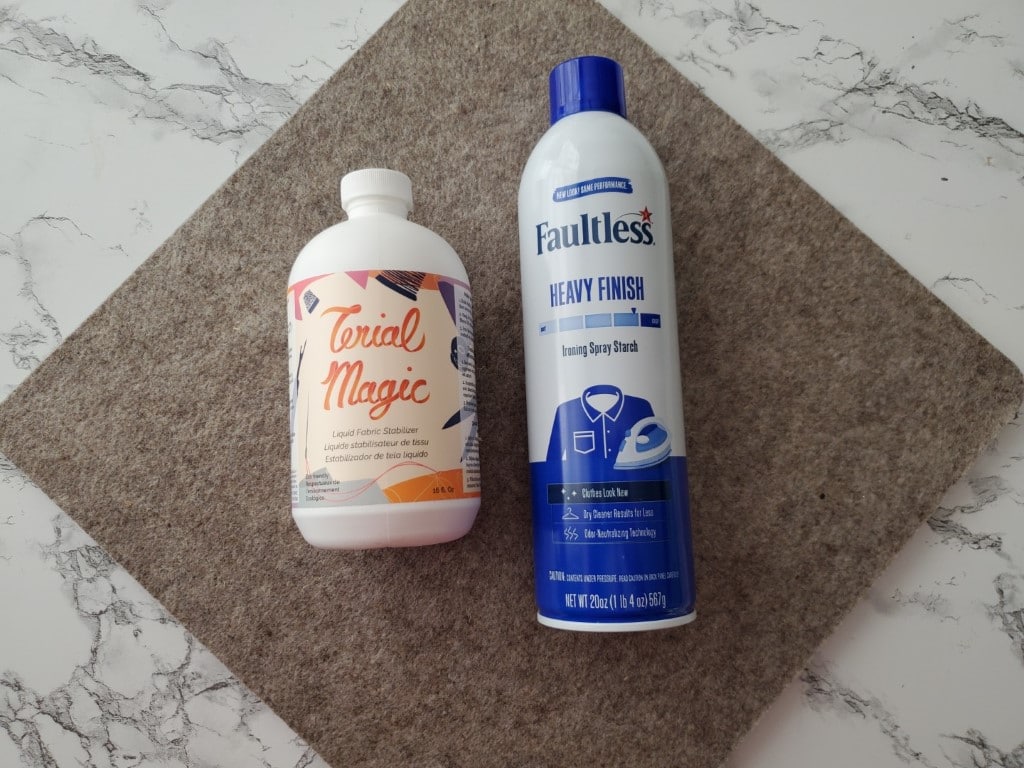
No list of pressing tools and their uses would be complete without sprays like starch, Terial Magic, liquid stabilizer, or Best Press, for example.
Applying starch or another fabric stiffener before pressing strengthens fabric, making it easier to work with when sewing or creasing. This is also one of many ways to stop knit fabrics from rolling at the edges.
For instance, embroidering on thin, quilting cotton is also much easier if the fabric is starched first to give it stiffness.
Helpful Hemming Tools for Pressing
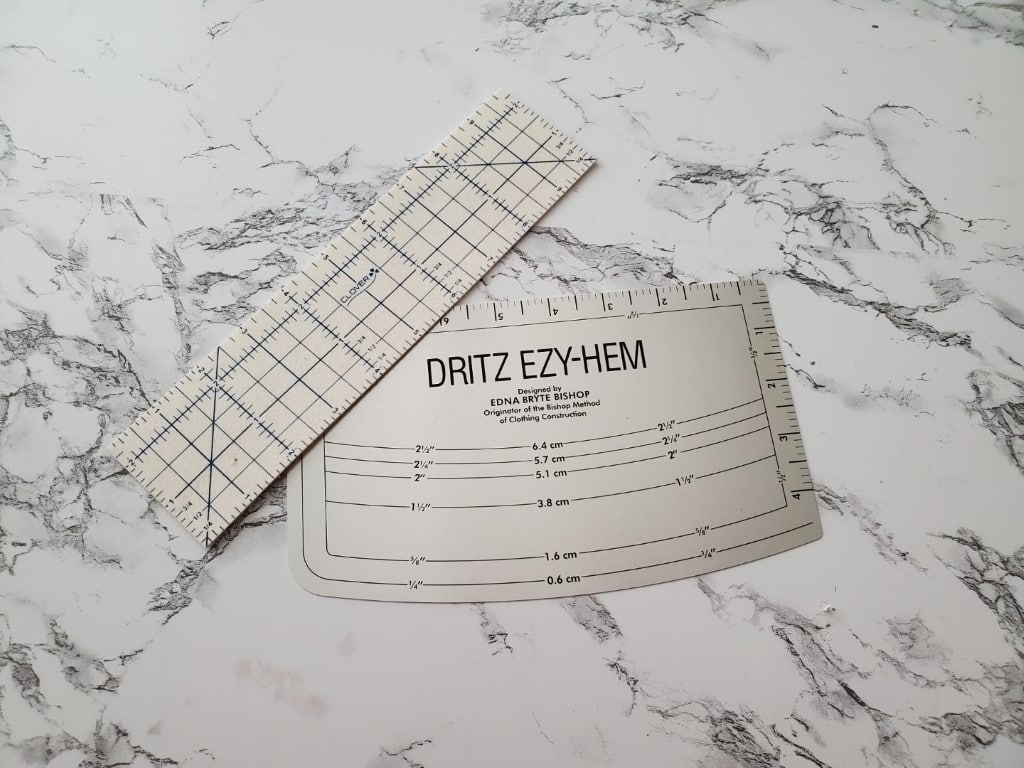
Tools like the Clover Hot Ruler and Dritz Ezy-Hem, for example, are helpful for accurately pressing hem creases.
With the two tools pictured above, you fold fabric over the tool and iron a perfect crease directly on them.
I prefer the Hot Ruler for straight hems and the Ezy-Hem for curved hems and pockets.
Alternatives to Pressing
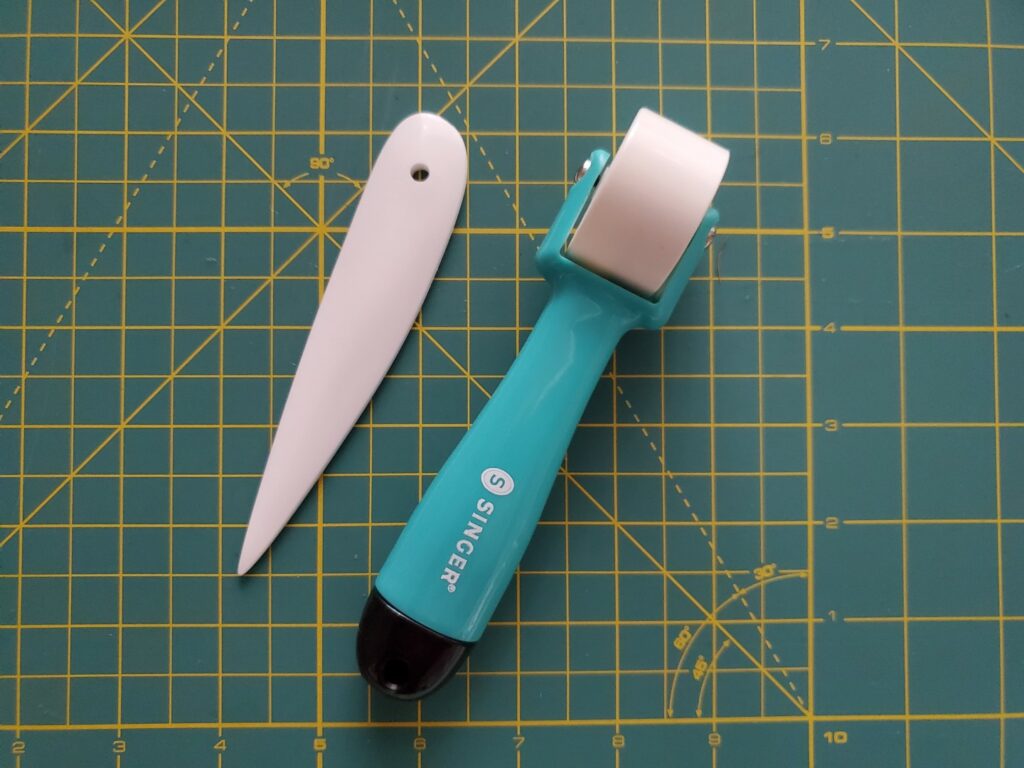
There are several alternatives if you don’t have an iron but still need to press open a seam or press a crease.
My favorite two are my seam roller and point turner & seam creaser.
While these seam pressing tools don’t perform as well as an iron (but are better than finger pressing), they do the trick for many seams when looking for a quick fix.

And that’s a wrap for the fun devices I have in my sewing room. Anything else you use to iron or press when sewing? Let me know!