How to Hoop Fabric for Embroidery (Tips & Tricks)
This post may contain affiliate links, which means I’ll receive a commission if you purchase through my links, at no extra cost to you. I sometimes receive free products for review. Please read disclosure for more information.
Learning how to hoop fabric correctly when machine embroidering is one of the most important aspects of ensuring professional results.
Unfortunately, most embroidery machine user manuals don’t do it justice! And many new machine embroiderers don’t master it until they’ve messed up several projects thanks to improper hooping.
Hooping can be tricky trying to align your stabilizer, fabric, and hoop all at the same time. It’s even worse if you’re on a slippery surface and your hoop is moving all over the place.
Therefore, let’s discuss how to hoop fabric for embroidery! There are different embroidery hooping techniques and tricks, so I’ll show you a couple of methods so you can see what works best. I’ll also discuss how to float fabric if it won’t fit in a hoop.
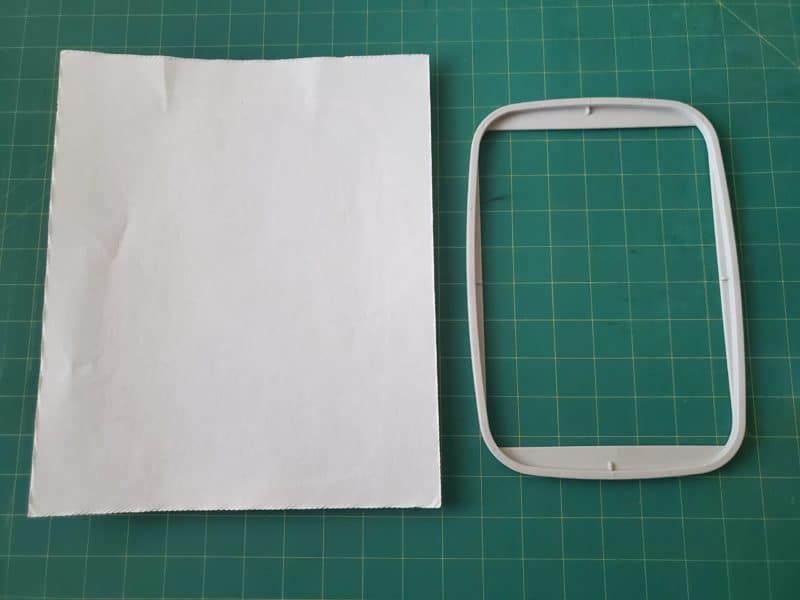
Parts of an Embroidery Machine Hoop
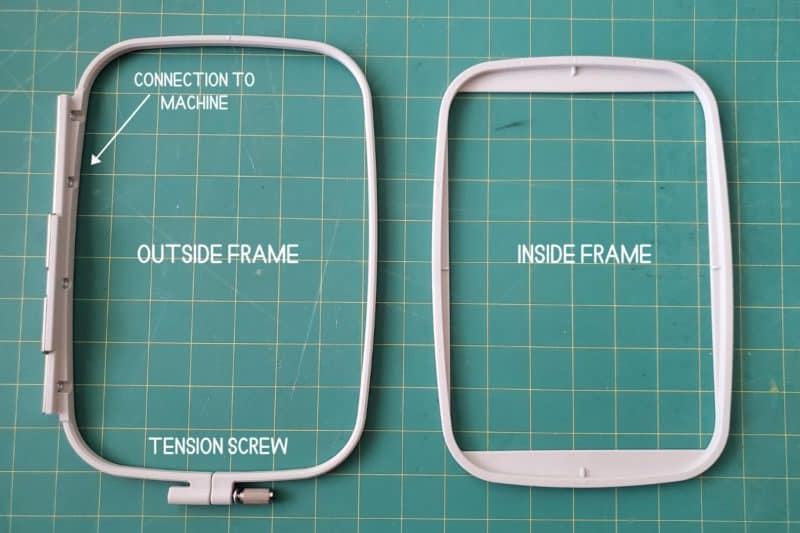
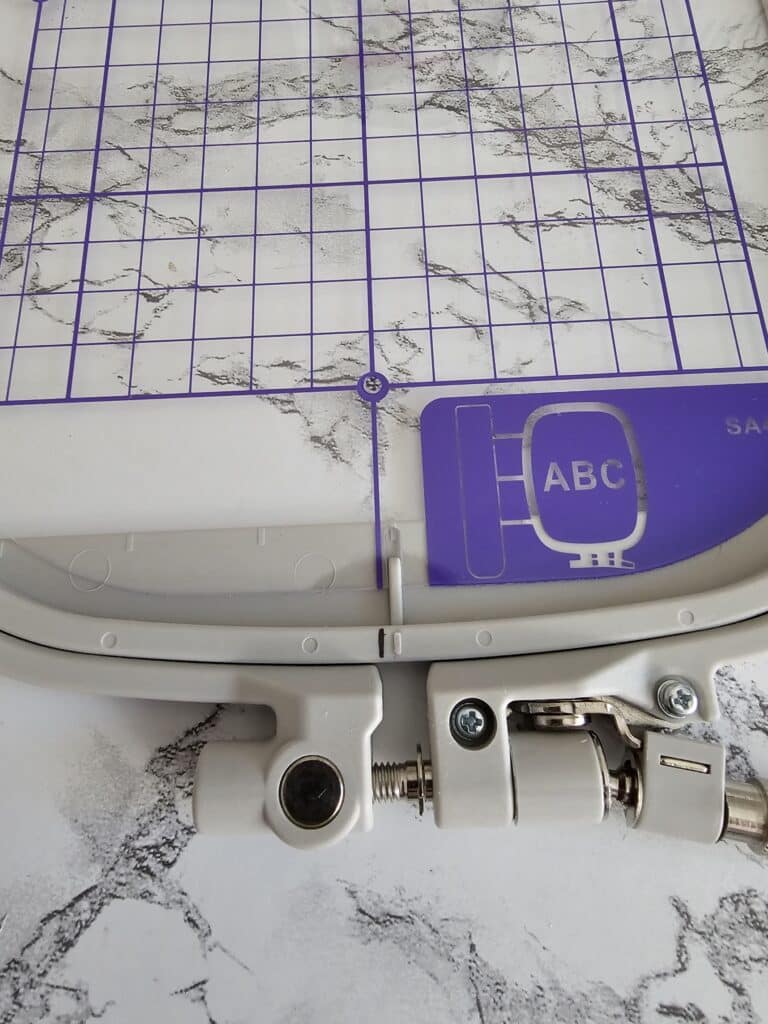
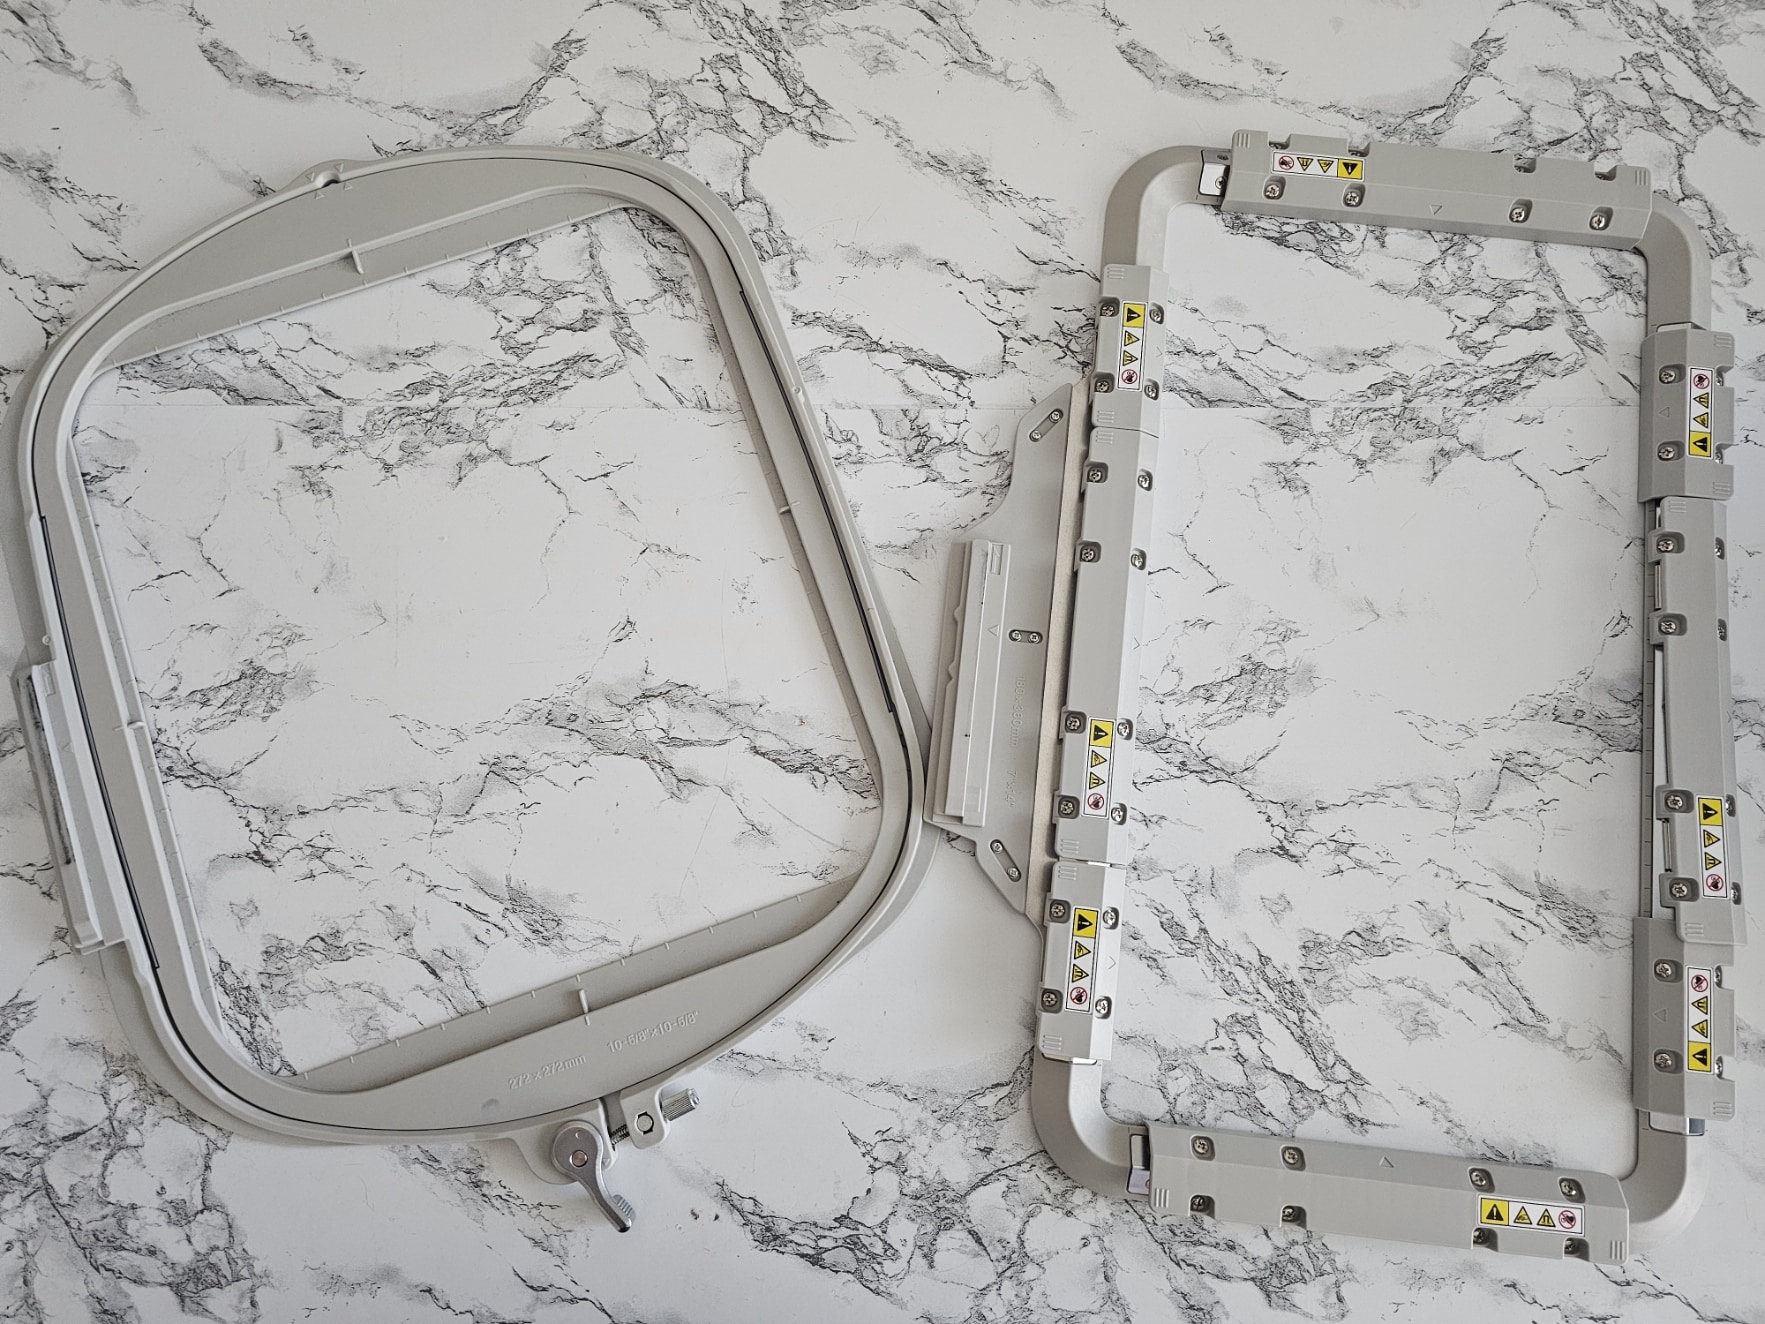
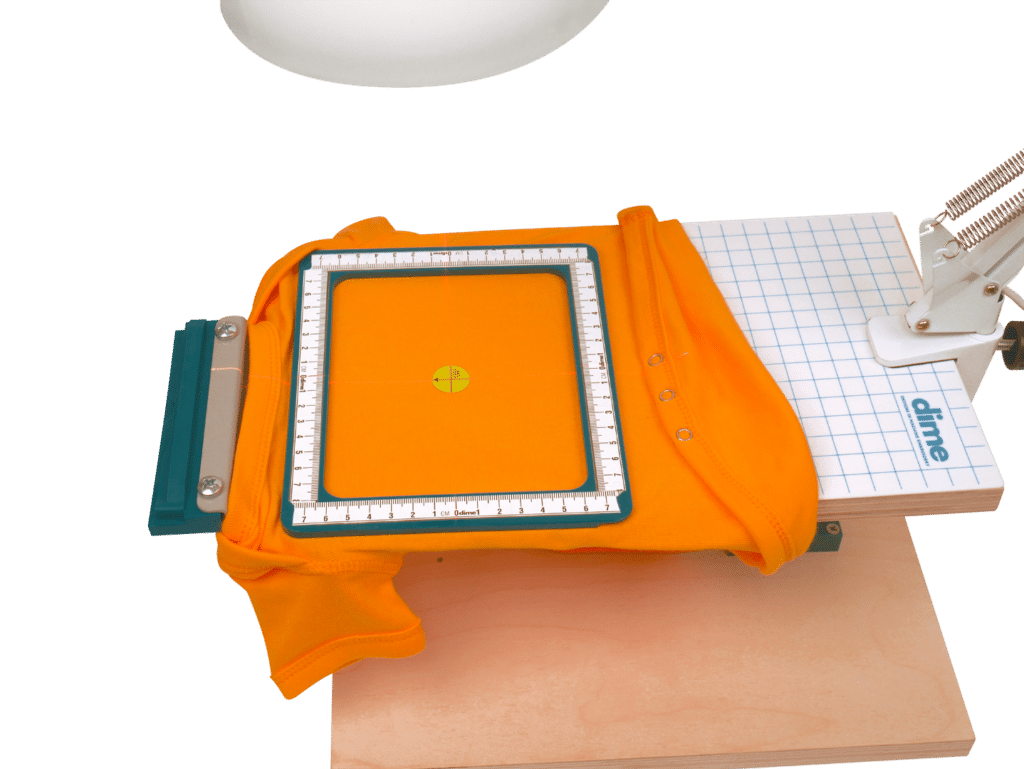
There are two main pieces of a home embroidery machine hoop. Different brands and different machines have slightly different hoops, but above is my Brother embroidery hoop.
There’s a bottom, outside hoop frame, and then a top, inside hoop frame. Frames have a definite top and bottom, so make sure you know which way goes up and which down.
On the bottom hoop frame, there is a bracket on the left side where the hoop attaches to the embroidery arm. On the base of the outside hoop, there’s also a small screw that will tighten and untighten to increase or decrease the tension on the hoop contents, allowing the hoop to accommodate different fabric thicknesses.
When prepping your embroidery project, you will place your fabric and the correct stabilizer between these inside and outside hoops.
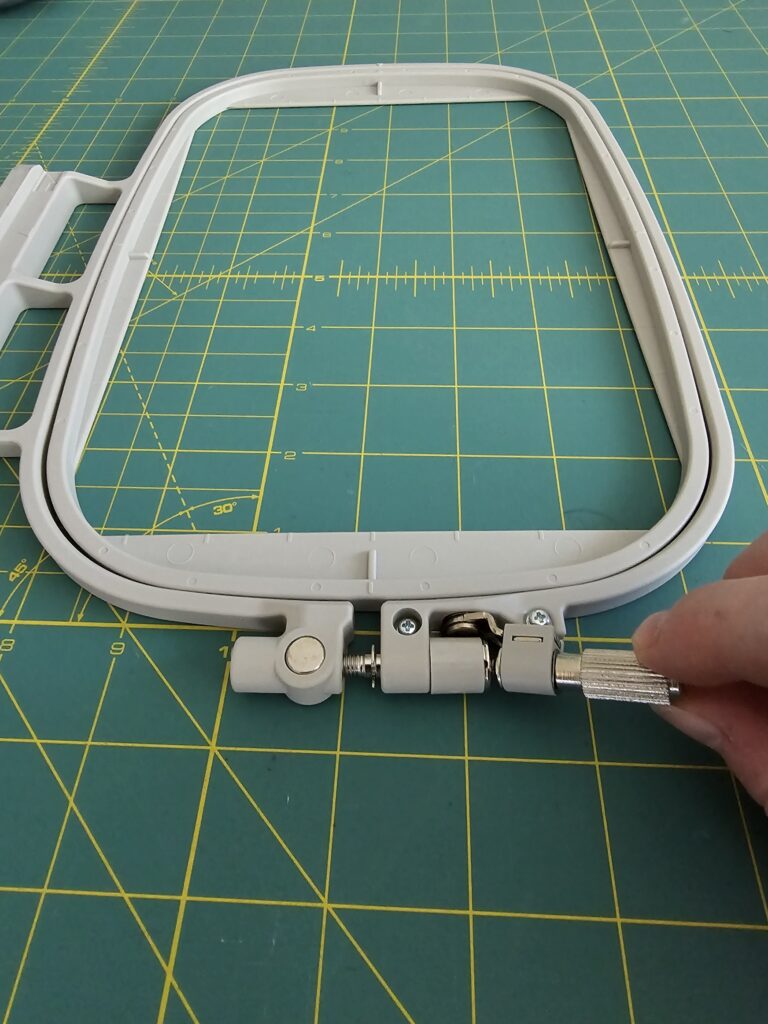
Some more deluxe hoops have a screw that moves up and down for easier access. You will hoop the same way with these hoops, just make sure to press the screw piece down parallel to the flat surface when you’re done tightening it.
Lastly, even more deluxe hoops have a lever of sorts to tighten the hoop. I don’t like hooping using the lever, as it adds odd tension to my embroidery projects when I tighten it. I prefer to keep it tightened at all times when hooping and only unloosen it to release the hoop’s contents.
Hooping Fabric and Stabilizer: End Goal
The end goal of a successful hooping is to have all layers oriented properly and fit tautly and with even tension inside the hoop. There should be no puckers, wrinkles, or stretching.
Don’t worry too much if you’re not exactly centered, though, if your machine embroidery design doesn’t take up the entire embroidery field. Most embroidery machines allow you to rotate designs and move them around for perfect placement.
Don’t Make These Beginner Embroidery Hooping Mistakes
Here’s a quick list of common beginner hooping mistakes that can cause many issues.
- Pulling fabric while it’s in the hoop and causing distortion
- Hooping too tightly or too loosely
- Marking improperly or hooping items in the wrong direction
- Picking the wrong hoop size
- Hooping two layers accidentally
- Hooping only one layer but forgetting to move the bottom layer out of the way and stitching them together
If your fabric is not hooped properly, you may run into a whole slew of problems, such as bobbin thread nests and the top thread breaking, uncentered designs, stitches in the design not aligning properly (poor registration), holes or puckering in the fabric, and hoop burn (or permanent creases) in the fabric.
How to Hoop Fabric for Machine Embroidery
I own a single-needle home embroidery machine, so this tutorial focuses on single-needle frame hooping. Hooping could be slightly different if you have a multi-needle, commercial embroidery machine.
Also, unless you’re appliqueing and need space to clip your base fabric, choose the smallest hoop size you can for your chosen design. Smaller hoops are so much easier to use than large ones, and picking a small hoop saves stabilizer, makes hooping more accurate, and provides more support for the fabric while it’s being stitched.
Step 1:
After you’ve marked where you want your embroidery design to go, the next step is to hoop that part of the fabric with the design at the center.
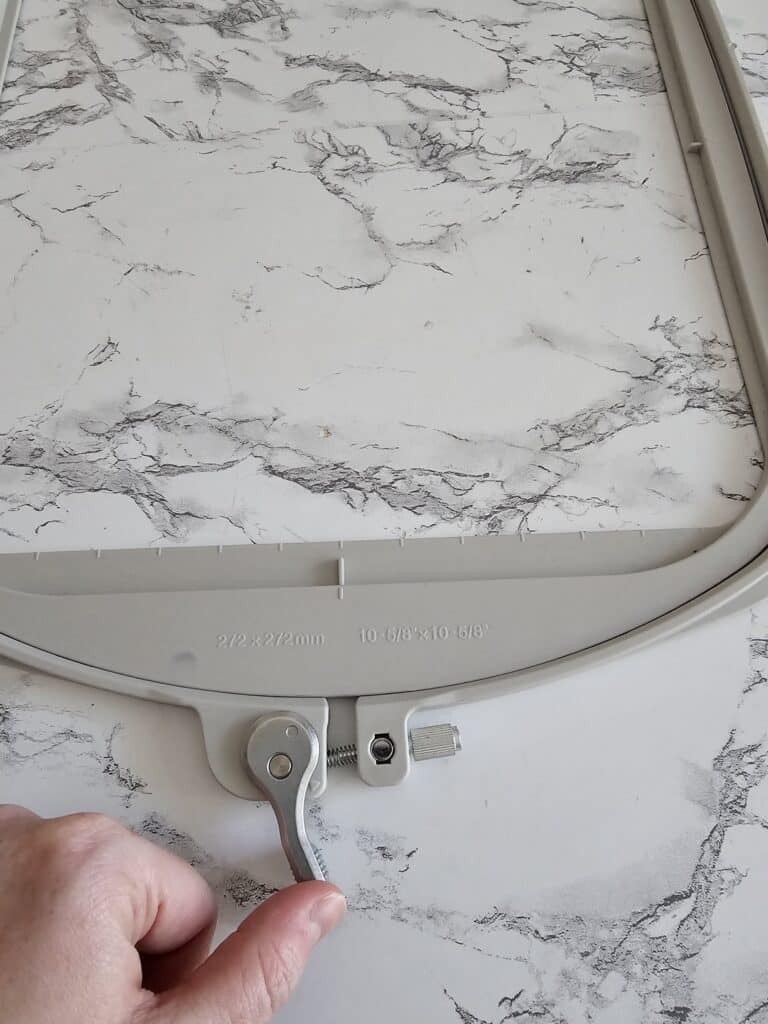
Embroidery hoops can be a little confusing as the center of your physical hoop may not be the actual center of the embroidery field where your machine can stitch. (You can read more in my embroidery hoop size vs. embroidery field size post.)
For example, if you place the plastic grid that came with your machine on your hoop, you’ll see that the imprinted marks on the hoop are usually a few mm off from the actual center of the gridded embroidery area.
I put a little permanent marker hash mark on each of my hoops so I know to line up the center of the marked blank with THAT mark on the hoop rather than the actual center of the hoop as denoted by the plastic hash mark.
Step 2:
Next, loosen the hoop tension screw, and remove the inner ring from the outer ring. Check the bracket orientation on the bottom hoop, and make sure you know which side of the bottom hoop frame needs to go down to later connect to your embroidery arm.
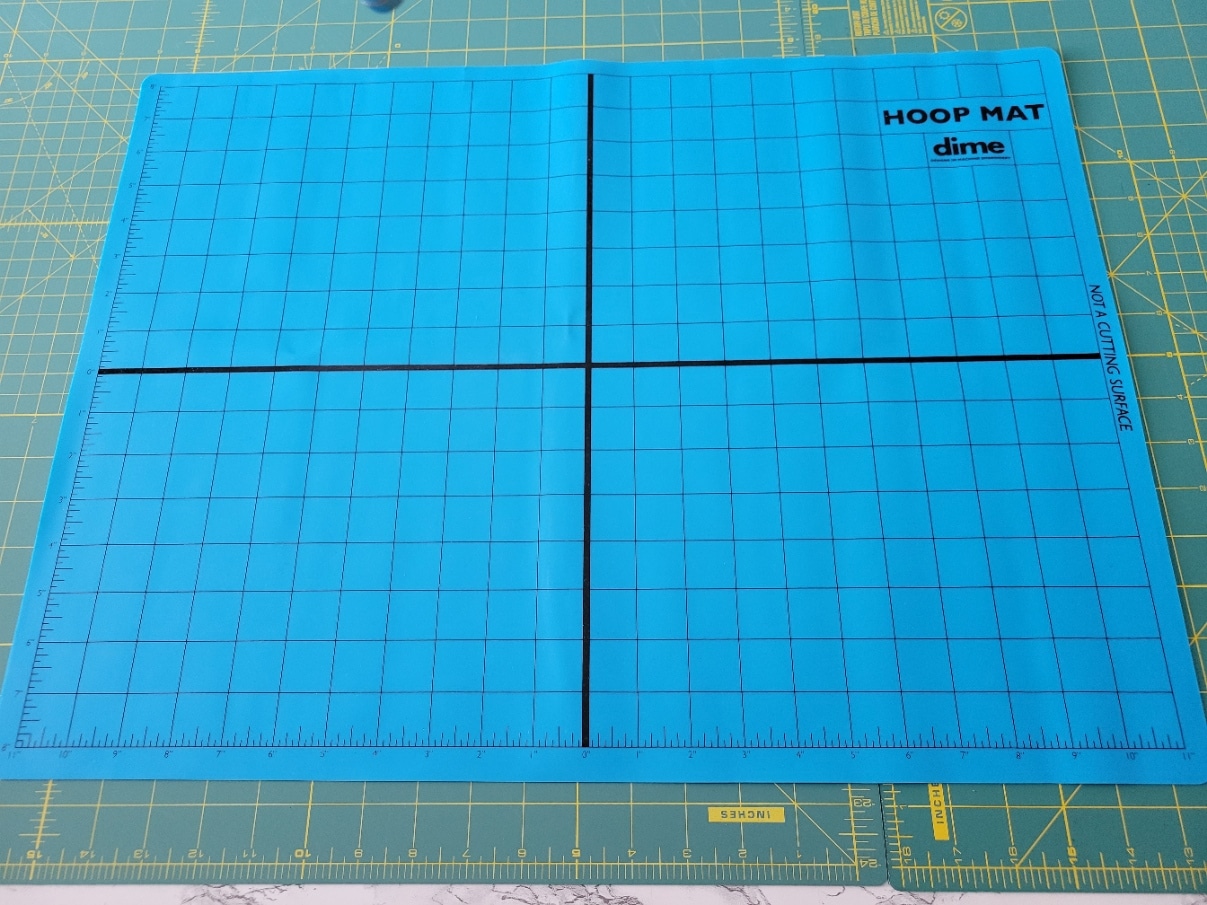
Then, find a flat, hard surface to sit the bottom ring on. I currently use the DIME hoop mat above, which is non-slip and has grids that I can use with my PAL laser.
However, before I invested in it, I used my daughter’s old non-slip meal mat that also kept my bottom hoop frame from sliding all over the place while trying to situate all the layers I needed to hoop.
Step 3:
Next, place an appropriately-sized piece of stabilizer on the top of the bottom frame. The stabilizer must extend outside the hoop on all four sides, ideally an inch or more. You can choose from tear-away stabilizer, cut-away stabilizer, wash-away stabilizer, or heat-away stabilizer.
If you buy precut stabilizer sheets, a 4″x4″ hoop uses 8″ x 8″ sheets, and a 5″x7″ hoop uses 10″ x 12″ sheets. You also can hoop more than one piece or even type of stabilizer if your design or fabric requires it.
Next, place the fabric on top of the stabilizer with the wrong side facing the top of the stabilizer.
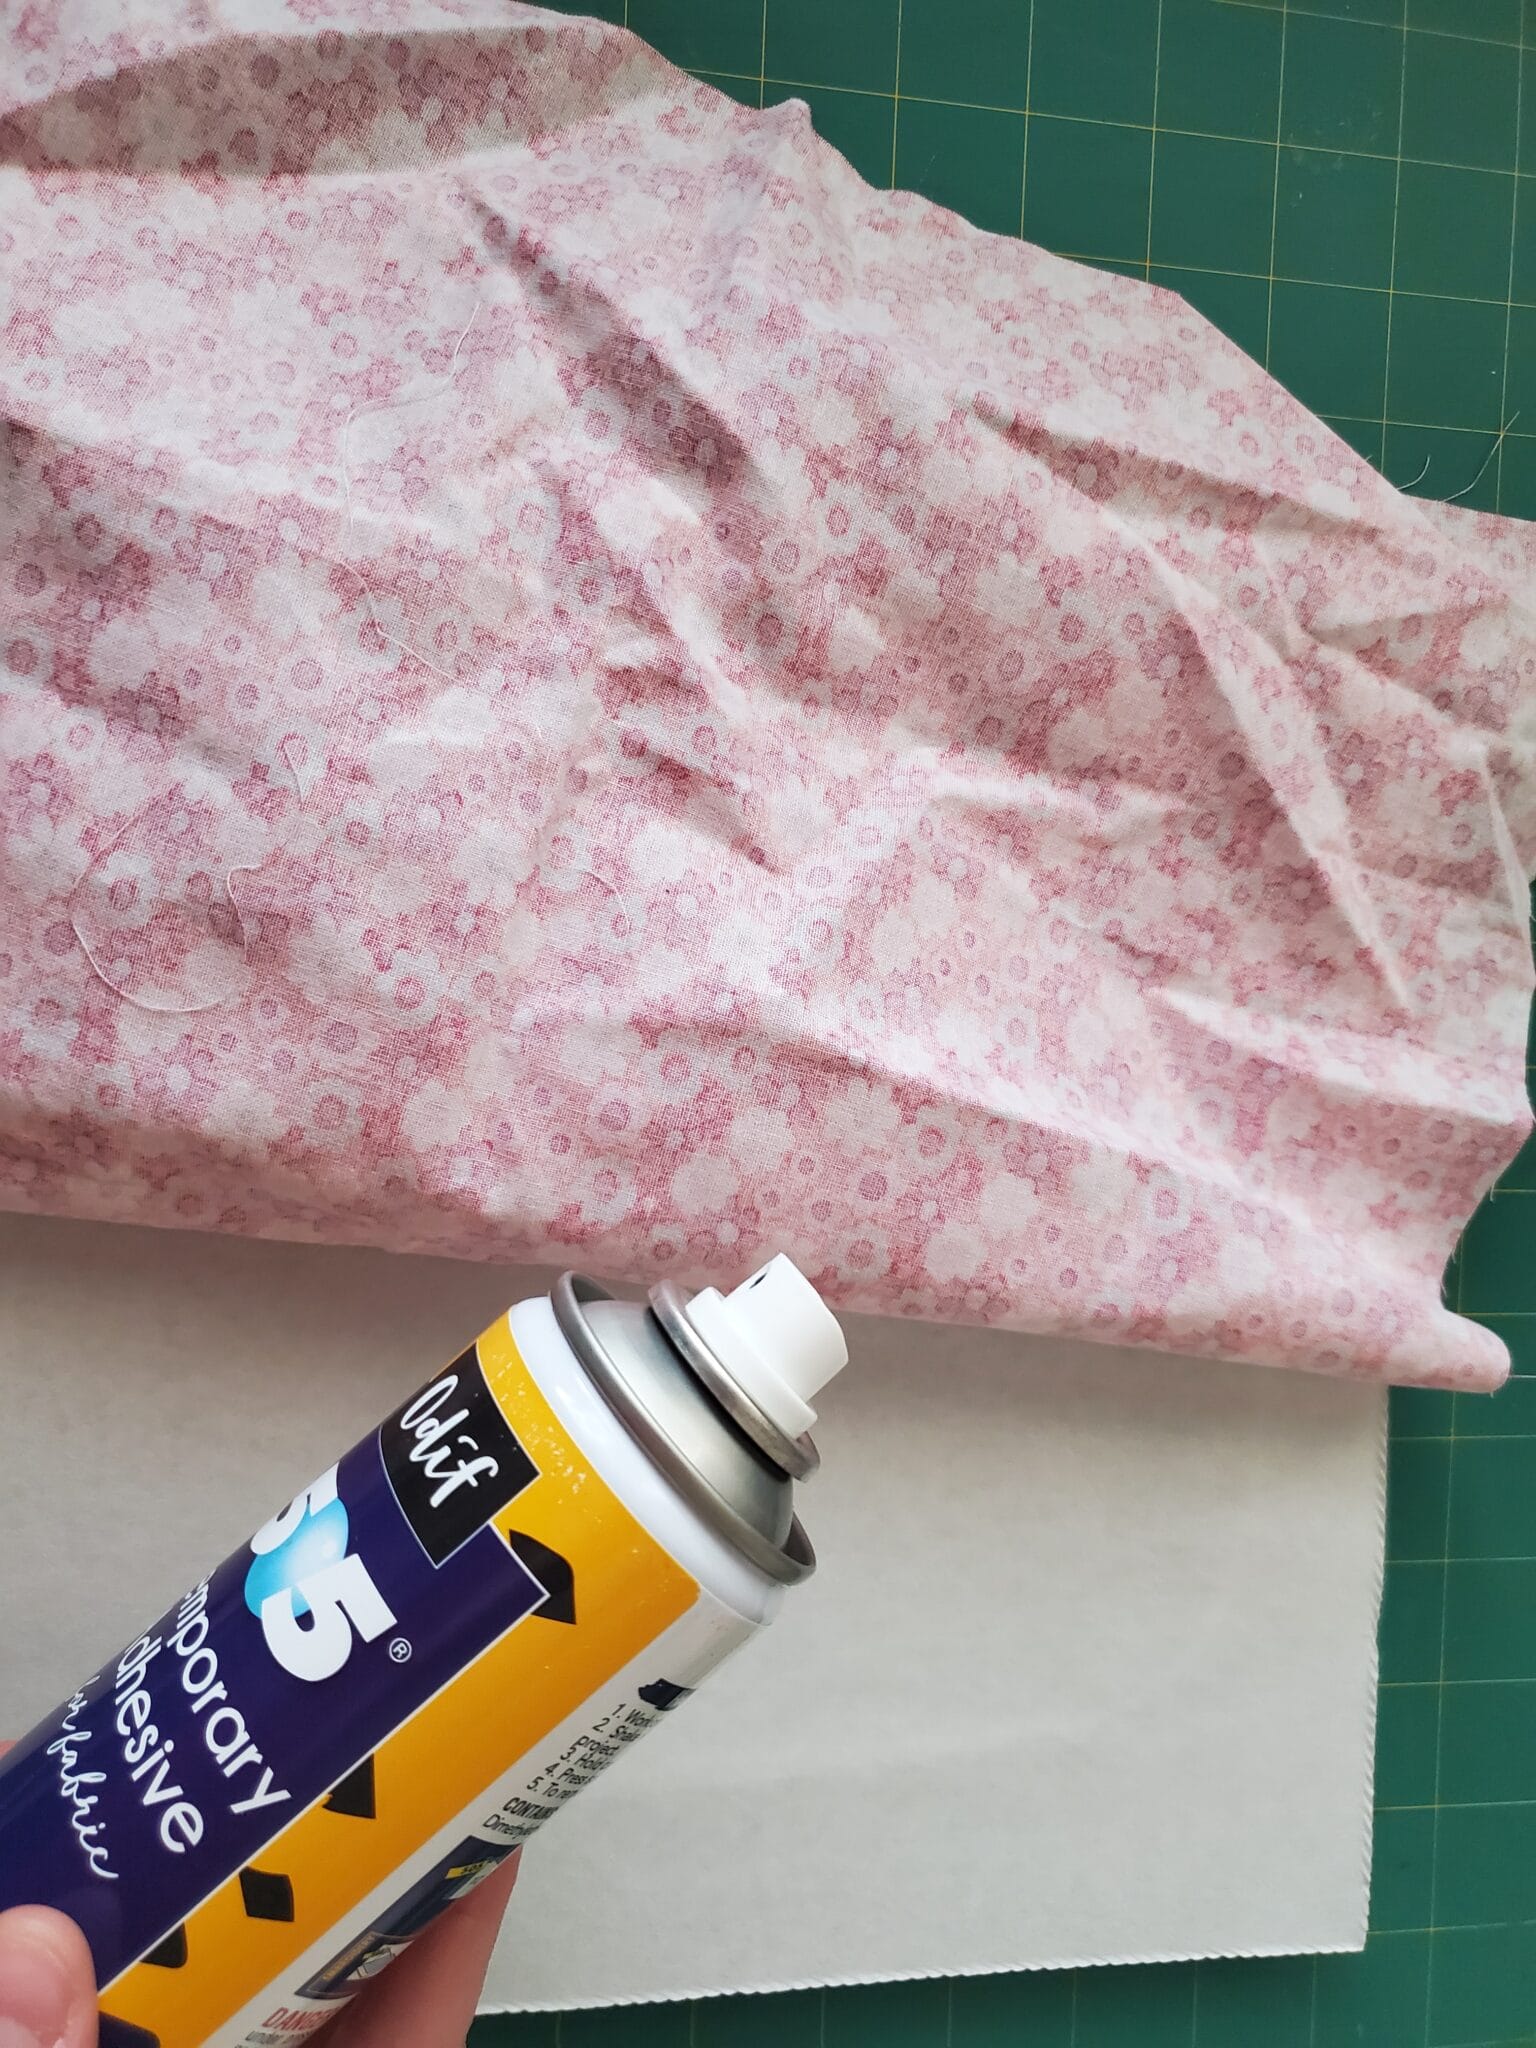
If you have difficulty with fabric and stabilizer sliding around, you can adhere your stabilizer to the fabric first. (Or iron on any fusible stabilizer you use prior to hooping.)
To do this, spray a thin layer of temporary adhesive spray (like Odif 505) to stick the stabilizer and fabric together. Make sure to spray in a well-ventilated area and protect your work surface from side spray.
If using water-soluble topping, you can float this on top later if you prefer not to try and hoop it at the same time as the blank and stabilizer.
Step 4:
Next, gently place the inner hoop on top of the fabric and stabilizer, covering the bottom hoop.
Align the marked center of the fabric with the center of the inner hoop. (If you need help with centering, you can place your plastic templates on top of the fabric at this point.)
Step 5:
If you’re a beginner embroiderer, it’s worth doing a practice hooping for each project to get the perfect tension before doing a final hooping.
Because adjusting the tension screw on hooped fabric can cause uneven tension across the hoop, plan to adjust the tension on a “practice run” instead of on the final hooping.
To do the practice hooping, keep the fabric centered and gently press the inner hoop frame into the larger hoop frame using a continuous motion from one side to the other.
I like to first press from the side closest to me with my left hand while gently holding the other side with my right hand. Then, I’ll reverse directions to ensure the frames are perfectly aligned. I also find it easiest to make sure that I’ve oriented myself so the tension screw is farthest from me.
Then, adjust the tension using the screw to make the fabric taut but not stretched, and carefully remove the inner hoop to achieve your ideal tension.
Step 6:
Repeat the above hooping process once more for your final hooping.
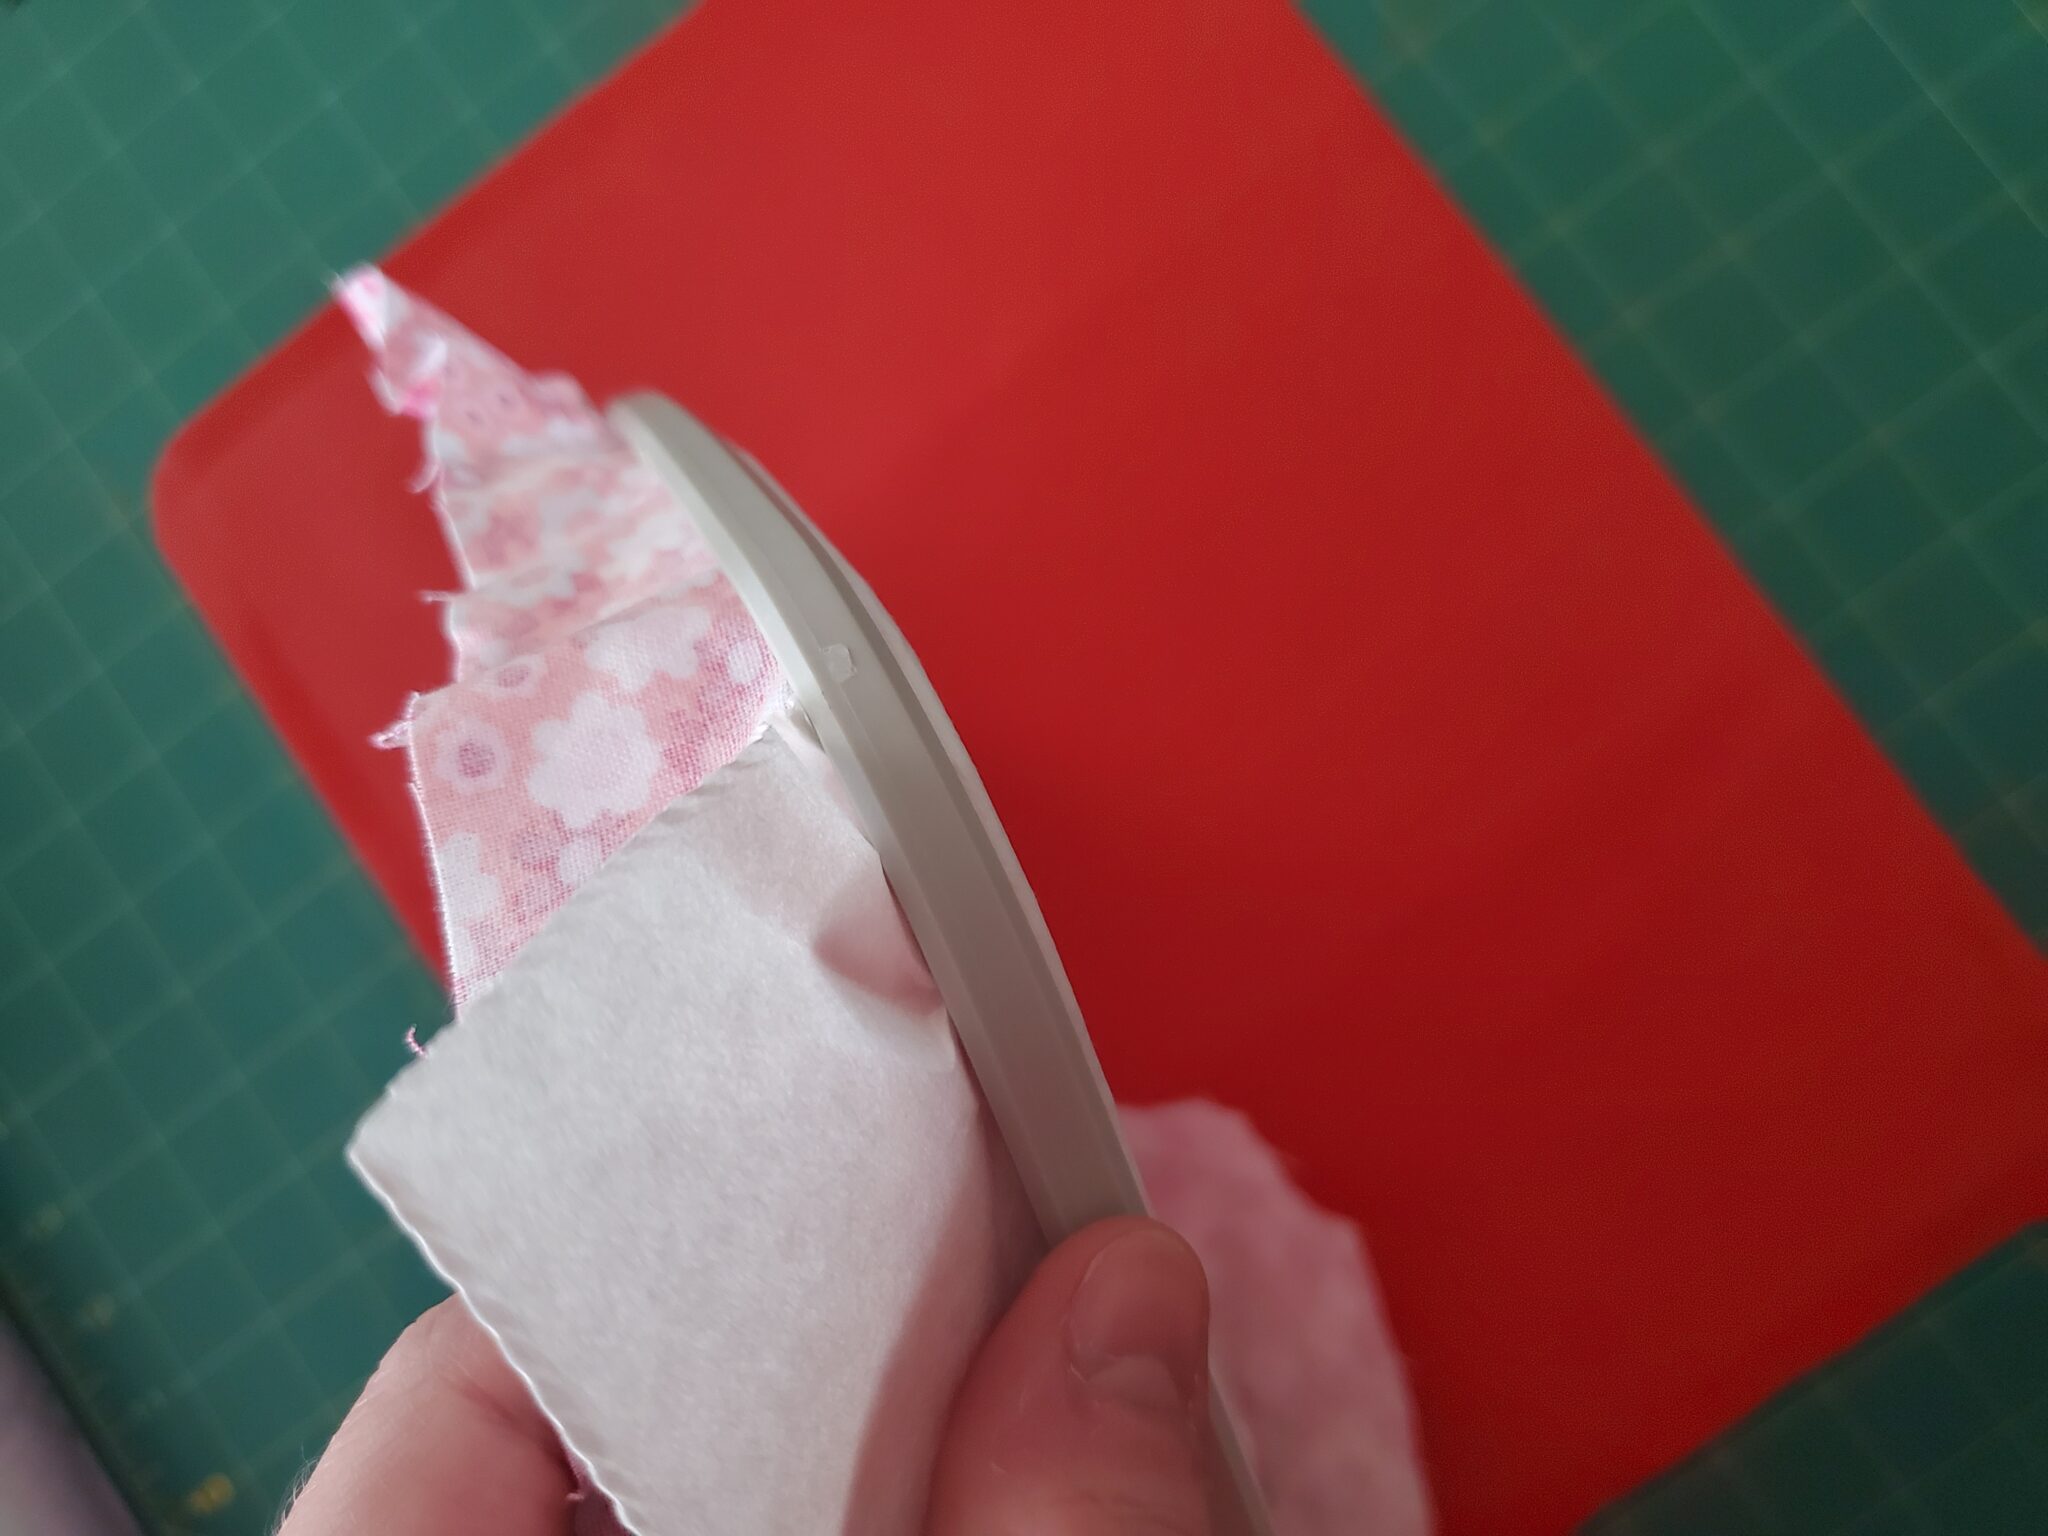
Try not to adjust the tension screw unless absolutely necessary this time. And while you can remove excess fabric with gentle tugs outside the corners of the hoop, it’s best to keep this at a minimum. If you pull too hard, you can stretch the fabric, causing distortion, especially if you’re using thin or knit, stretchy fabric. You are better off trying a final hooping one more time rather than making big adjustments.
Once satisfied, push the inner hoop slightly below the outer hoop to increase the tension just enough to flatten any small fabric ripples.
Step 7:
Before you run to put your hoop into your embroidery machine, check to make sure the fabric is aligned and oriented in the correct direction. If not, make sure to change your design direction or location using your machine’s interface.
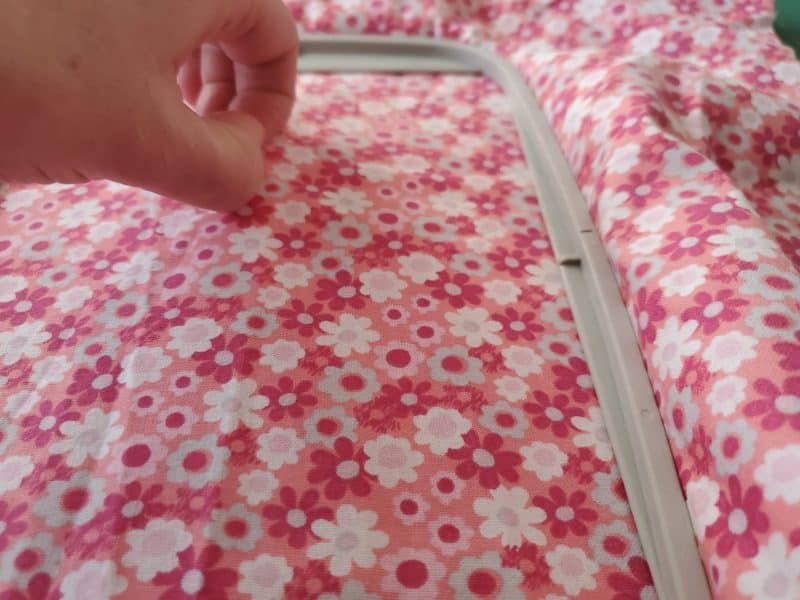
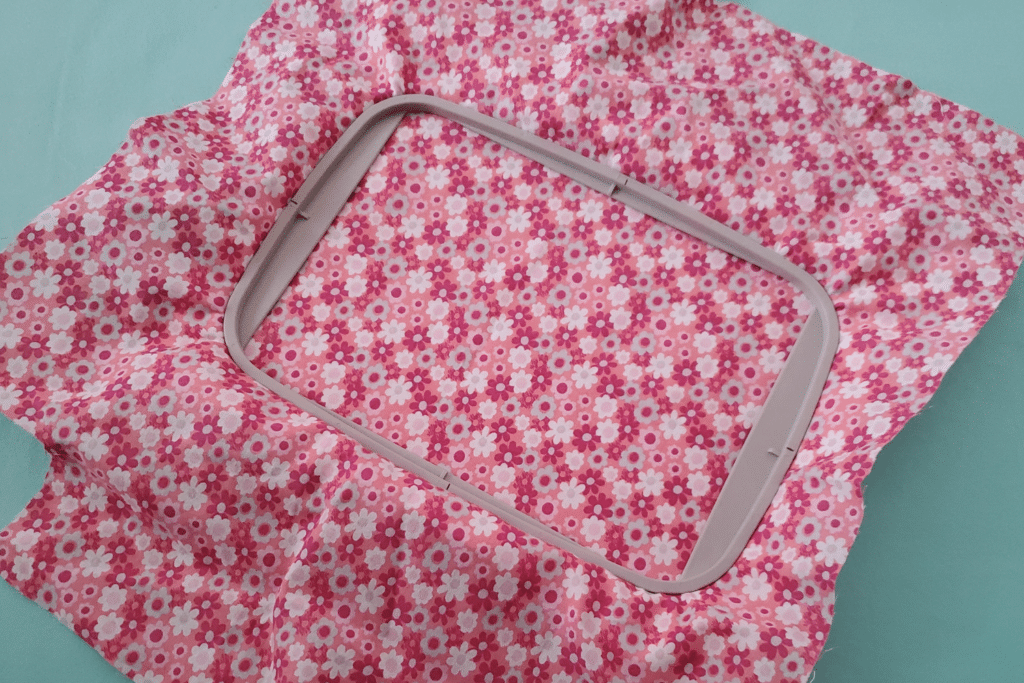
Next, try to lift the fabric from the stabilizer; if you can pull up the fabric, as shown above, rehoop. You want the fabric to be taught BUT NOT STRETCHED and with no puckering.
Lastly, turn your hoop over and check that the stabilizer is flat and smooth. And, make sure the inner hoop is even all the way around the outer hoop.
An Alternative Hooping Method
If you have difficulties laying your stabilizer and fabric over your bottom hoop and then inserting the inner hoop, give this second hooping method a try.
First, set your bottom hoop on the table as before. Then, lay your stabilizer and fabric on the table next to the hoop.
Place the inner hoop on top of the fabric, and line things up. Pick up the three (or more) layers together with both hands and then insert them smoothly and carefully into the bottom hoop. Continue on as above with the test run and then final hooping.
Moving Fabric Out of the Way Before Embroidering
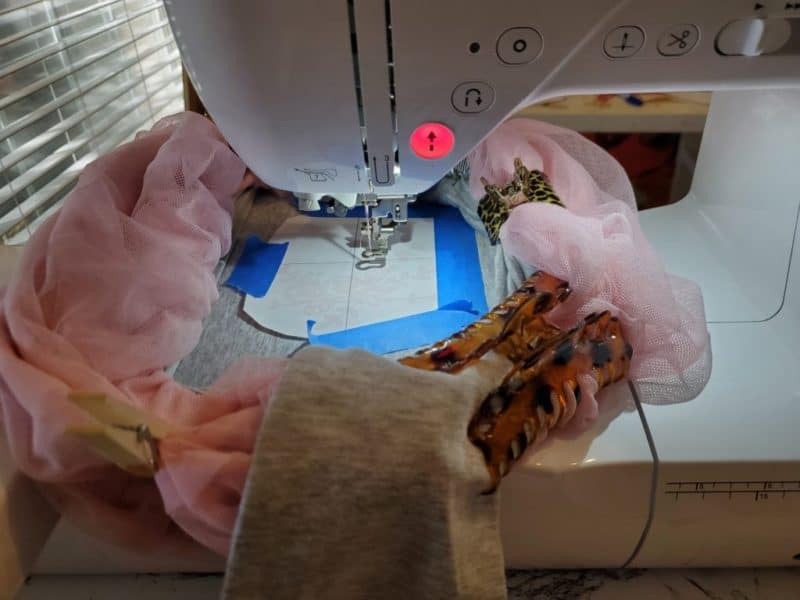
Since you don’t want to accidentally stitch the front and back pieces of shirts and other two-layered items together, remember to always move the bottom extra material out of the way of the hoop.
If you have thick fabric, you need to place your hoop in the machine first and then start moving your fabric out of the way. If you gather it beforehand, you may end up with mounds too large to fit underneath the embroidery foot!
I like to use painter’s tape and hair clips to hold the fabric out of the way, but I also use pins, masking tape, binder clips, and even clothespins. It all depends on how much fabric there is and how difficult it is to manage! You’ll learn your preferences once you’ve embroidered your first several machine embroidery projects.
With a multi-needle embroidery machine, you do not need to worry about moving fabric out of the way because of its free arm.
How to Keep Fabric Tight in A Machine Embroidery Hoop
When I bought my Brother Luminaire, it came with a monstrous hoop, which was awesome for stitching large projects but really annoying because the hoop never kept stabilizer or fabric tight enough in it, causing design puckering and all sorts of other issues.
Then, one day, when I was stitching a large applique from Kreative Kiwi, I discovered they liked using T-pins to hold fabric and stabilizer tight. What a great idea!
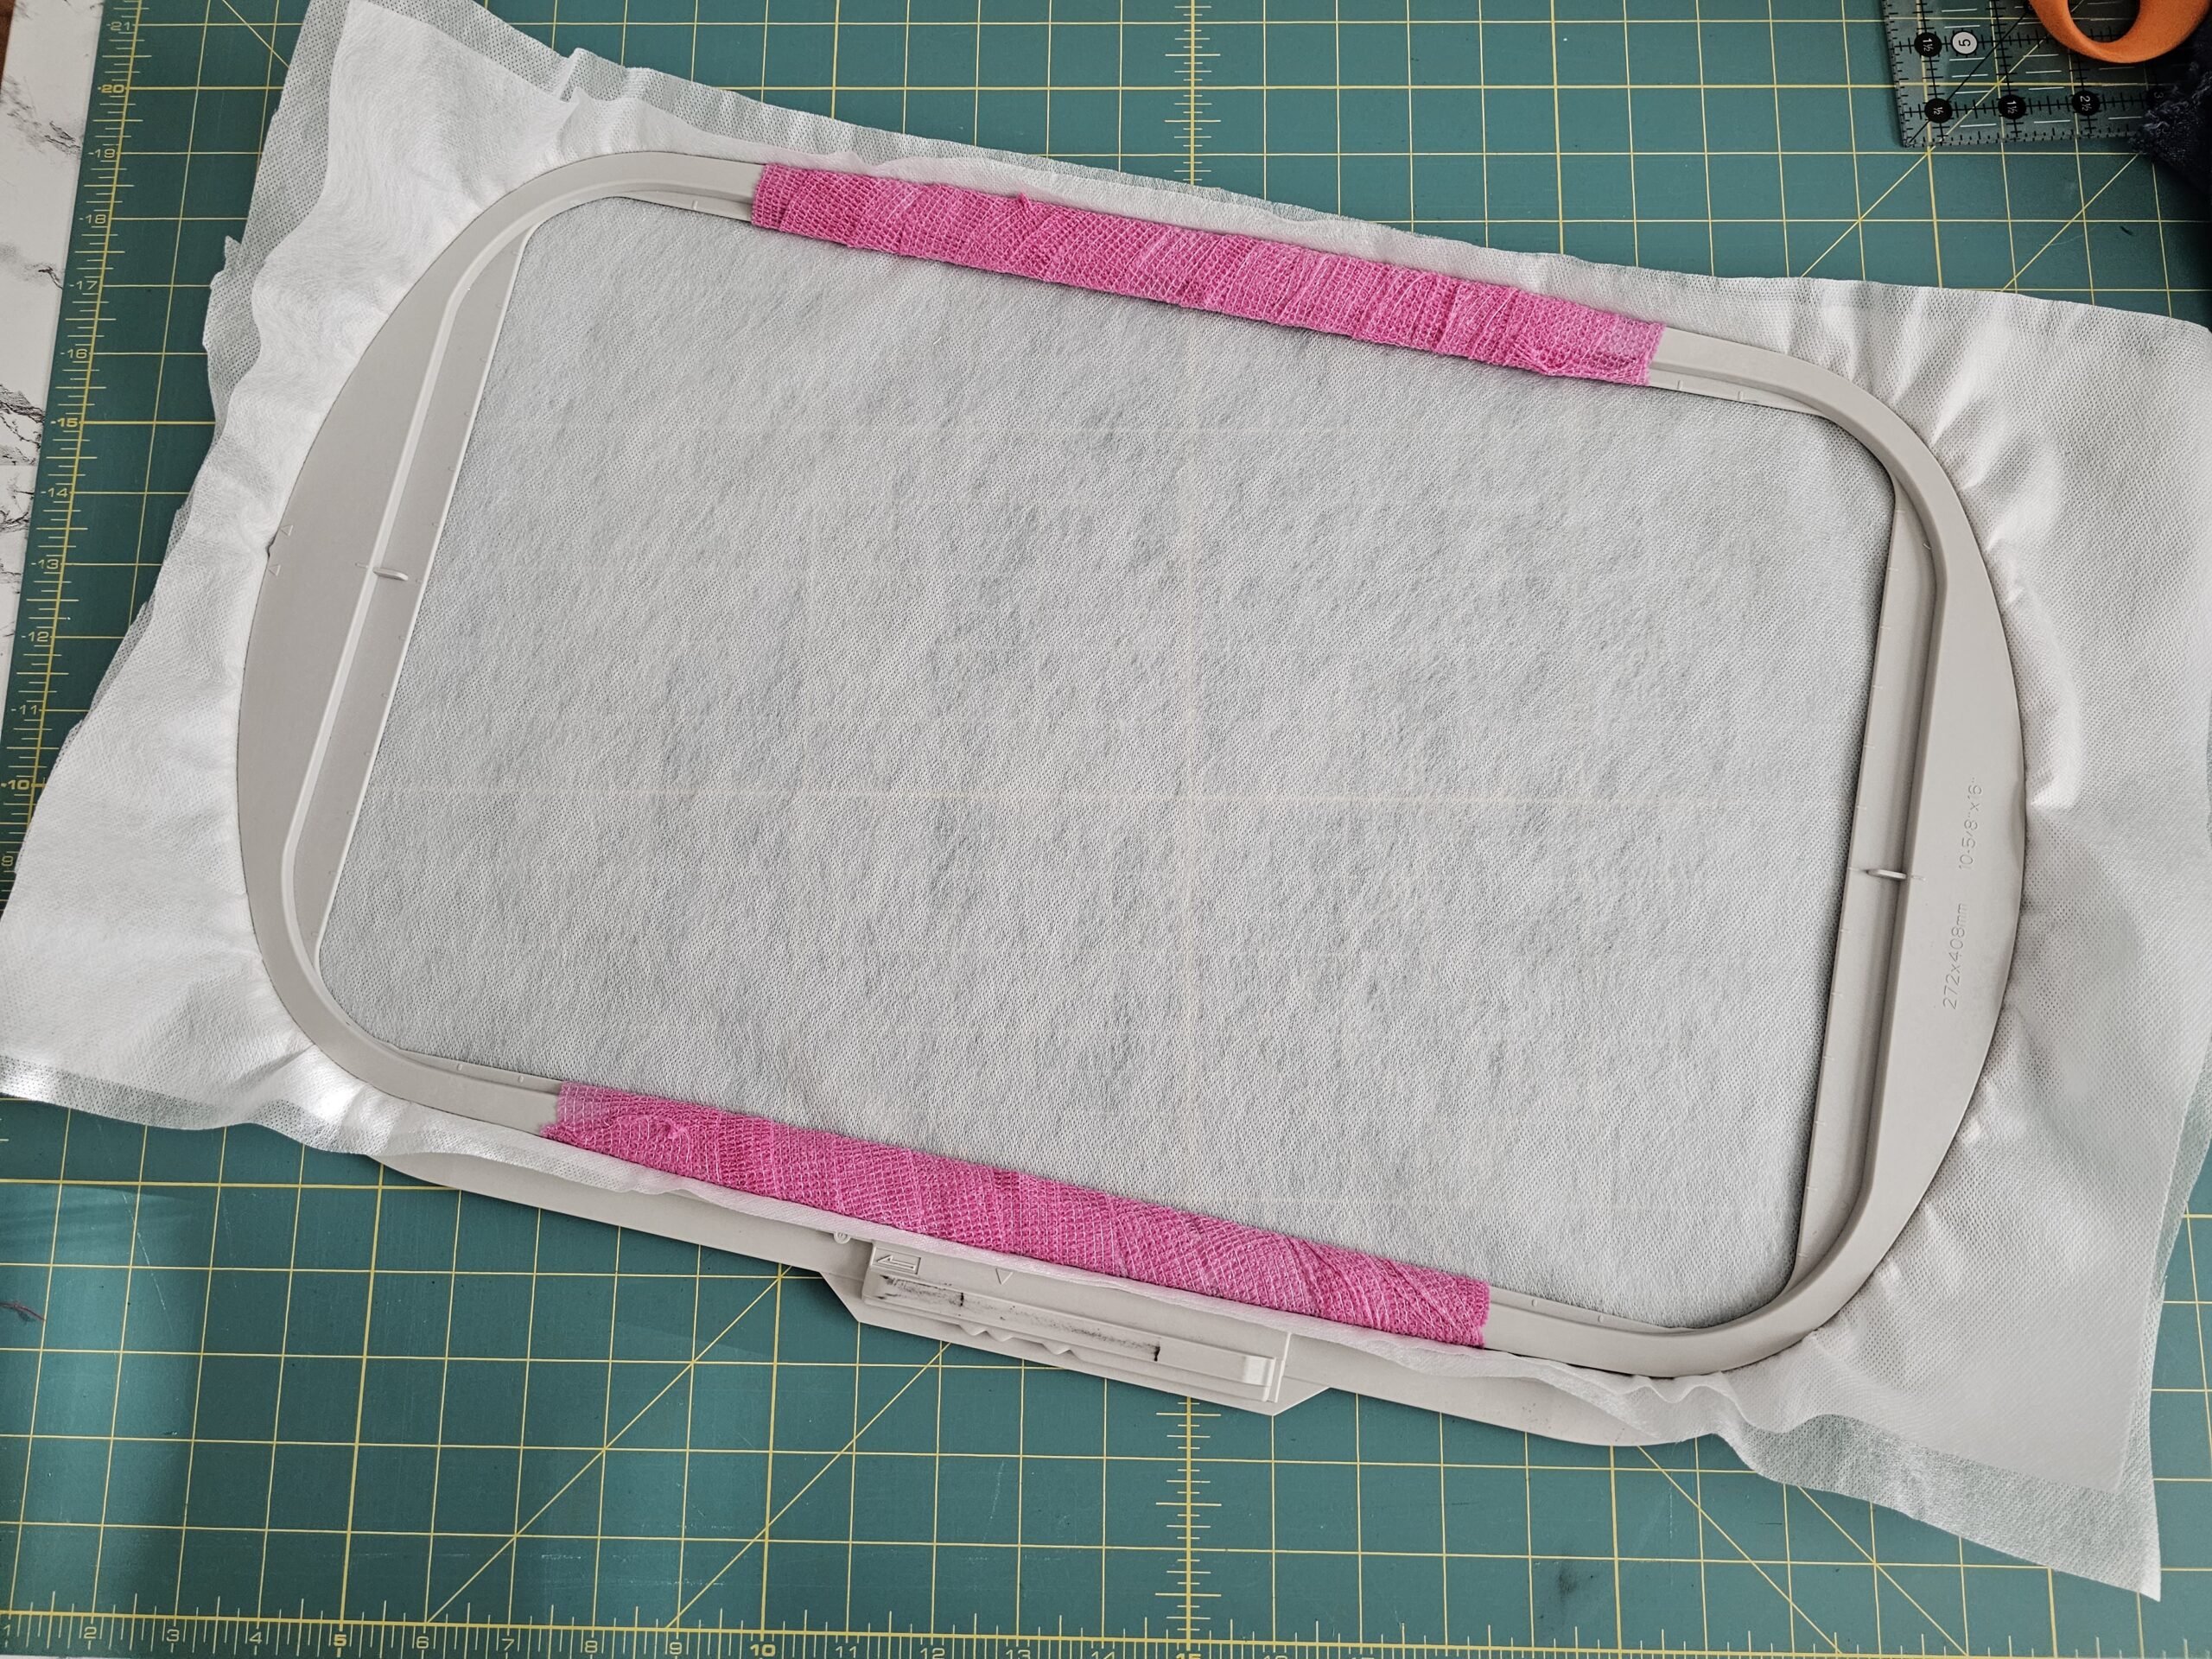
I highly recommend placing t-pins parallel around your hoop to keep the stabilizer from pulling inward as your machine stitches if you have a big hoop constantly allowing loose fabric and stabilizer to move.
Also, when possible, I like using my magnetic hoops. I have the DIME and Brother magnetic hoops. They’re perfect for quilting in the hoop and keeping fabric from slipping between the hoop, especially when using a big embroidery hoop!
Another option is to use self-adhesive bandage around the edges of your hoop if your outer frame has bowed out or your inner frame has bowed in to make things tighter. You have to be careful with this, though, as the inner frame could pop out during embroidery.
Removing Hoop Marks
After stitching, your fabric may have hoop burn, or marks left on the fabric by your hoop once you release the fabric. Remove this with a damp cloth, Magic Spray Sizing, or even by pressing. Laundering many items will also remove the marks.
Embroidery Hooping Stations and Aids
A hooping stand, or hooping station like the DIME Totally Tubular above, refers to an item that holds your outer embroidery hoop ring while you insert the inner ring over the fabric and stabilizer.
If you plan to start a home embroidery business, a hooping station saves time and is great if your hands get sore from continual hooping. Hooping stations also help line up designs more easily, especially on tubular pieces of fabric.
How to Float Fabric
Floating your fabric or embroidery blank is easier to set up.
However, my results are never as good when I float because the fabric moves around more. So, when possible, always try to hoop fabric and stabilizer together first. Some projects that are smaller than the hoop or are very bulky will always have to be floated, though.
When floating fabric, first hoop only your piece of stabilizer. Then, line up and adhere the fabric or blank to the stabilizer.
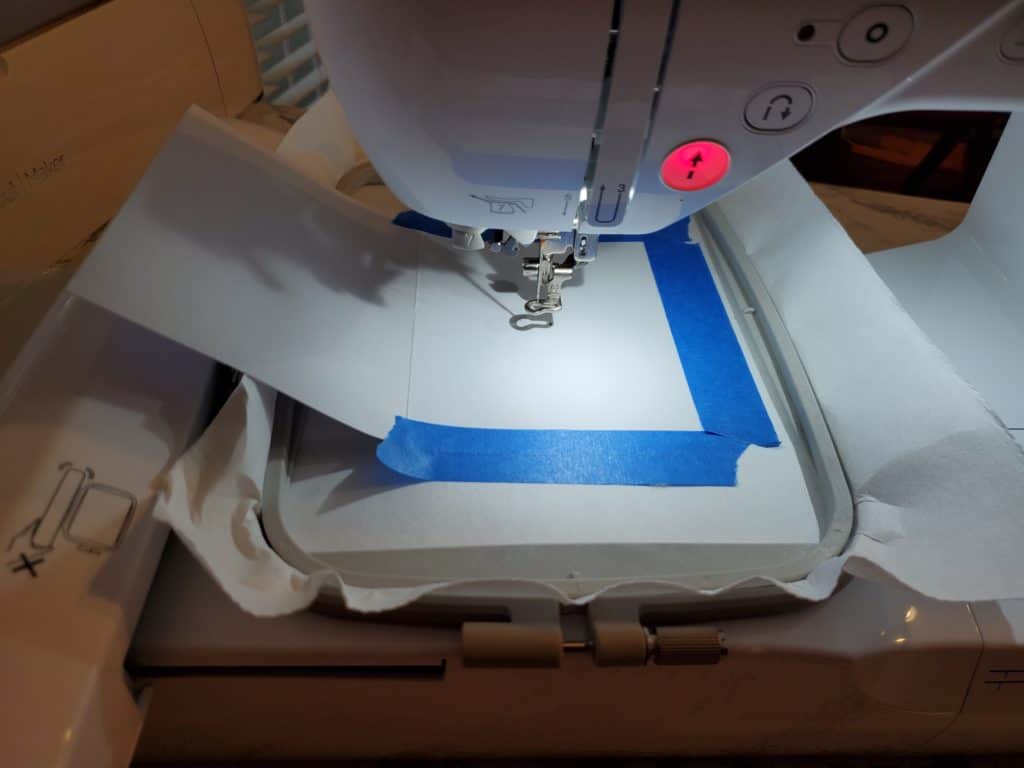
There are many ways to do this! You could use spray adhesive, pins, or stitch a basting box before starting. You could also use a sticky adhesive stabilizer, as I do in my baseball cap embroidery tutorial. Or even painter’s tape as I did in my cardstock embroidery tutorial.
One trick for lining things up, if using fabric, is to mark the center of your stabilizer with vertical and horizontal lines.
Then, fold the fabric in fourths (around the center of where your design will be stitched) and match the inner corner to the marked center of the stabilizer. Then, unfold, making sure the vertical and horizontal center lines of your fabric match with the lines on the stabilizer.
I hope this machine embroidery hooping tutorial has taught you everything you need to know about hooping fabric for machine embroidery.
However, if you found yourself on this post because you’re troubleshooting an embroidery problem and proper hooping doesn’t fix the issue, here are a few other things you may need to consider.
- Pick the correct embroidery stabilizer for your fabric and design.
- Make sure you’re using the right needle size and type.
- Evaluate if you have the right type of embroidery machine thread and the right settings. For instance, a metallic thread requires special settings.
some good information I am new to embroidery so all the information I can get thank you
Thanks!
I am new to machine embroidery. I really need good informations to do a great job.
Thank you, tons of information.