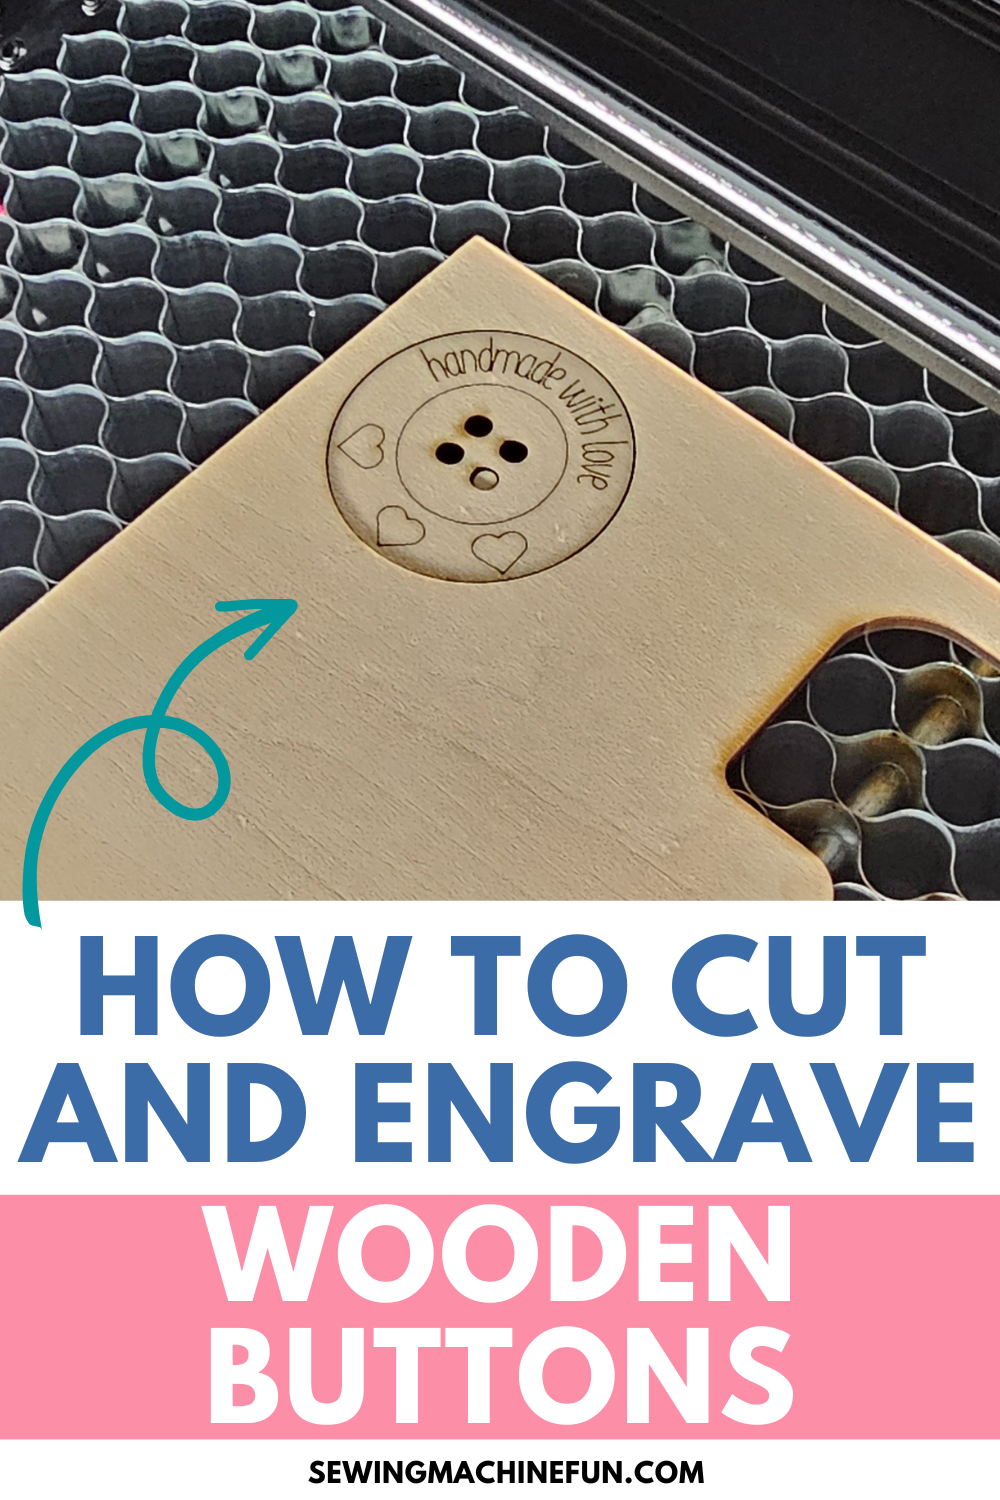
How to Laser Engrave and Cut Wood Buttons for Sewing
This post may contain affiliate links, which means I’ll receive a commission if you purchase through my links, at no extra cost to you. I sometimes receive free products for review. Please read disclosure for more information.
I’m a sucker for really cool buttons, especially since my kids love having funky options to choose from for their clothes.
Thus, when the idea to use my XTool laser cutter to cut and then engrave wood buttons arose, I jumped on it! I love how I can use it to cut whatever button size or buttonhole orientation I want, and I can engrave them just so!
Since buttons are so small, cutting and even engraving don’t take too long, and I can have an entire outfit’s worth made in half an hour.
Here’s how to engrave wood sewing buttons! You can also download my free XCS file for the ones I crafted for this tutorial.
Engraving Store-Bought Buttons is Difficult
I first tried purchasing pre-made wood buttons from Walmart and Hobby Lobby to just engrave on.

Unfortunately, while the packages listed wood as the only component, the buttons had some sort of coating, which made it impossible to get a clean, dark, deep engraving.
So, keep that in mind if you purchase buttons. This is also why I made my own DIY buttons out of wood and added the desired engraving. I mean, cutting’s a fast process–it’s the engraving that’s slow.
Creating a Design File (& Download Mine)
For shape designs, I prefer to design SVG files in Inkscape (it’s free!) and then upload them to my laser software. I like the fonts available in Canva Pro, though, so I usually work with fonts there and then convert the downloaded PNG file to SVG with Inkscape.
Since I have an XTool S1, I’ll then upload the SVG file to XTool Creative Space to use with my cutter.
If you also have an XTool, download my free engraved button XCS file here. Unzip it before uploading, and if you decide to resize, make sure the interior holes are not resized to be too small for your sewing machine needle.
Supplies For This Tutorial
- Laser cutter: XTool S1 20W or your preferred laser cutter
- Wood: 3mm basswood plywood, but you can switch to a different type or thickness
- Design file
- Minwax polyurethane coating (or just something to seal the wood)
- Optional: Air Assist, honeycomb panel, and masking tape to decrease charring
How to Laser Cut and Engrave Wood Buttons
As I mentioned earlier, I used my XTool S1 20W diode laser and its associated software, XTool Creative Space. However, if you own a different laser cutter, the general steps in this tutorial will still provide an overview of the process.
Step 1: Load and Prepare the File
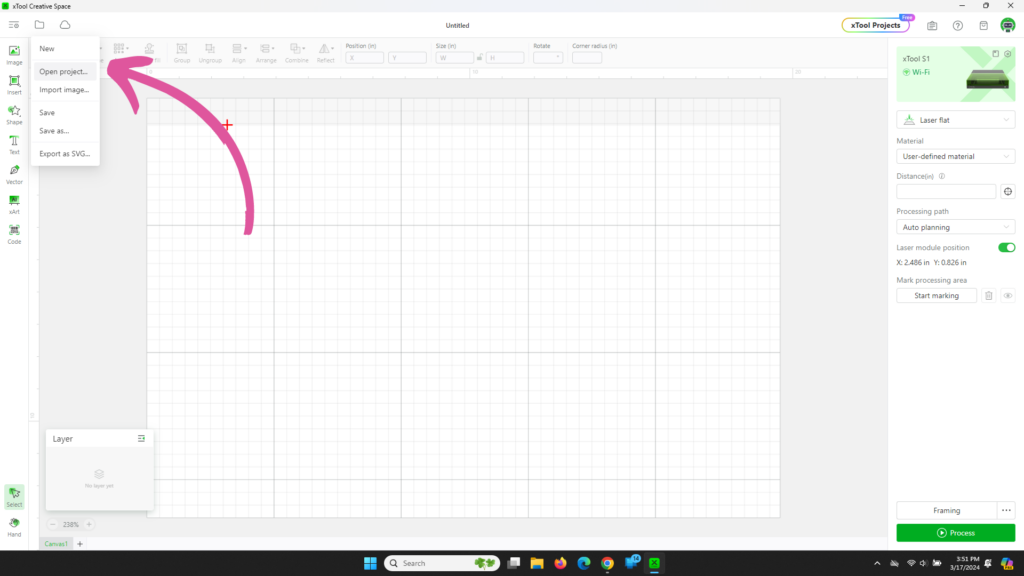
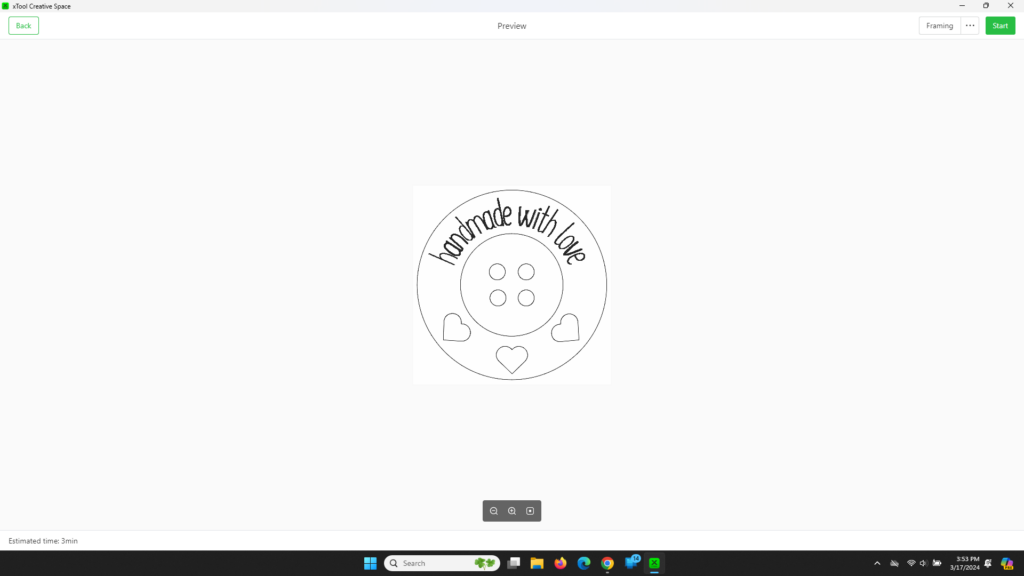
Upload your unzipped project file to XTool Creative Space by clicking “Open Project.”
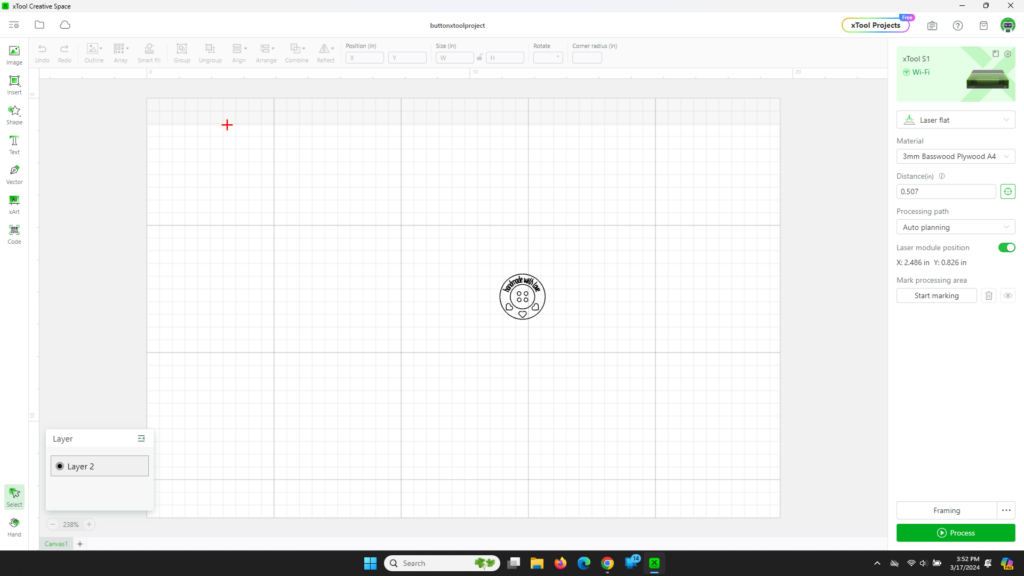
Then, set your material to 3mm basswood plywood (if that’s what you’re using), or select User-Defined Material and estimate the settings for your wood. The settings for plywood using my 20W laser were:
- Cutting: 100% power, 10 mm/s speed, and 1 pass
- Engraving: 65% power, 200 mm/s speed, 1 pass, 100 lines per cm
- Scoring: 60% power, 150 mm/s speed, 1 pass
Make sure that the outer edge of the button and the buttonholes are set to cut, the inner circle of the button and the hearts set to score, and the text set to engrave.
Step 2: Load the Wood and Set Distance
Now, if you don’t want to worry about light charring and burning on the wood, you can mask the wood with masking tape paper. I tried both ways and didn’t notice much difference in end quality on such a small scale.
If you decide to mask, you may need to change your laser settings to a higher power or lower speed to compensate for that extra top layer when engraving and scoring.
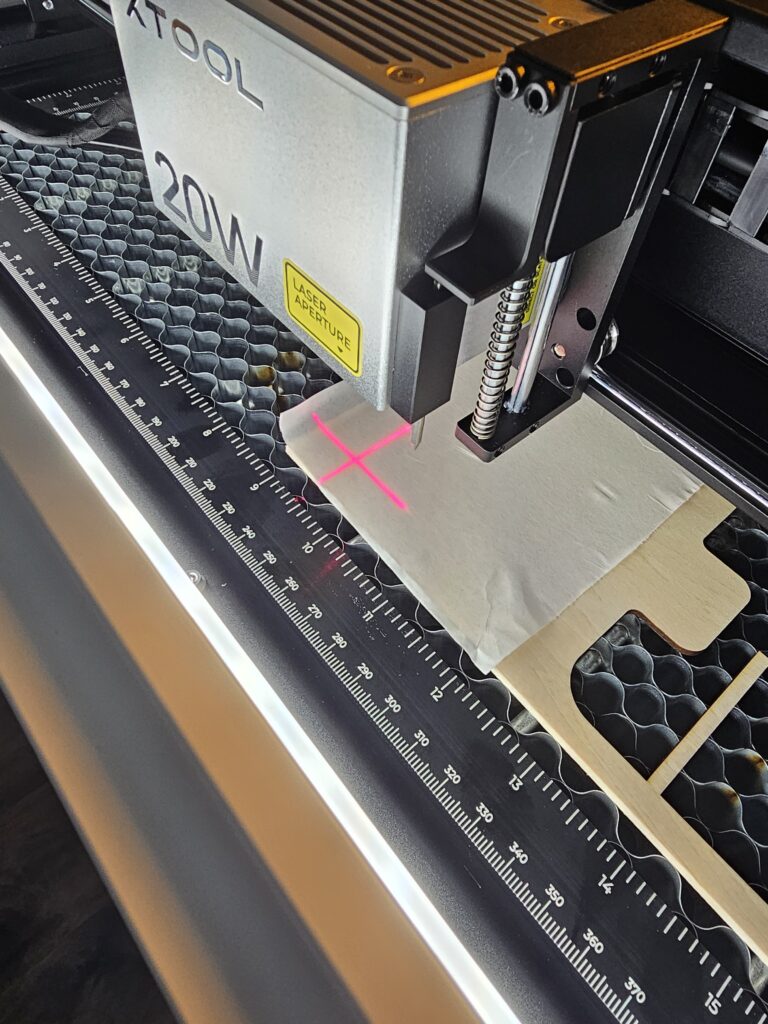
Next, load your wood into the XTool bed on the honeycomb panel. Move the laser over the wood, and set the distance.
Step 3: Mark and Arrange Design
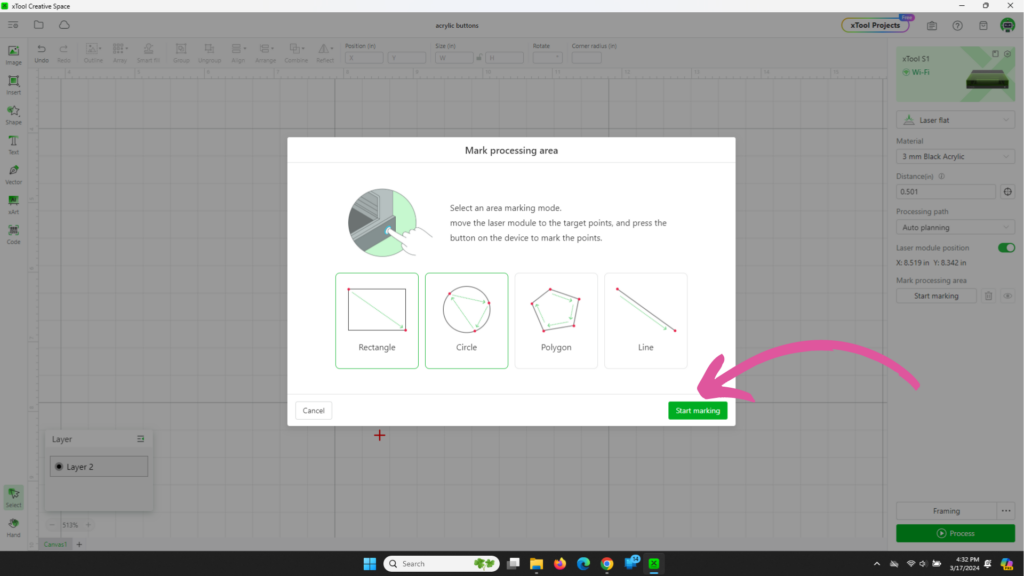
After you’ve set the distance, click to mark where the wood is positioned. I chose a rectangle for marking my wood.
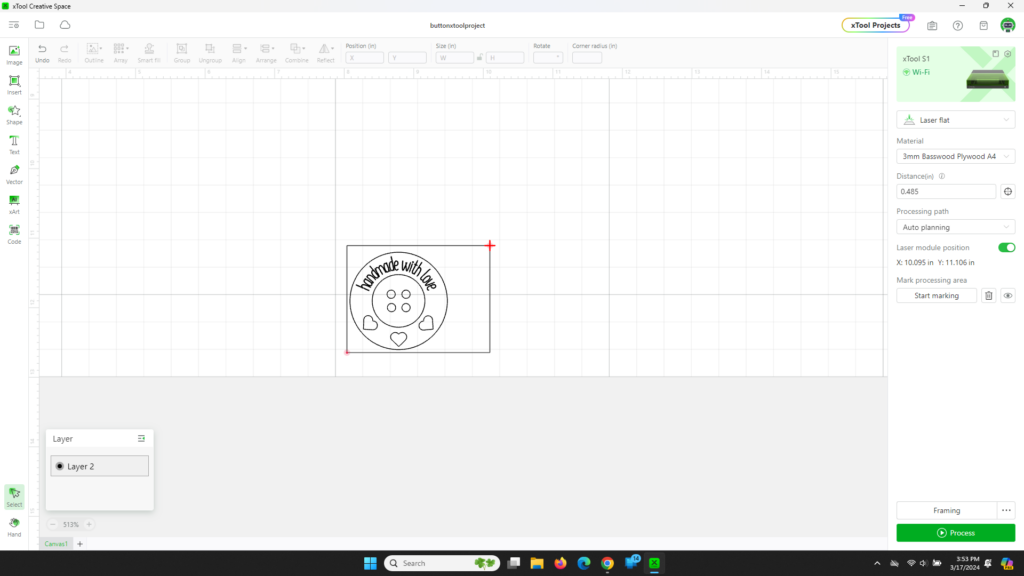
Next, position your buttons in the marked area on your workspace.
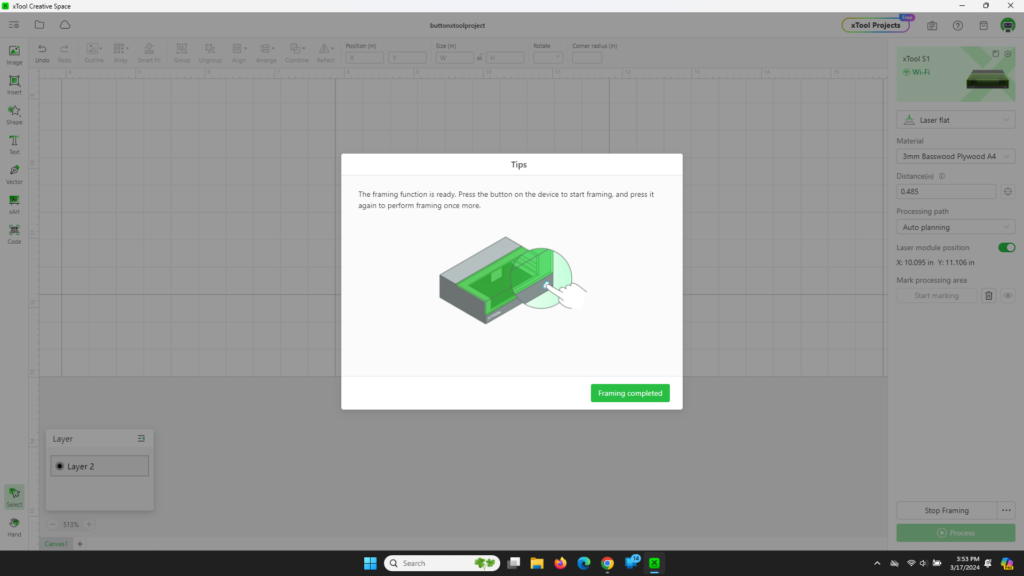
Before starting the laser, click “Framing” to double-check that the cuts will be in the correct location.
I also set up my Air Assist to Auto. If yours doesn’t have Auto, use it on Max power when cutting and Min power when engraving and scoring.
Step 4: Start Cutting and Engraving
Click to process and start the cutting.
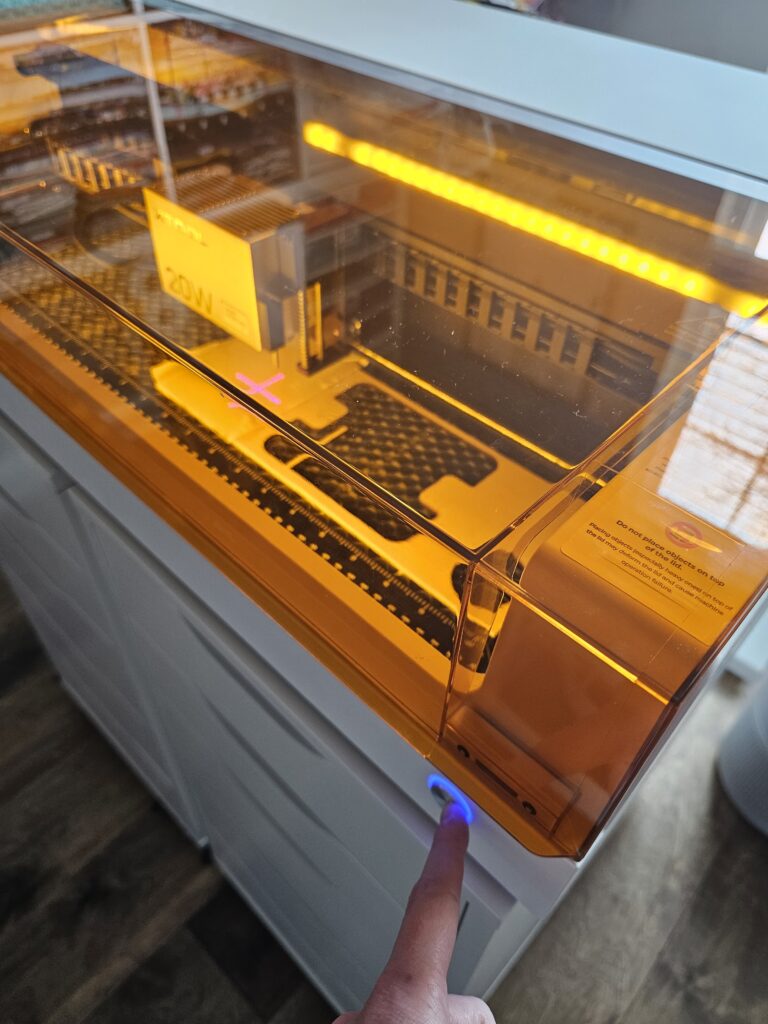
Follow all safety precautions!

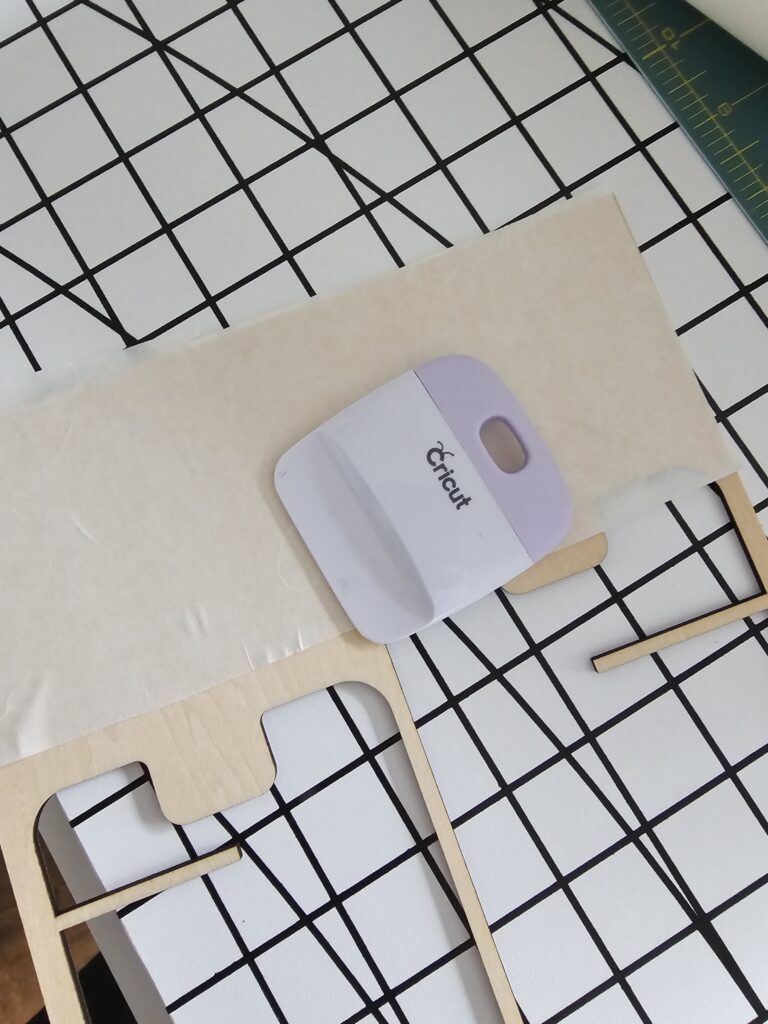
When the buttons are done, remove the wood from the XTool bed. Then, remove the masking from the front of the wood. It should peel right off.
I also added three light layers of polyurethane spray to the buttons to give them a slight satin finish. I like the way this looks better than the natural wood.
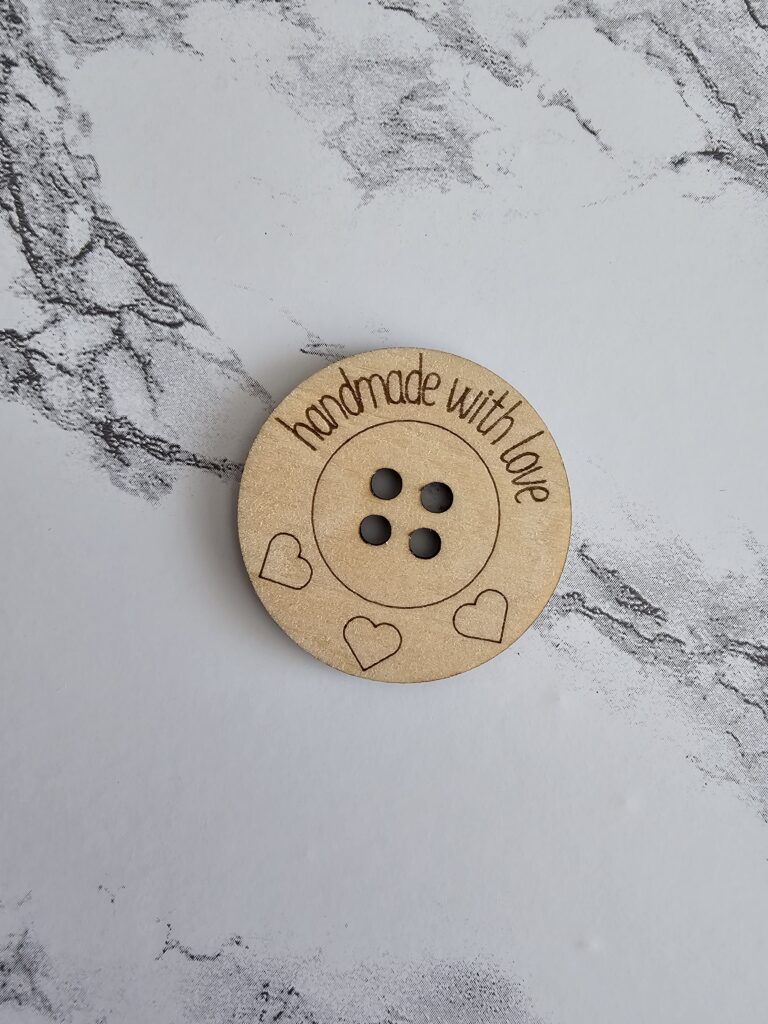
I’m so excited with how my laser-cut wood buttons turned out!
Lastly, if you’re interested in using your laser cutter for other sewing and quilting tasks, check out these laser-based project ideas: