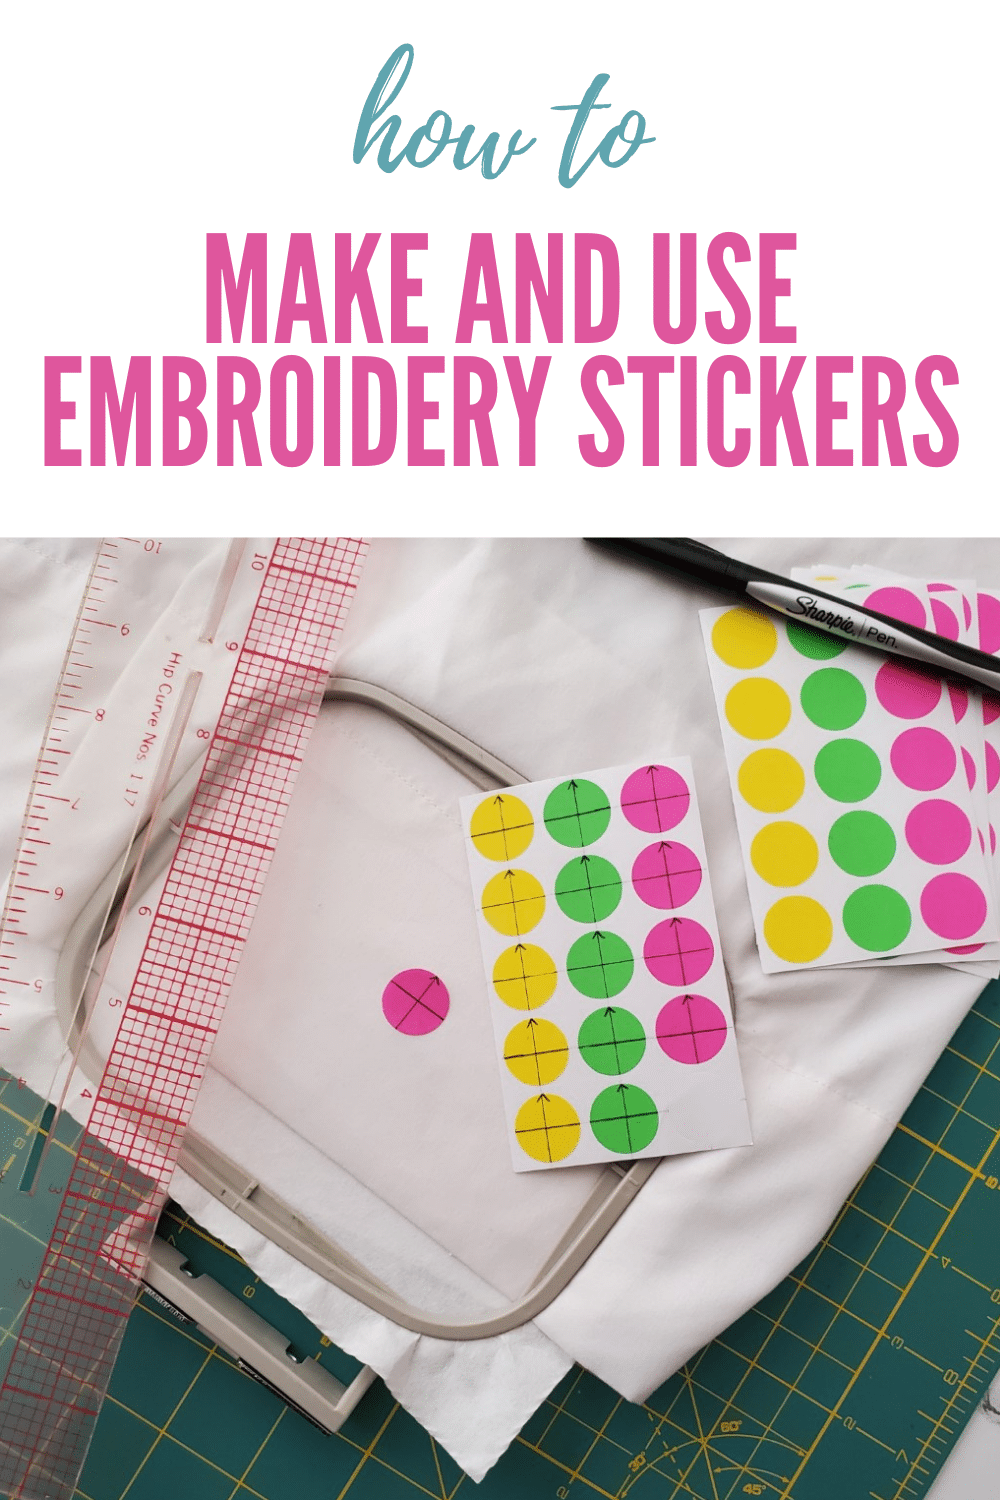
How to Use Embroidery Target Stickers for Placement
This post may contain affiliate links, which means I’ll receive a commission if you purchase through my links, at no extra cost to you. I sometimes receive free products for review. Please read disclosure for more information.
Let’s talk about how to use embroidery target stickers to line up embroidery designs. I first saw the idea of using a placement sticker in a machine embroidery book and was intrigued.
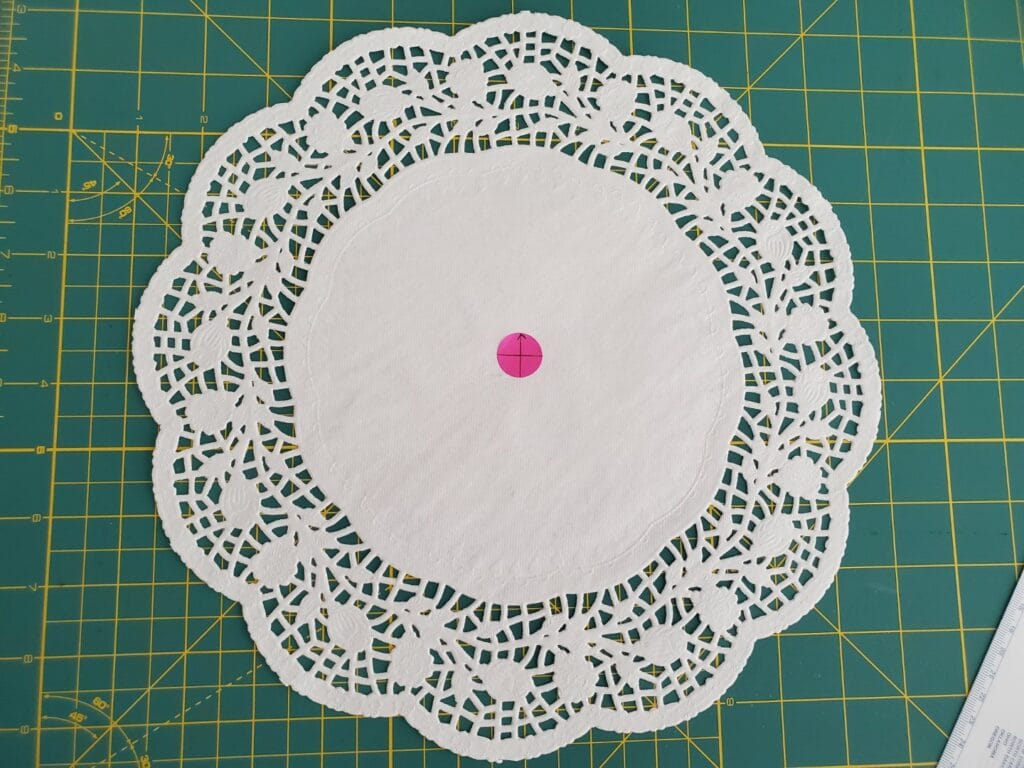
I had always marked my embroidery fabrics with a water-soluble marker or chalk wheel and didn’t have too many problems. However, one day I wanted to embroider on a paper doily and didn’t want to mark it for fear of ruining the delicate paper.
So, I decided it was time to learn to use target stickers! DIME sells premade target stickers, but I didn’t have any so made my own in a pinch. Turns out, stickers are a GREAT way to mark embroidered items.
Read on to learn more!
When to Use Embroidery Placement Stickers
I like using placement stickers when my design doesn’t need to be perfectly oriented. If I need perfection, I prefer to have long lines that ensure I don’t accidentally rotate the fabric when hooping.
If there’s some flexibility in orientation or the design can be rotated, embroidery stickers are great for so many fabrics!
This quick and easy marking method is especially great for fabrics that might be damaged with more traditional methods of marking. That and fabrics that are generally difficult to mark. For example, paper doilies, cardstock cards, yoga mats, and burlap.
I’ve also seen embroidery enthusiasts use these target stickers when embroidering t-shirts and other flat fabrics.
They don’t stick as accurately to towels or other items with fluff, though. That extra nap keeps the sticker from a stable adherence and can decrease hooping accuracy if the stickers twist at all.
And the best part: if you are using the stickers on fabrics without much lint, they are reusable!
How to Use Embroidery Target Stickers
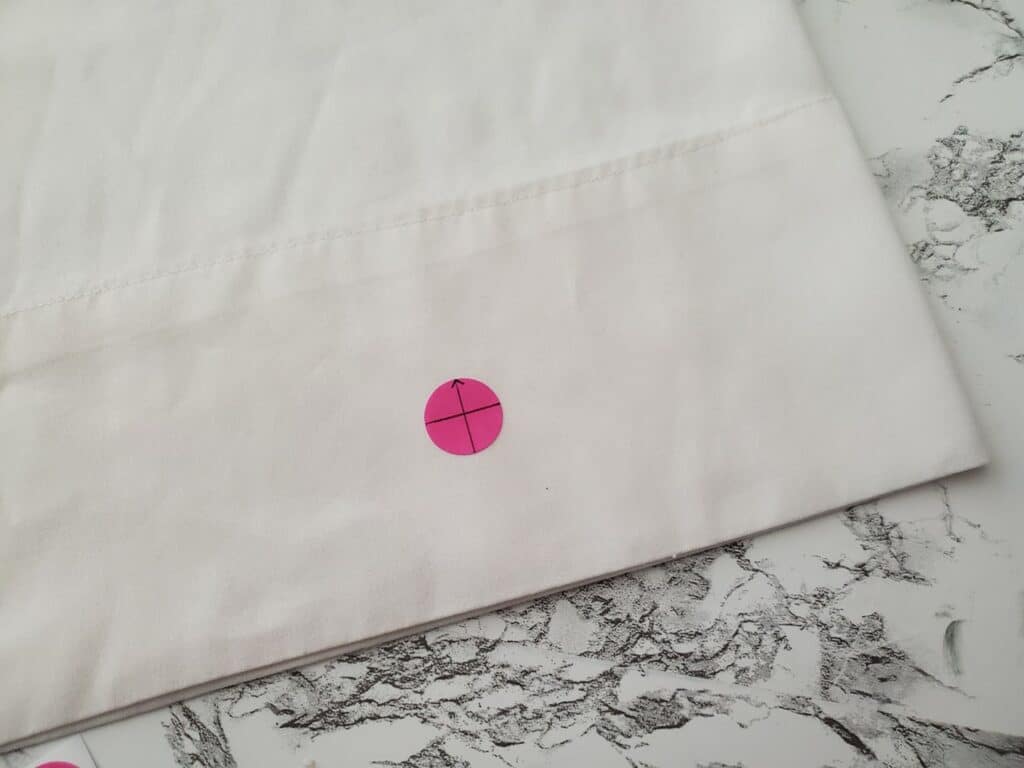
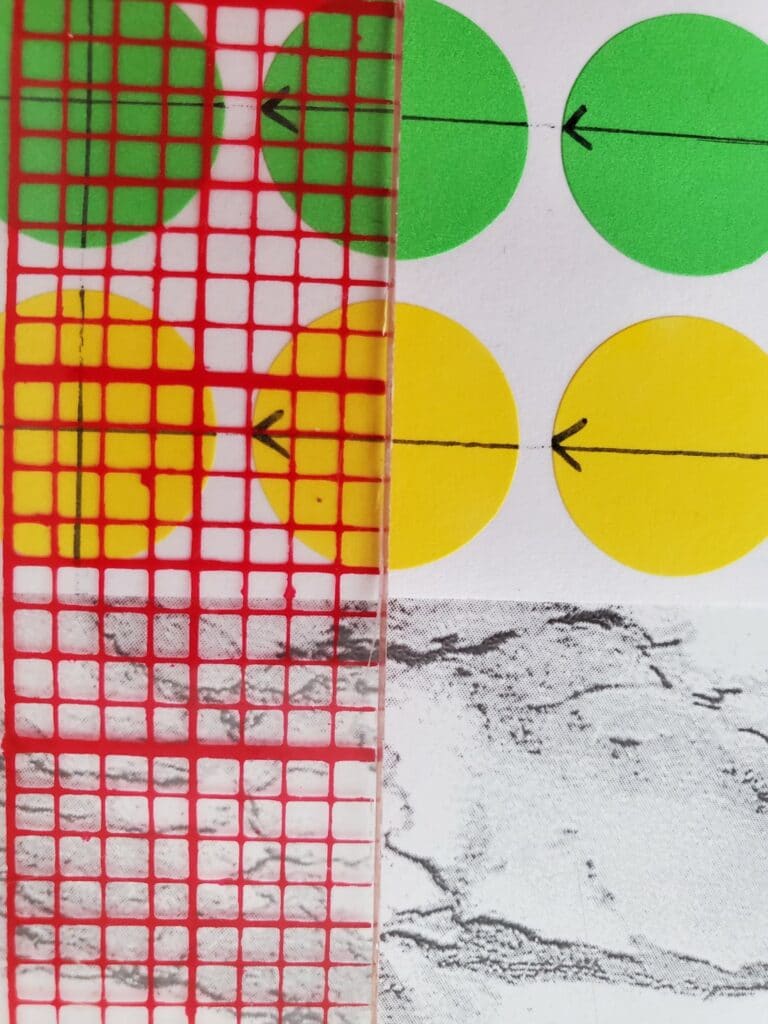
Embroidery stickers have two perpendicular lines with an arrow on the top line. This arrow helps you remember which side of the hooped blank is up so you can align your design correctly. (I’m awful at embroidering beanies upside down if I don’t mark carefully!)
If you know where you want the center of a design to be, all you need to do is place an embroidery target sticker there.
Once you’ve placed the sticker, hoop your fabric as usual, aligning the center of the hoop with the center of the sticker.
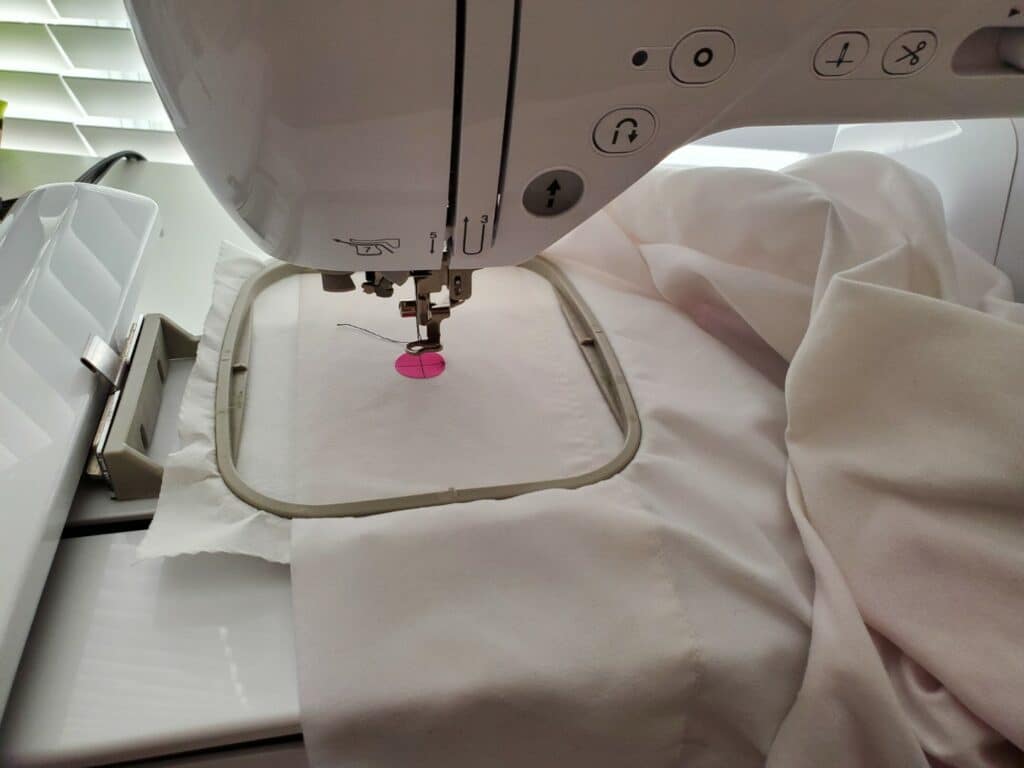
Then, place your hoop in your machine and align the needle with the center of the target. In most machines, you can make this alignment happen with the machine’s touchscreen interface.
Then, remove the target sticker and start embroidering!
Supplies to Make Stickers in a Pinch
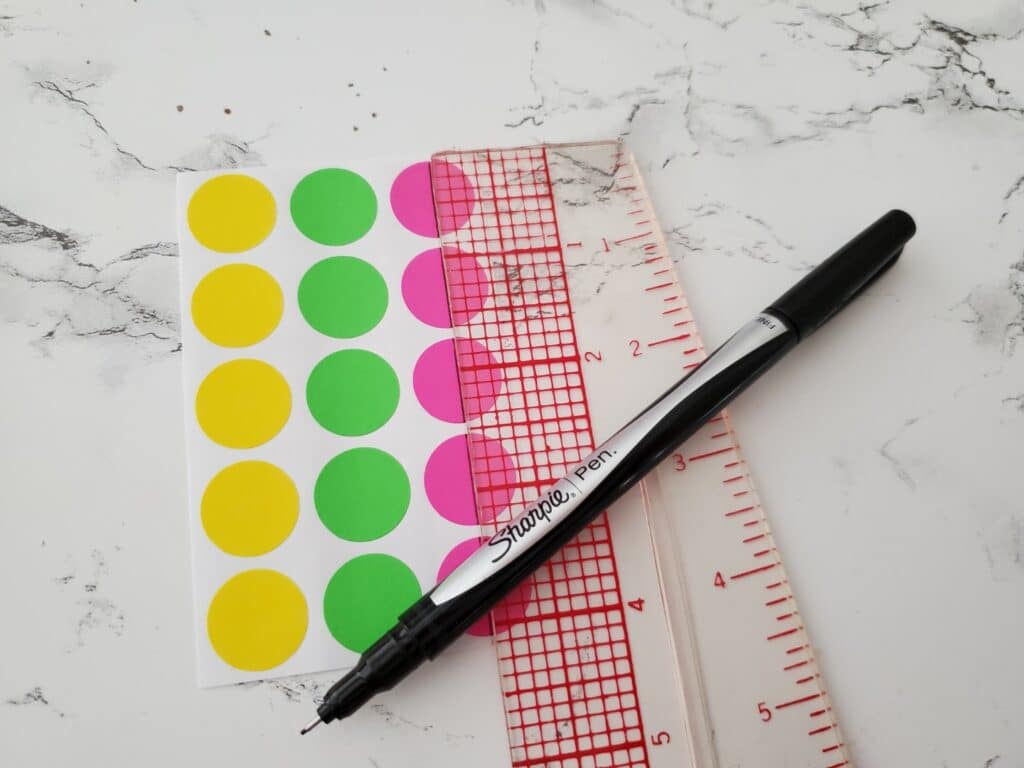
Here are the supplies that I used when making my own embroidery placement stickers.
- Clear ruler (you need to see underneath the ruler to ensure you’re marking the center of the circle.) Rulers with perpendicular lines help a lot! I used my fashion ruler.
- Color coding labels. DIME labels are 1/2″ but I used 3/4″ sticky circles for mine because that was what was in my study!
- Pen or another marking tool that won’t easily smudge
How to Make Your Own Stickers
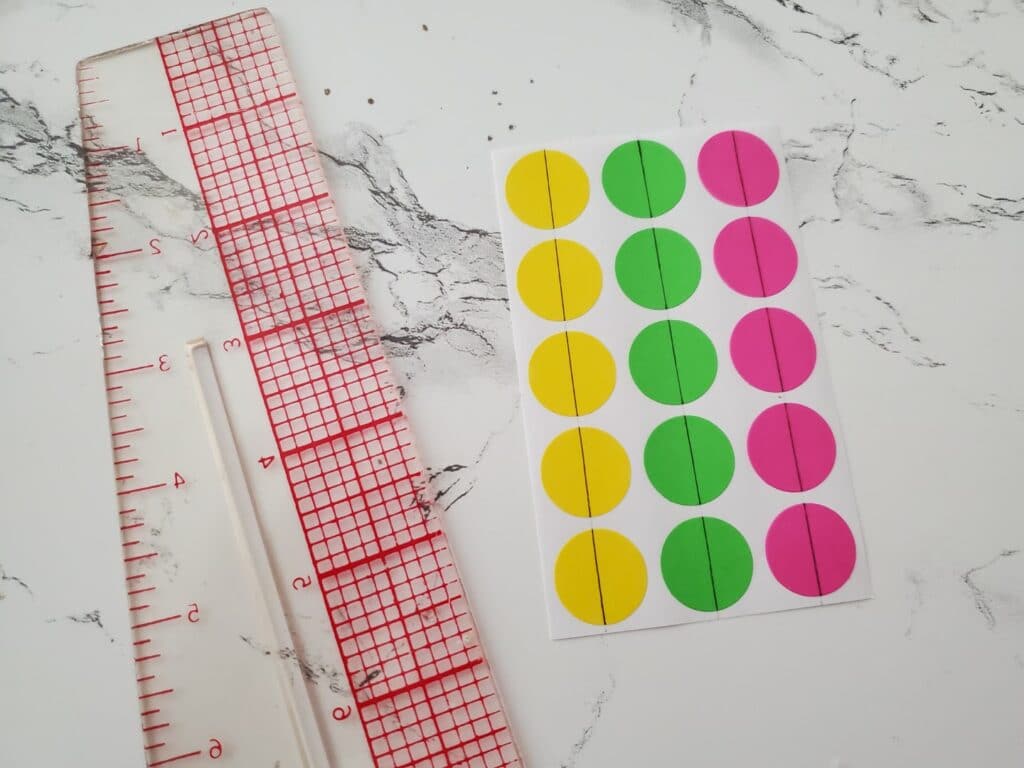
First, take out a sheet of color coding labels and set them on a hard surface. Align your clear ruler over half the circle and draw a line vertically across all the dots.
Make a small arrow on the top of the line.
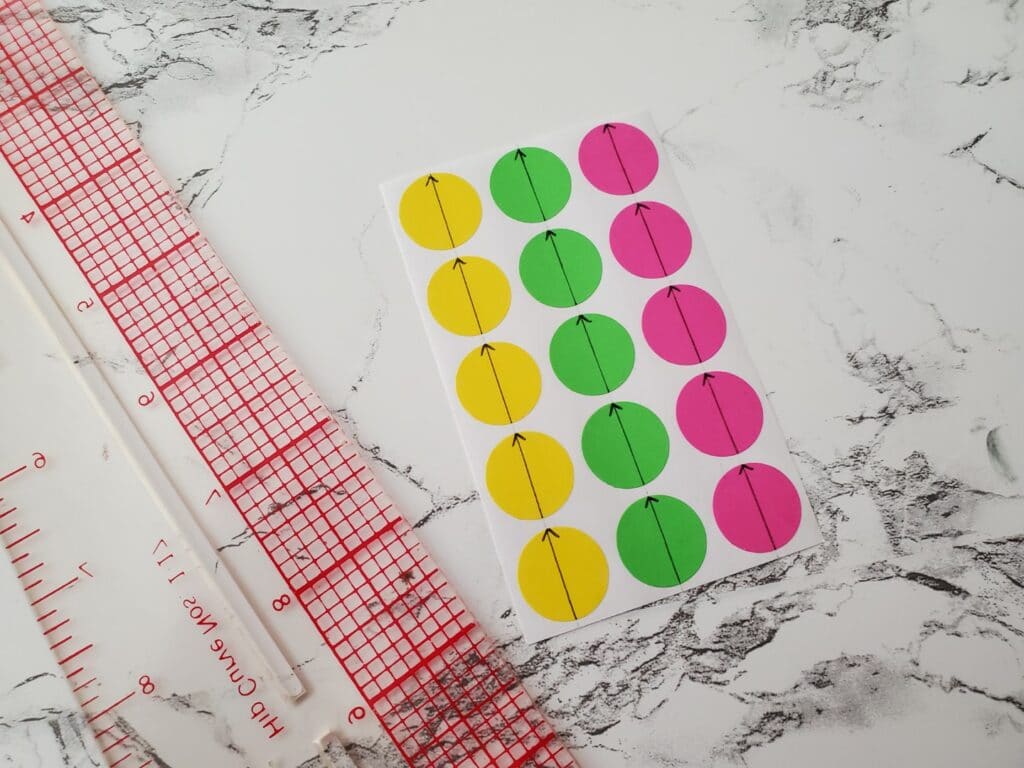
Then, turn your ruler in the other direction. If you have perpendicular lines on your clear ruler, this makes sure your pen lines will be perfectly 90 degrees apart. Mark lines at perfect right angles to each other along each circle.
Do this for as many circles as you need placement stickers. And that’s it! Your stickers are ready to use.
Ooh nice idea thanks😊
And alot more cheaper than the Dime Brand I am sure. Thanks!
New embroidery enthusiast here! Thanks!
Newbie at machine embroidery. Your site is very informative and helpful.
Thanks!
Your site is so helpful! Just discovered it and its one of my favorites!