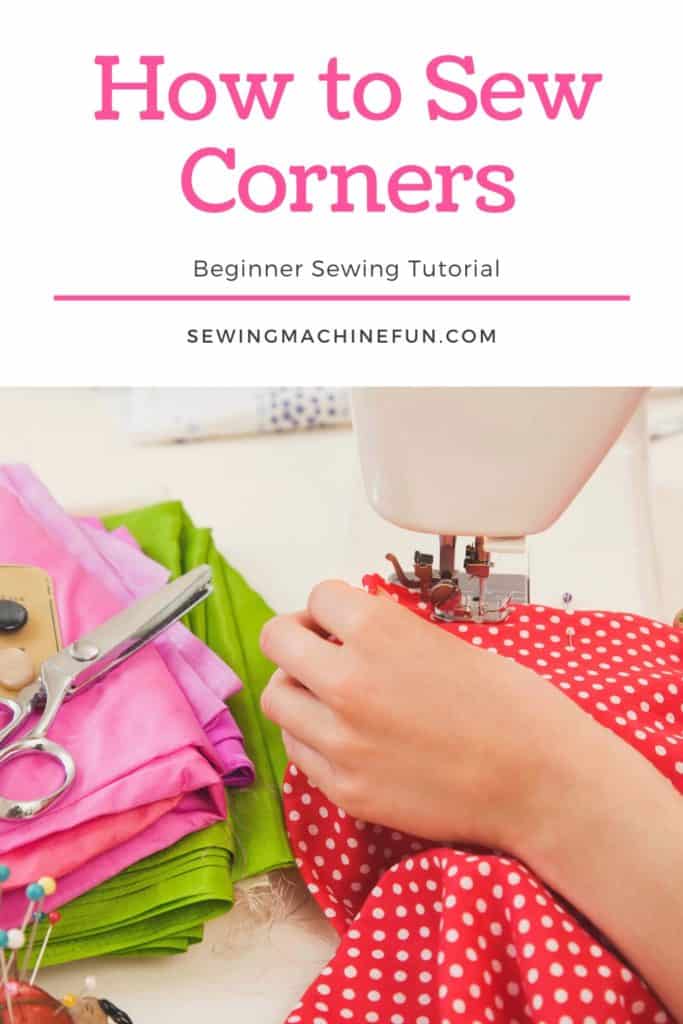
How to Sew Corners With a Sewing Machine – Beginner Tutorial
This post may contain affiliate links, which means I’ll receive a commission if you purchase through my links, at no extra cost to you. I sometimes receive free products for review. Please read disclosure for more information.
When you first start sewing, you may only know how to sew in a straight line. Did you know you can sew corners easily, too? This beginner sewing tutorial will teach you how to sew corners with a sewing machine. After you learn this skill, the new sewing projects you’ll be able to tackle will expand greatly!
So many sewing projects like sewing a pillow cover or sachet, for instance, require sewing neat, sharp corners. While learning to sew the corner itself is important, it’s also crucial to know how to minimize fabric bulk at corners and turn your corners properly. So, let’s get started learning!
How to Sew Corners With A Sewing Machine
The best way to learn to sew corners is by doing. So, go grab two scrap pieces of fabric and cut them to identical square or rectangular shapes. Then, line up the fabrics with right sides together. This means, the sides with the print need to be facing each other.
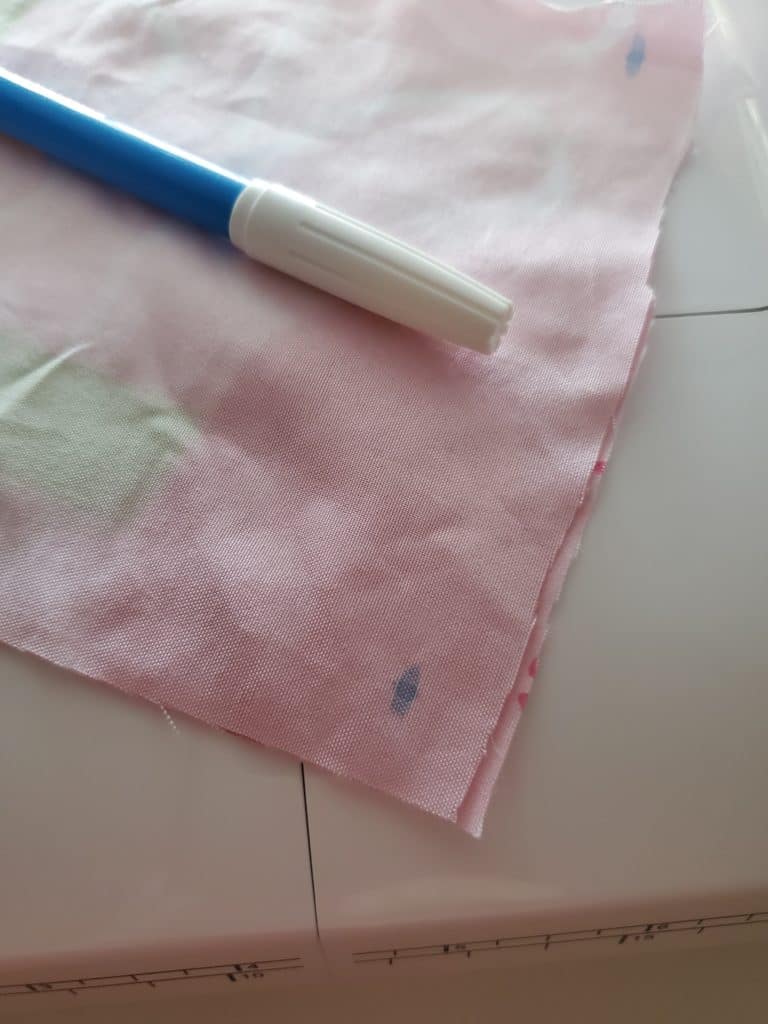
Now, we’ll assume a random 1/2″ seam allowance for this project. (That means you’ll be sewing 1/2″ from the edge of the fabric.) Thus, on the top piece of fabric, mark dots 1/2″ down and 1/2″ in from each corner of the fabric. These dots will remind you where you need to turn your sewing machine when you get to your corner. You should have 4 dots when you’re done. I like to mark all my projects with water-soluble marking pens because the mark washes out easily later.
If your fabric pieces are slippery, pin them together. Since this is just practice, I’m not pinning mine.
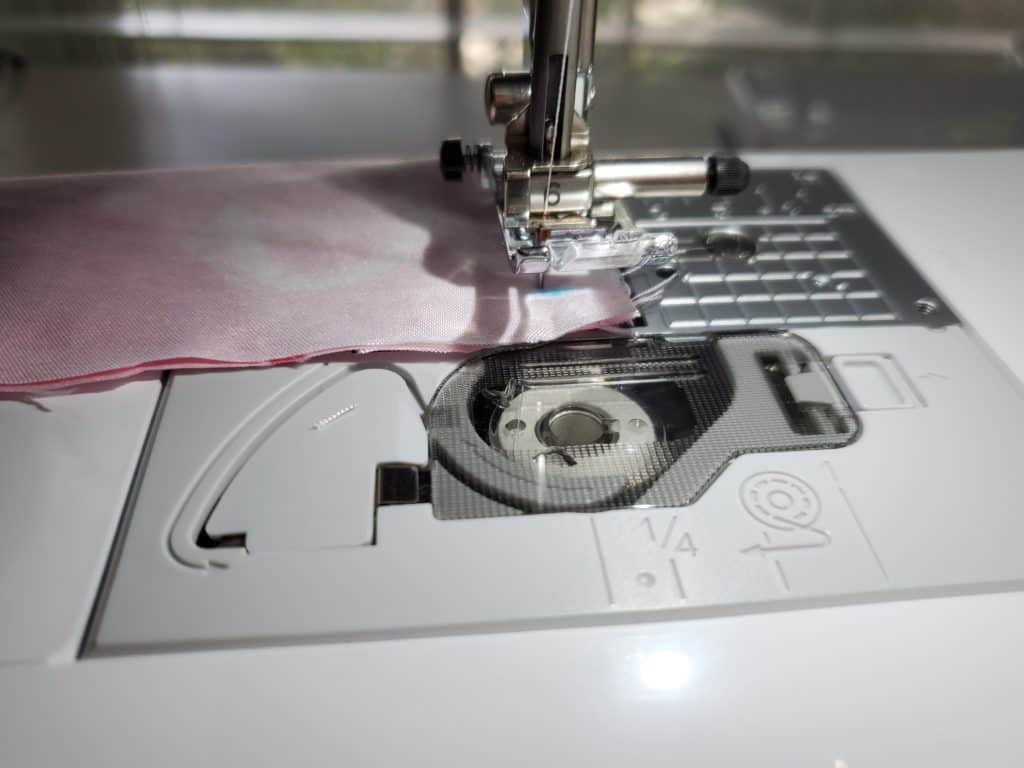
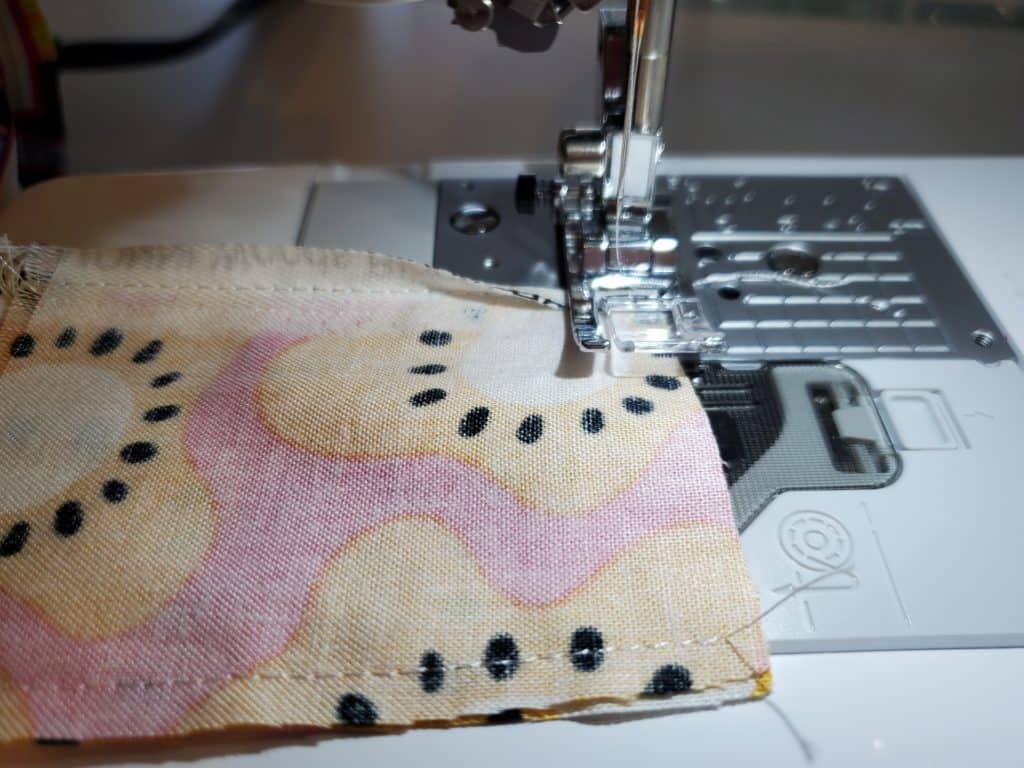
Next, put the fabric pieces underneath your presser foot, and lower the presser foot. You’ll line your fabric up to where your needle will start sewing through one of the dots 1/2″ from the side.
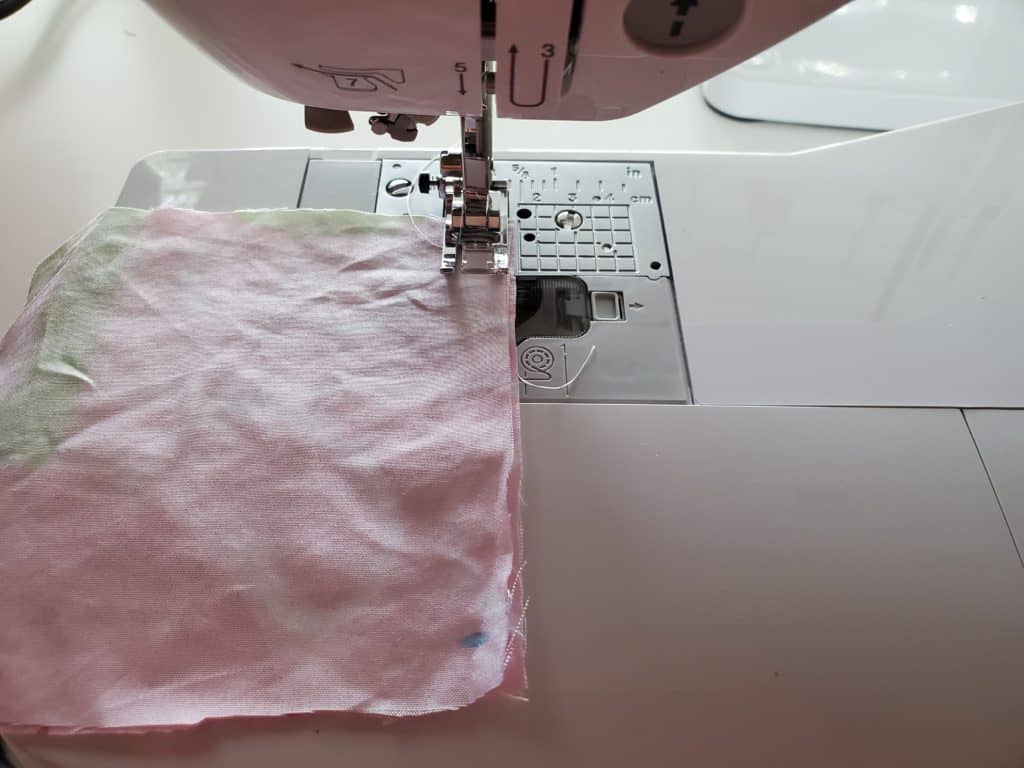
Do a few reverse stitches, and then sew until you get to the corner of the fabric where you need to turn. (This will be the next dot.) Sew slowly at this point to make sure you don’t sew off the fabric.
If you aren’t yet comfortable with your foot pedal, one of my favorite things to do near corners is to advance the needle slowly using the handwheel on the right of the machine. By turning it counterclockwise towards me, I can move the needle up and down. If you want to be extra precise getting to the corner, you can decrease the stitch length as you get closer, too.
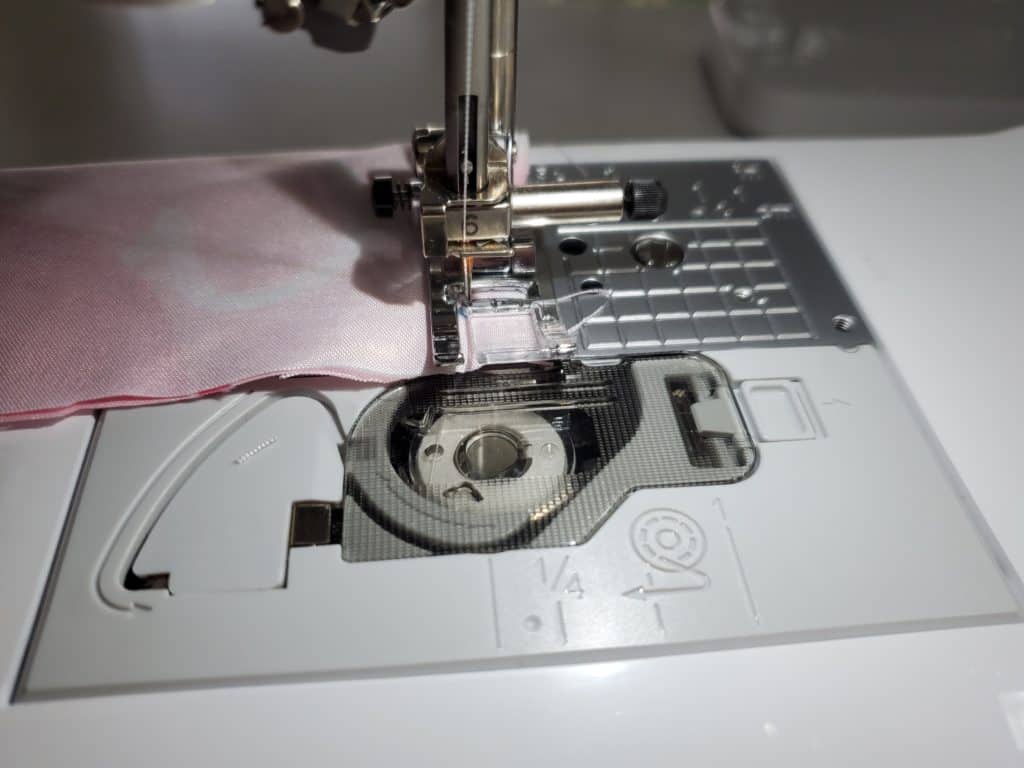
Once you’ve gotten to the corner of your fabric, make sure you end with the needle down in the fabric on the dot. This will be your pivot point. Raise up the presser foot now.
Then, turn your fabric 90 degrees around the corner using your hands. Put the presser foot back down, and start sewing again!
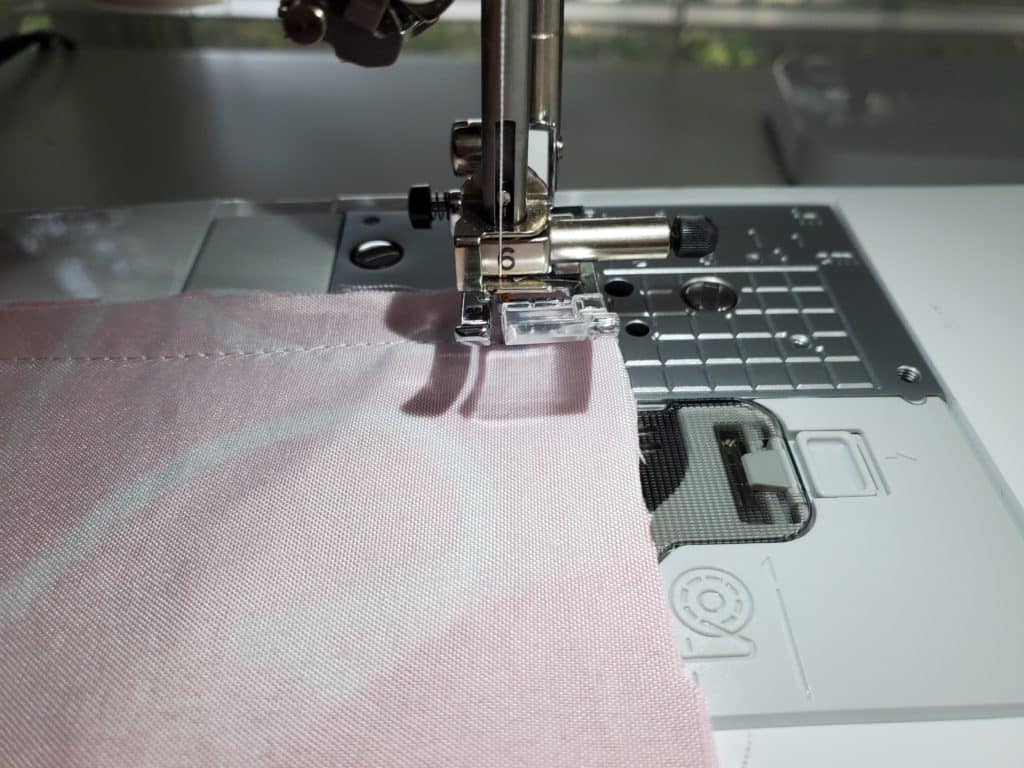
Do this each time you get to the next 2 corners (denoted by your dots.) If you want to practice turning your fabric back right side out, leave 2-3 inches unstitched before you get to the point where you started.
Trimming Corners After Sewing
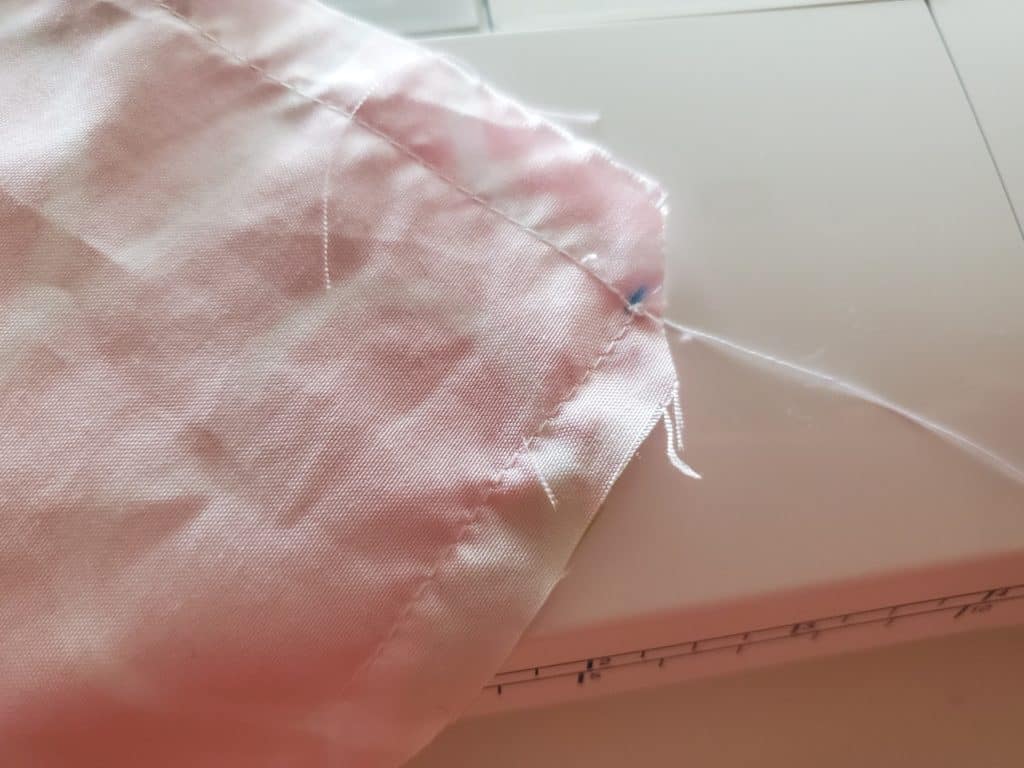
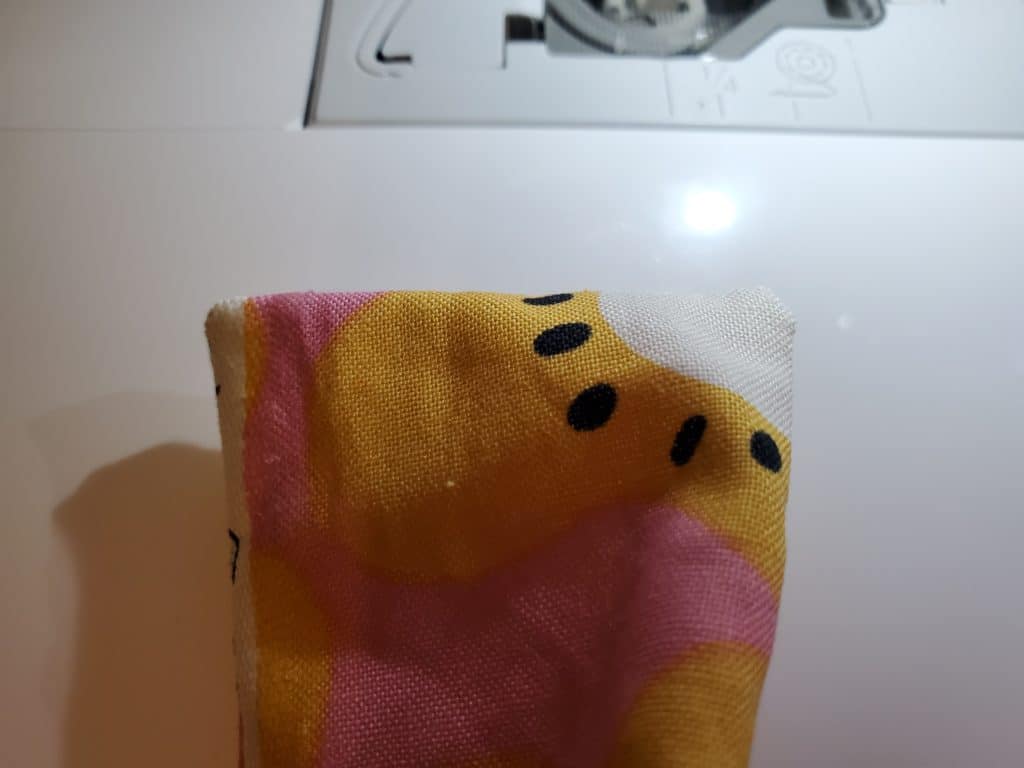
Once you’ve sewn around all the corners, trim your threads. Then, use sewing scissors to diagonally clip the bulk of the fabric at your corners. Cutting away this extra fabric will help you get a much sharper point when you turn your fabric right side out. (If you’re planning on using your project for more than practice, consider pressing your seams, too.) Don’t clip too close to the line of threads!
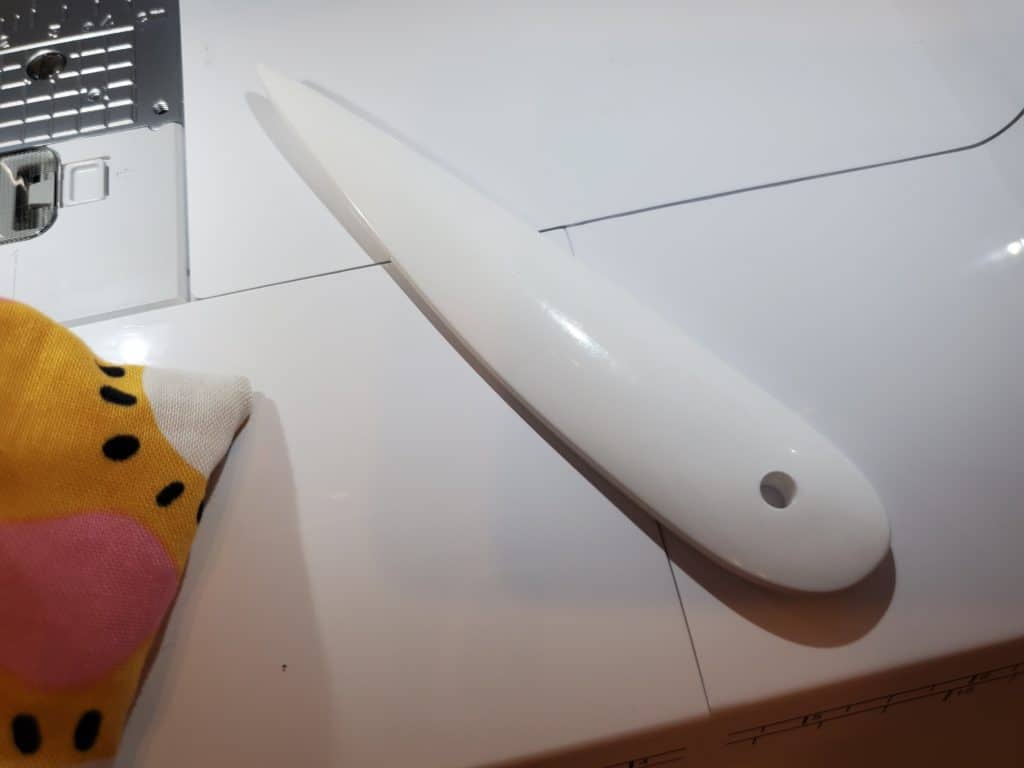
Turn your fabric right side out, and use a sharp tool to press out the corners. I like to use the sharp end of my point turner. You can also press at this stage if you want to. Now, congratulate yourself!
Sewing Wrapped Corners
Once you’ve mastered sewing corners by pivoting the needle, you can try another method called sewing wrapped corners. This takes a little more effort, time, and finesse, but I find it produces very sharp corners with less fabric bulk. When I sew corners with my serger, I almost always wrap them.
Here’s how to wrap a corner. First, sew your straight line from one side of the project to the corner. Stitch to the very end of the fabric and backstitch. Cut your threads and raise your presser foot.
Then, remove the fabric and turn the corner you just cut in on itself. With the fabric nice and flat, place it back underneath your presser foot, and lower the presser foot on top of the fold.
Backstitch as usual and then sew over the fold from the corner to the end of your project. Reverse stitch at the end also. Clip your threads and lift the presser foot.
As with regularly sewn corners, make sure to use a sharp tool to push out the corners and press, if needed. You won’t need to worry about clipping corners with this method, though!
To show a rough difference between sewing corners the regular way and sewing wrapped corners, here’s an example below. The left side is the wrapped corner, and the right side is the regularly sewn corner using the same seam allowances. So, to get those really neat, sharp corners, consider a sewing a wrapped corner.
How to Sew Corners With a Sewing Machine – Conclusion
Since you now know how to sew corners, your options for new projects have increased! Let me know if you have any questions. Happy sewing!