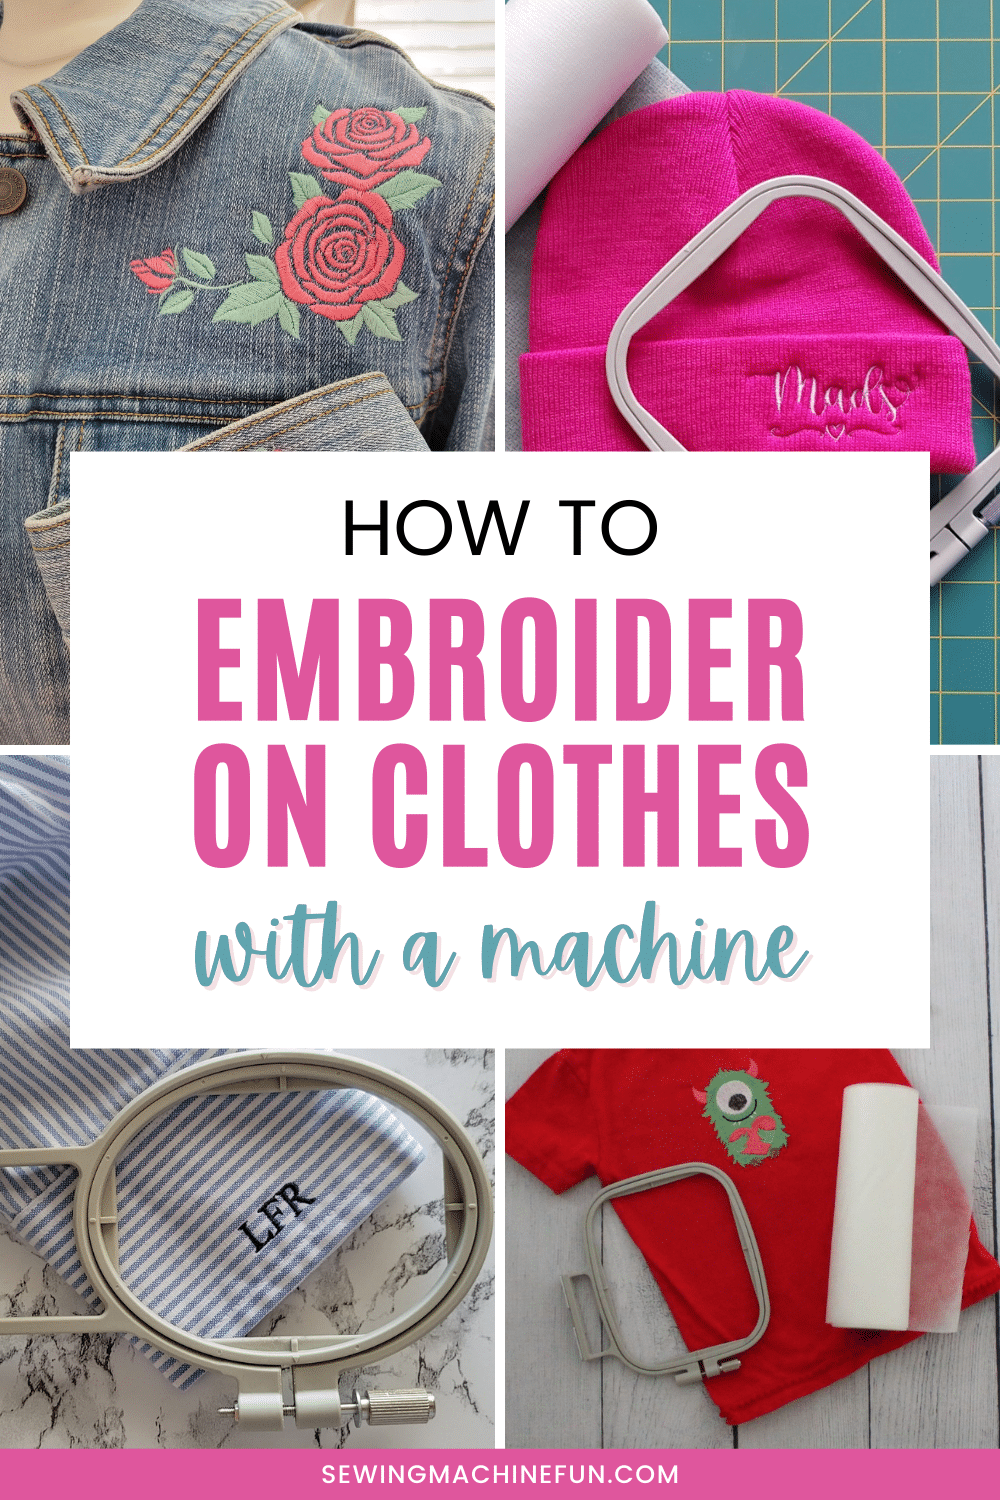
How to Embroider Clothes with a Machine (For Beginners)
This post may contain affiliate links, which means I’ll receive a commission if you purchase through my links, at no extra cost to you. I sometimes receive free products for review. Please read disclosure for more information.
Want to personalize your wardrobe? Embroidered clothing is a perfect way to add style and uniqueness to what you wear or gift!
So, how do you embroider clothes? What do you need, and where do you start?
Let’s talk about how to embroider clothes with an embroidery machine! I’ll cover clothes of all types and give recommendations for each type.
Stabilizing Clothes to Embroider Properly
Selecting the right stabilizer for your clothes is the first hurdle to a successful stitch-out.
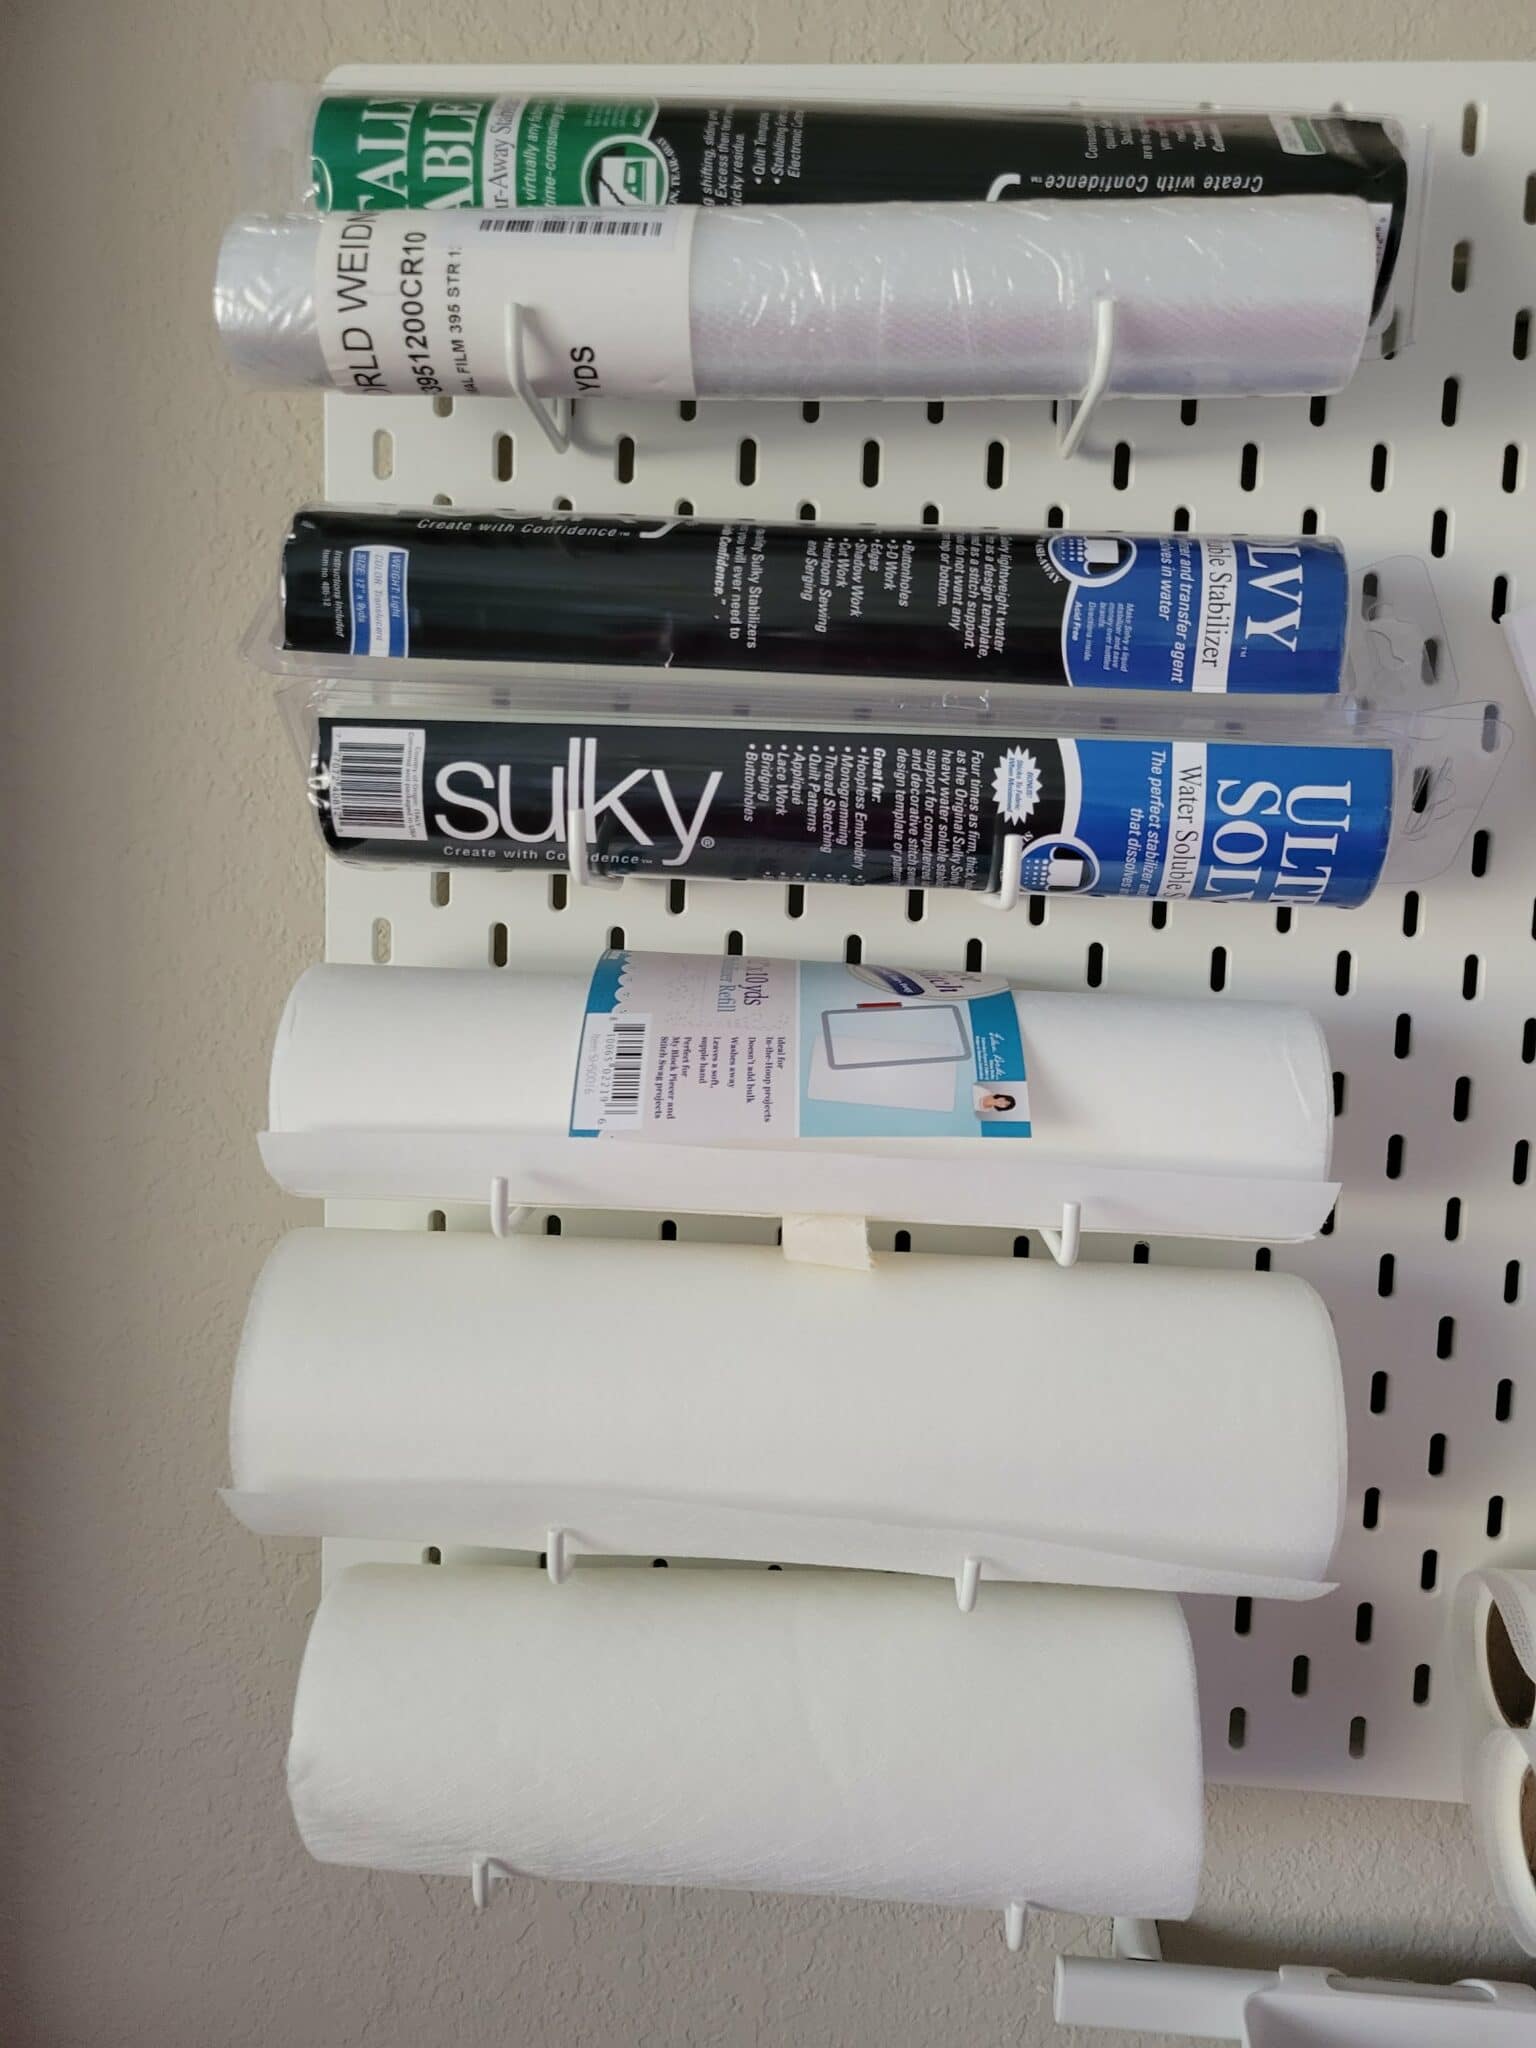
In embroidery, a catchy phrase is, “If you wear it, don’t tear it.” Meaning, avoid tear-away for clothing.
Yes, this applies to most stretchy, knitted clothes. However, there are MANY times when a tear-away stabilizer will work perfectly fine for woven fabrics or small designs!
While the selected embroidery pattern is important (as I’ll discuss soon), the type of fabric you are embroidering is arguably the most significant factor in stabilizer selection. Let’s discuss that first!
1. For T-Shirts and Other Stretchy, Knit Clothing
Embroidering stretchy fabric requires a robust stabilizer that will not stretch. Thus, choose cut-away or no-show mesh. No-show mesh is best for light-colored fabrics as it is less visible on the front.
Fusible stabilizer can also be helpful, and if necessary, you can even add a layer of (permanent) Tricot interfacing to the back of clothes before hooping for added stability.
If you are embroidering something very tiny and simple like a single-color logo, you can usually successfully work with tear-away.
2. For Clothing that Doesn’t Stretch
Use a good-quality tear-away or wash-away stabilizer on the back of cotton, linen, or other clothes made of nonstretchy fabric.
For denser designs or if you notice puckering, float an extra layer of tear-away underneath the hoop, switch to cut-away, or stiffen the fabric.
3. For Sheer Clothing
For sheer clothing like those made from chiffon, gauze, or even organza, a permanent stabilizer, like cut-away or no-show mesh, remains on the back of the clothing and thus isn’t ideal.
Thus, opt for a wash-away stabilizer when possible. Since you remove it with water, you don’t have to worry about fabric distortion from tearing away stabilizer.
Suppose wash-away doesn’t provide enough support for a good stitch out, though?
In that case, another option is a more firm, crisp stabilizer like Sulky Stiffy. This provides better stitch support than most regular tear-away or water-soluble stabilizers but is easily torn away after embroidery.
What about water-soluble topping?
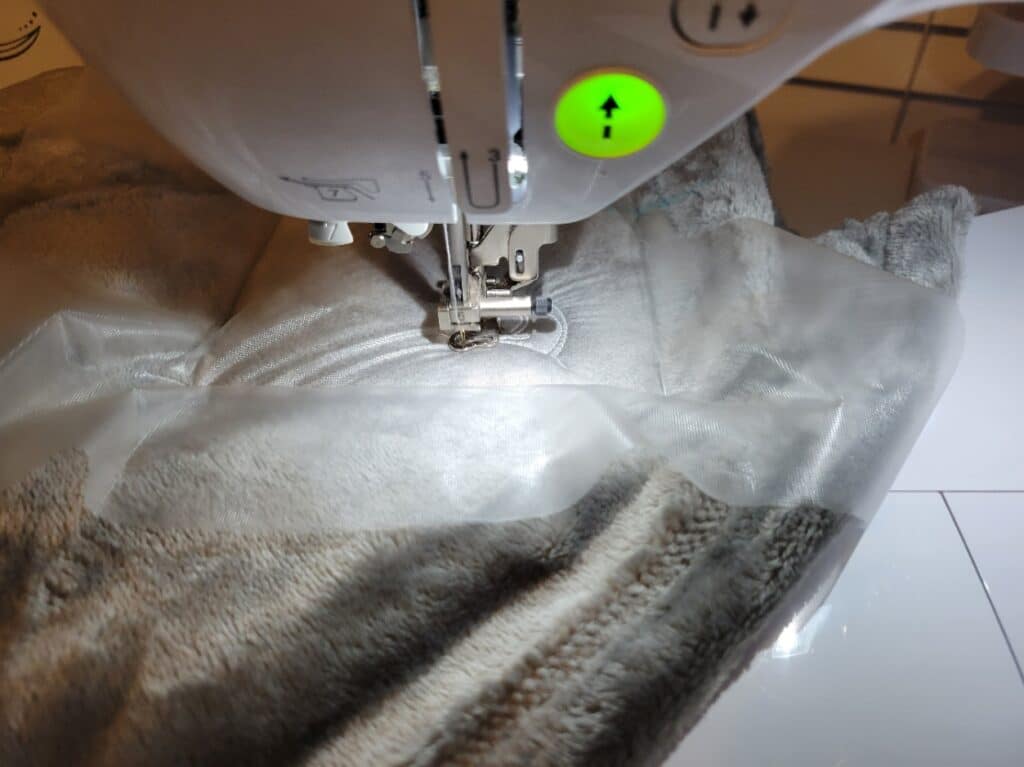
Got a luxurious velvet outfit or nice plush robe you are embroidering? Anything that has fluff on top (more appropriately termed nap or fluff) needs a water-soluble stabilizer topping like Sulky Solvy.
This lays over the fabric nap and keeps stitches from sinking. It washes or tears away after embroidery.
Embroidery Design Placement On Clothes
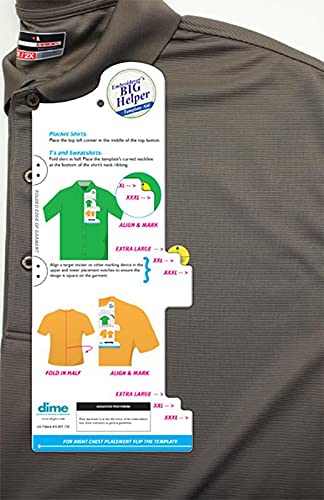
If you embroider children’s clothing or t-shirts in bulk, plastic templates like the Embroiderer’s Helper or Perfect Placement templates help measure and mark embroidery designs based on common industry standards.
For other clothing items, you can check out this helpful embroidery placement guide from AllStitch. You can also use this as a reference if you don’t own a placement aid.
Me? I’m a “print out a template and eyeball where I like it” kind of gal most of the time! Once I find something I like the look of, I mark the design location with a washable marking pen, chalk, or placement sticker.
Here are some tips for centering embroidery designs if you need extra help, though.
The Importance of Embroidery Design Selection

There’s nothing worse than picking a gorgeous fill-stitch design and realizing it is much too heavy of a design for your clothes.
This design can affect the flow of the fabric, and embroidered clothes can look odd when worn if the design isn’t compatible with the outfit.
Thus, always make sure your design is not too dense or large for your clothing! For instance, a high stitch count, large fill-stitch, or even dense satin stitch design on chiffon won’t turn out well.
If your embroidery software has a version of Fabric Assist, you can adjust many premade designs to work with different fabric types.
Also, dense, large embroidery designs almost always embroider better with cut-away or no-show mesh stabilizers.
Tear-away stabilizer is usually adequate for lighter-weight, running-stitch designs or small designs.
Needle Choice for Embroidering Clothes
 My go-to needle for embroidering clothes is a 75/11 machine embroidery needle.
When using thicker threads or embroidering a very thick fabric, I size up to 80/12 or 90/14. For lightweight fabrics or a thinner thread, I try 70/10 or 65/9 if noticing problems with the 75/11 size.
Machine embroidery needles are typically “universal” and thus have a light ballpoint that works on most fabrics. Switching to a sharp point needle can help penetrate denser fabrics and may be worth the switch when troubleshooting.
Hooping Clothing: When and How?
My general rule is if I can fit the piece of clothing in my hoop, I hoop. Hooping keeps fabric from shifting around, leading to a better end result.
If I cannot hoop fabric because it is too thick or too delicate, I secure pieces of clothing outside the hoop. Here are 6 ways to secure embroidery fabric you can refer to for ideas!
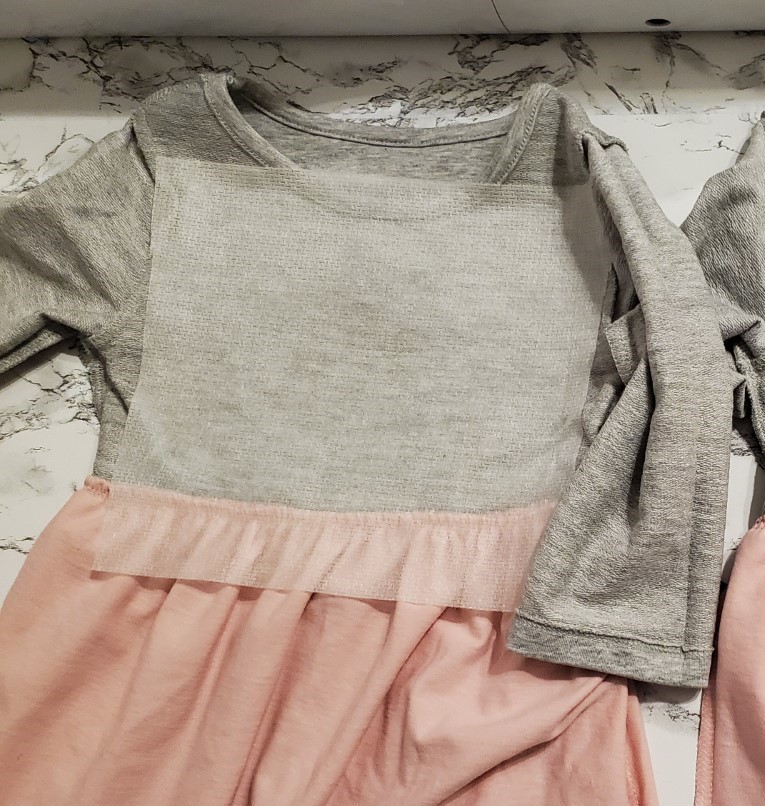
Types of Clothes to Embroider
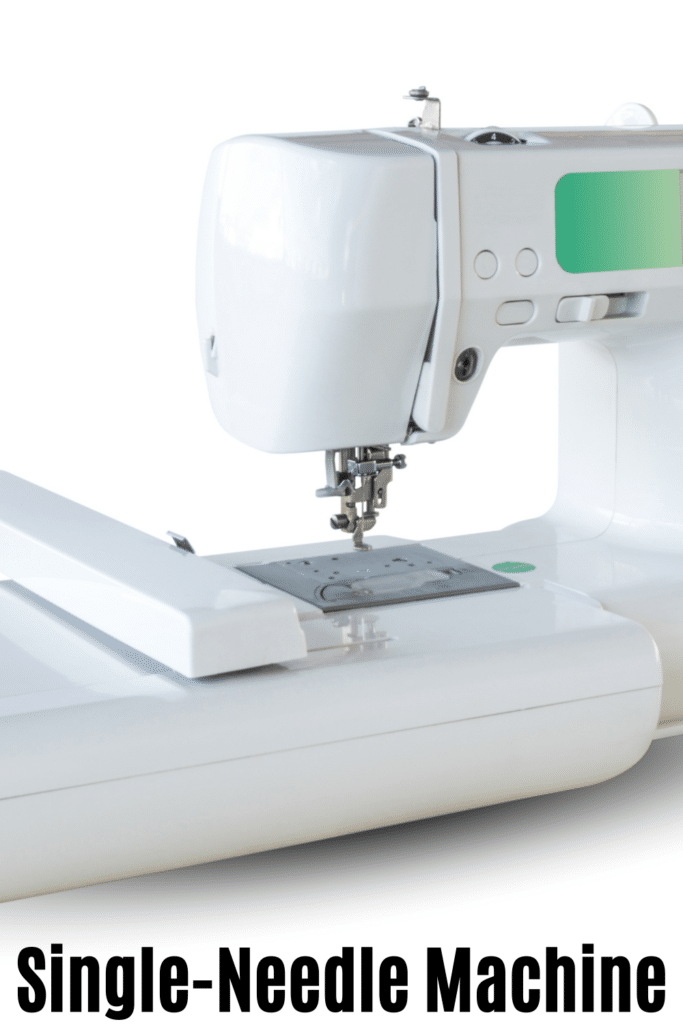
If you have a single-needle, flatbed embroidery machine (what most home embroidery machines are), you must be able to isolate all clothes you embroider in a single layer.
Here are some ideas for clothing in your closet to embroider and in-depth tutorials I’ve written!
- T-shirts (Check out how to embroider a t-shirt.)
- Pajamas
- Robes
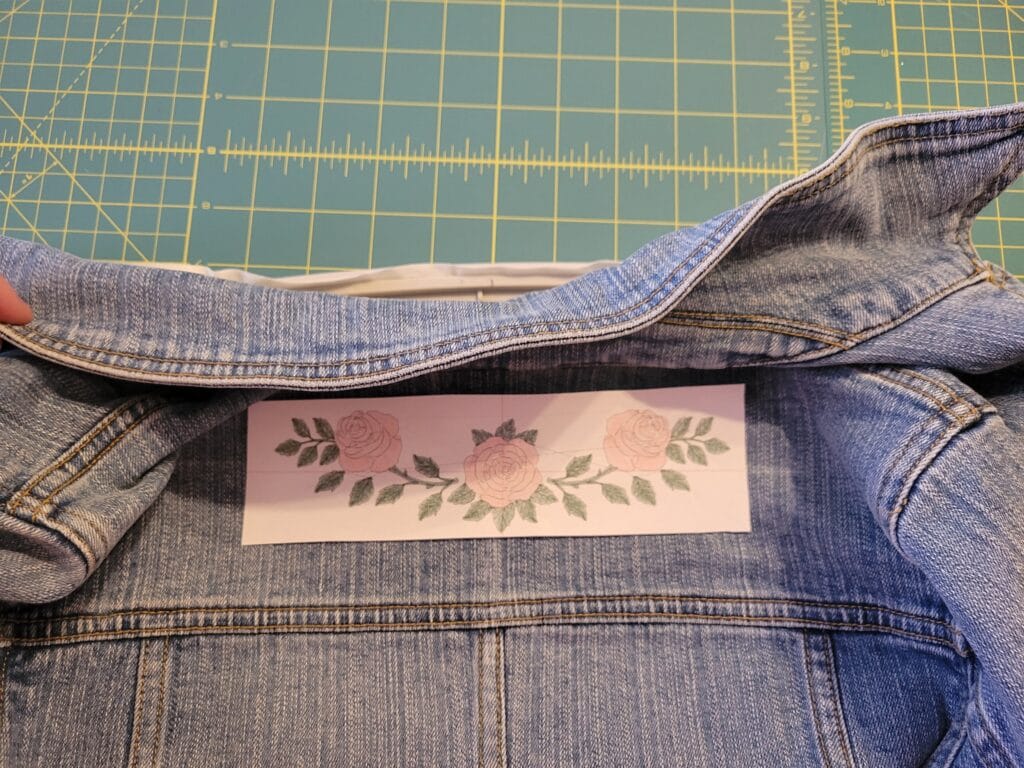
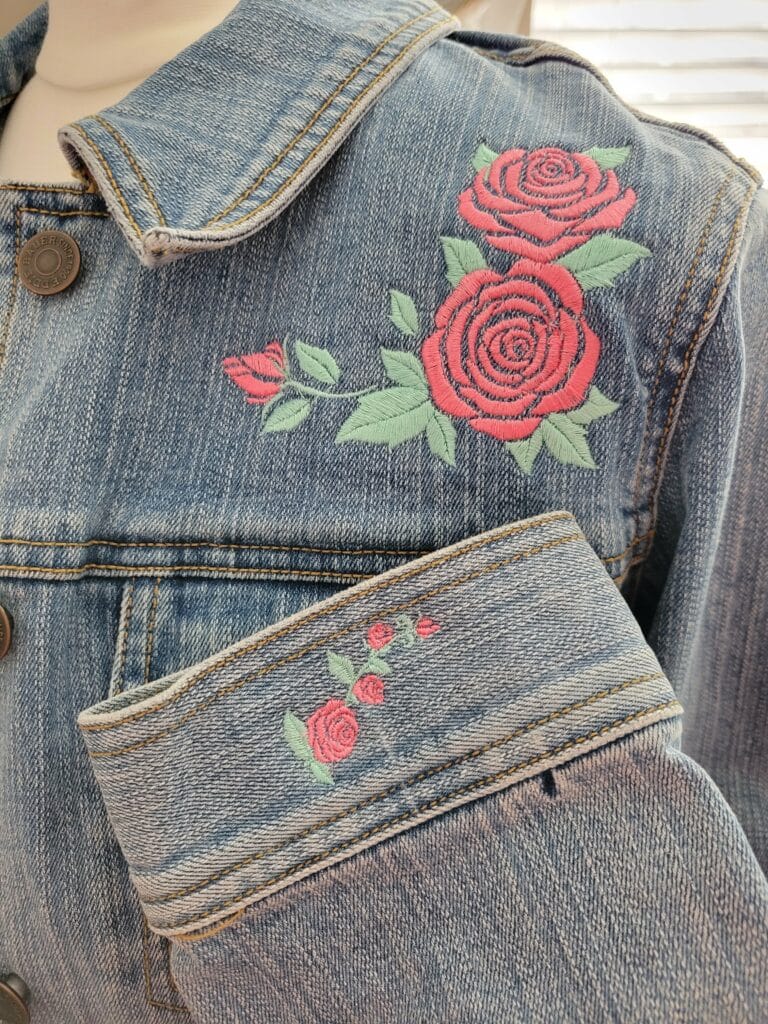
- Denim jackets (Learn to embroider a denim jeans jacket!)
- Puffer vests jackets
- Polo shirts
- Sweatshirts (Here’s a sweatshirt embroidery tutorial.)
- Leggings
- Shoes (Shoes are tricky but not impossible using this tutorial for making custom shoes. You can even embroider slippers!)
- Shoelaces (not technically clothing, but you can embroider custom shoelaces.)
- Denim Jeans
- Socks (With a sock hoop, you can embroider socks with a machine easily!)
- Gloves (Use a sock hoop to embroider gloves as well.)
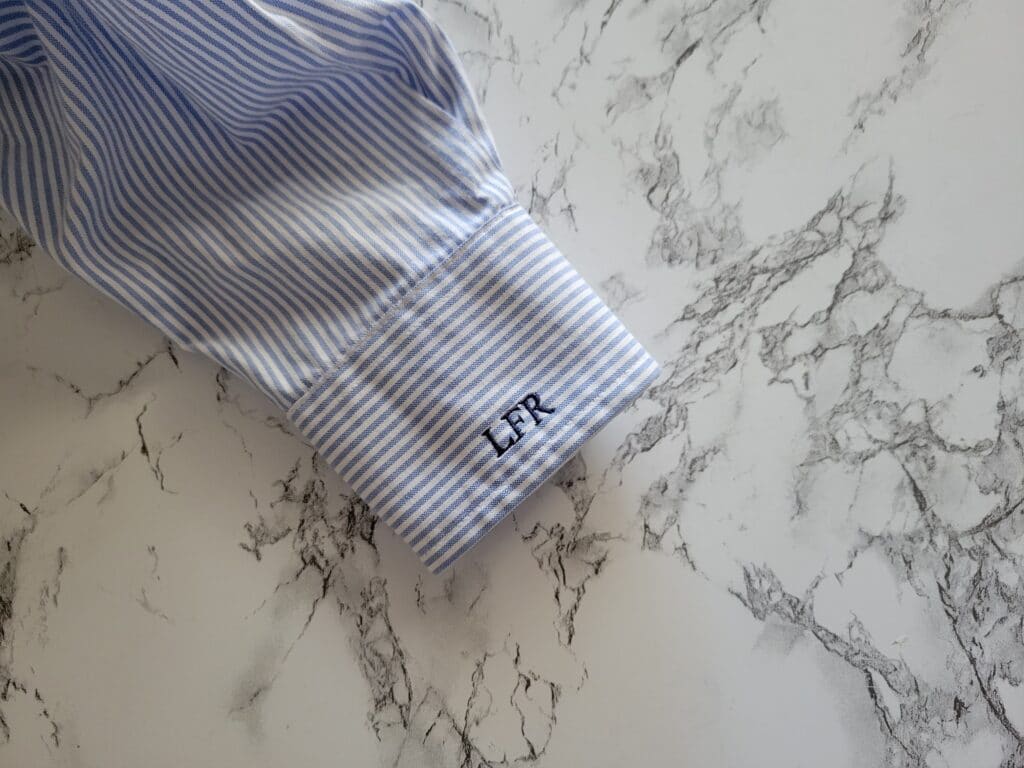
- Men’s Ties
- Belts
- Men’s Shirt Cuffs (I’m a little meh on this idea, but you can monogram shirt cuffs.)
- Hats (Here’s how to embroider beanies and how to embroider baseball caps.)
In some cases, like with denim jeans or leggings, you may need to use a seam ripper to break open a seam and lay the leg flat. When done embroidering, simply stitch the leg back up with a sewing machine.
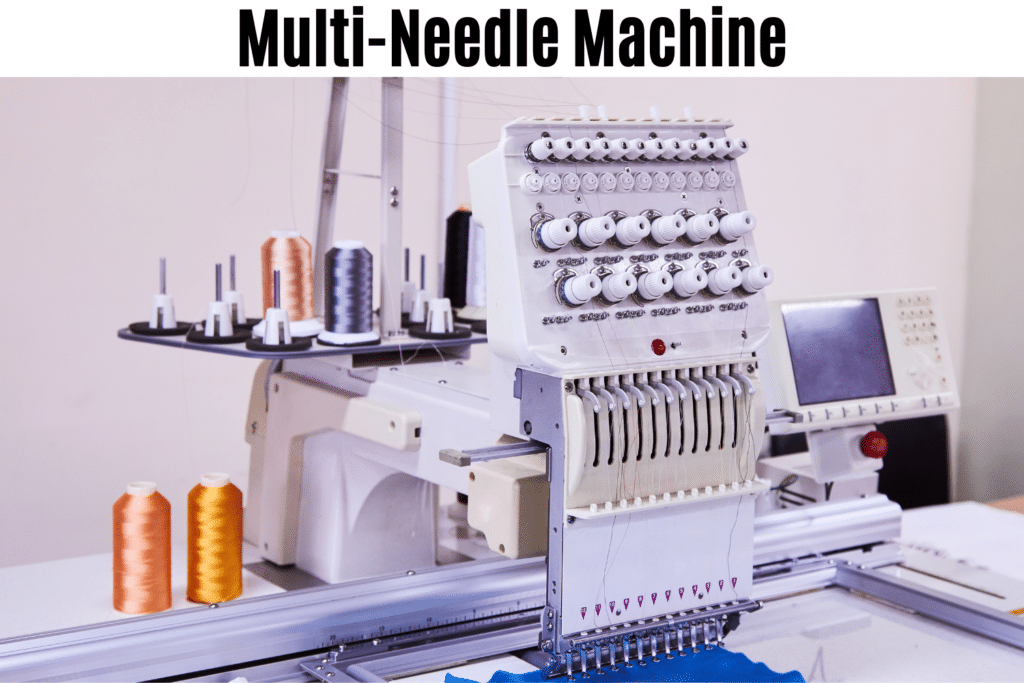
For the multi-needle embroidery machine users out there, you benefit from a free arm, which gives more flexibility when embroidering tubular items.
As such, pockets don’t need to be seam ripped to a single layer, and onesies are easy to hoop and embroider. Just let excess fabric hang under the machine!
Clothing Embroidery Supplies
Now that we’ve gone through the specifics, it’s time to gather your supplies.
- Embroidery machine and smallest embroidery hoop that fits your design
- Embroidery design
- Stabilizer
- Embroidery needle
- Machine embroidery thread (cotton, rayon, or polyester)
- Scissors, marking utensils, and measuring utensils
- Clothing to embroider (prewash to save yourself heartache from shrinkage later!)
How to Embroider Clothes
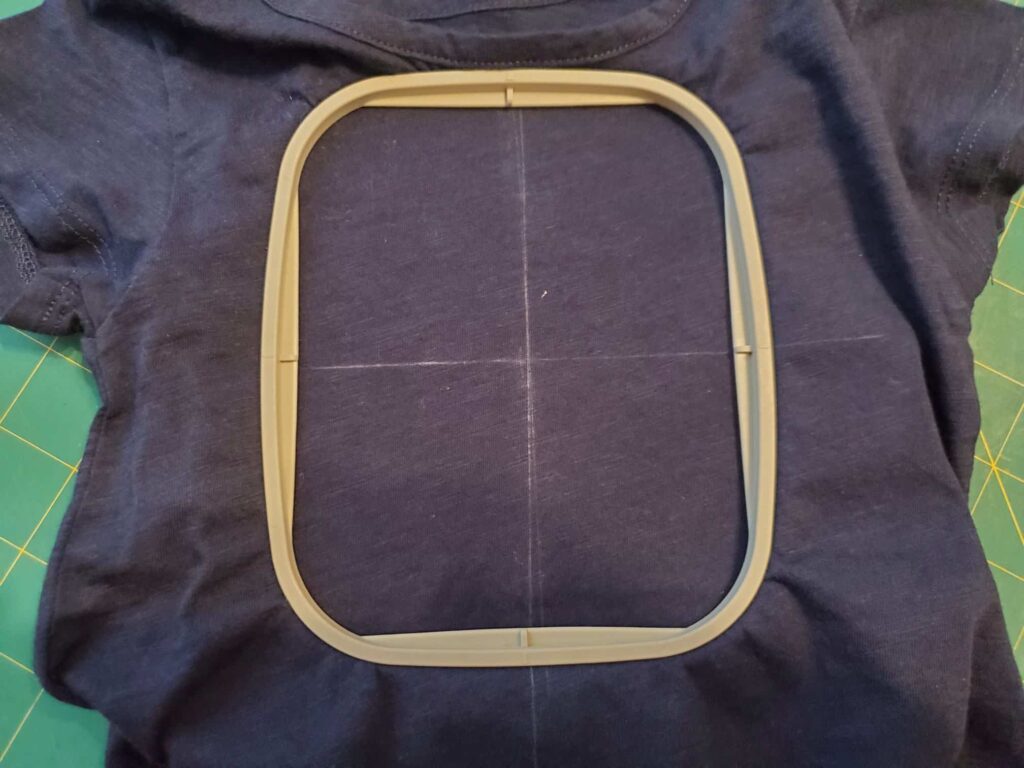
- First, mark your clothing where you want the embroidery design to stitch.
- Next, hoop or float your fabric and stabilizer tautly. Remember, the clothes need to be secure so they don’t move during the stitching process.
- Place the hoop in your machine, add any toppers, and center the needle over the center of the marked design.
- Start the machine!
- Remove the hoop from the embroidery machine. Cut-away or tear-away residual stabilizer or topper.
- Trim threads, and admire your embroidered clothing!
Avoiding Puckering: Troubleshooting Tips
One common issue I have when machine embroidering clothing is the design puckering during embroidery or the first time I wash my embroidered clothing.
Here are several common culprits for design puckering.
1. Not securing the clothing in (or out of) the hoop well.
When clothes move during the process, the result can be a puckered mess. To fix this, hoop a floated item or secure the floated item better using more pins, adhesive stabilizer or spray, a basting box, etc.
2. Using the wrong stabilizer.
If you used tear-away when your fabric or design needed cut-away, you might notice puckering. Fix this by switching from tear-away to cut-away. Or, add another piece of stabilizer underneath your hoop.
Sometimes, it helps to stiffen the fabric using starch, Best Press, Terial Magic, or a solution of dissolved water-soluble stabilizer.
3. Check the design.
Poorly digitized designs can lead to puckering, especially at corners.
As hobbyist digitizer, ask me how many times I’ve caused issues with projects by overdoing the good thing when placing stitches during design creation!
And that’s how to machine embroider clothes! As you can see, it’s not a one-size-fits-all answer. But, with a little thought, you can master the process like a pro.