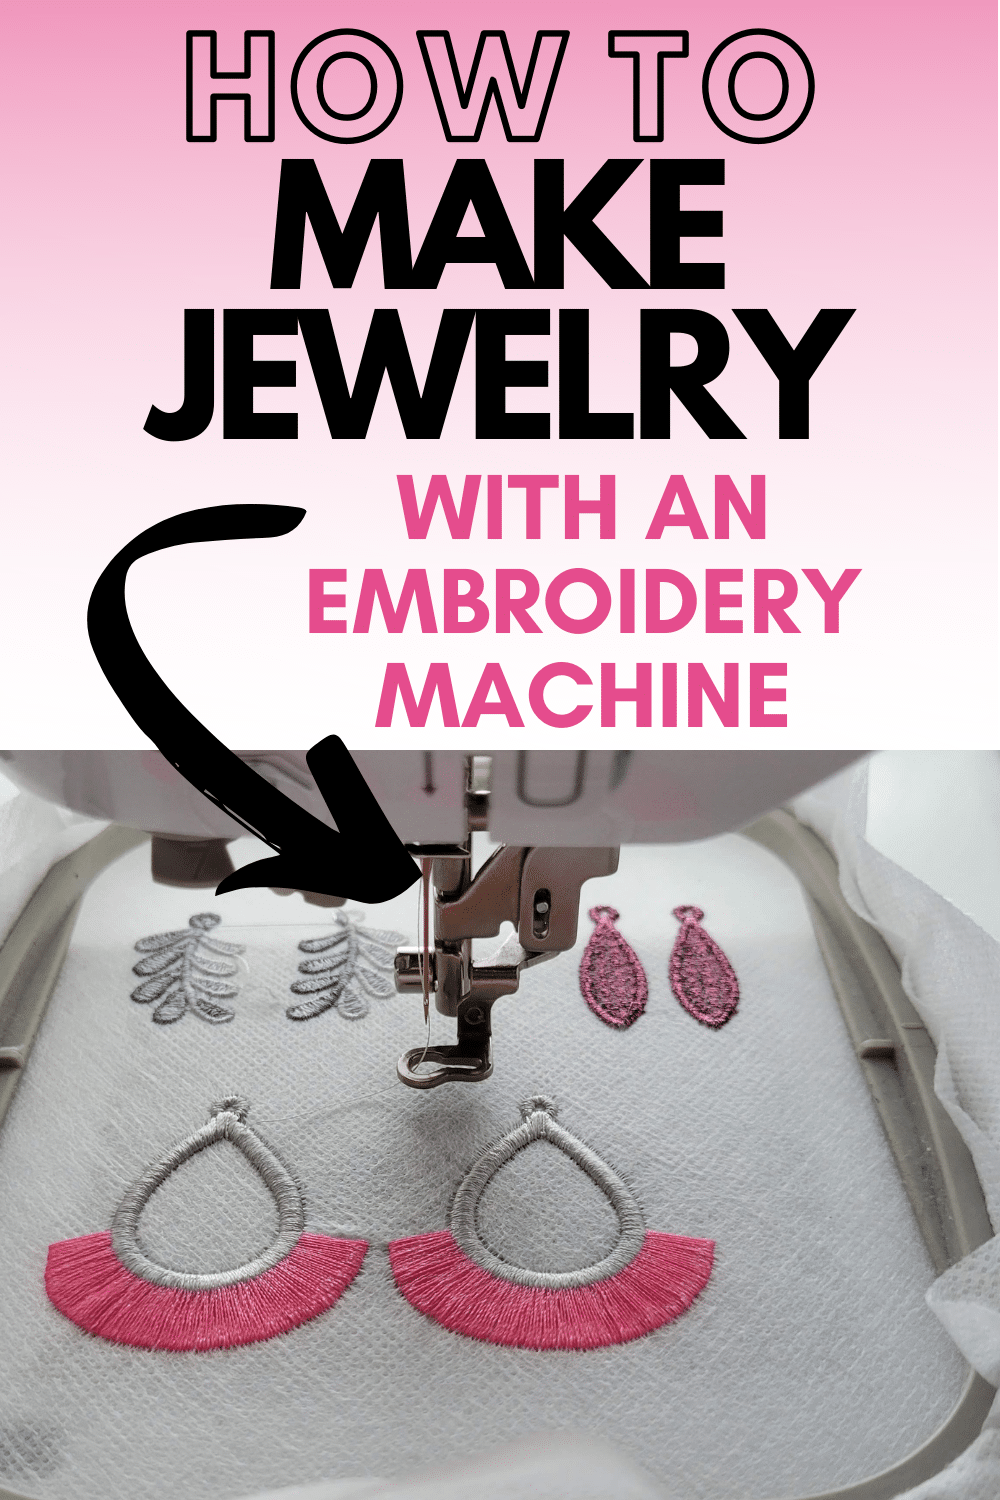
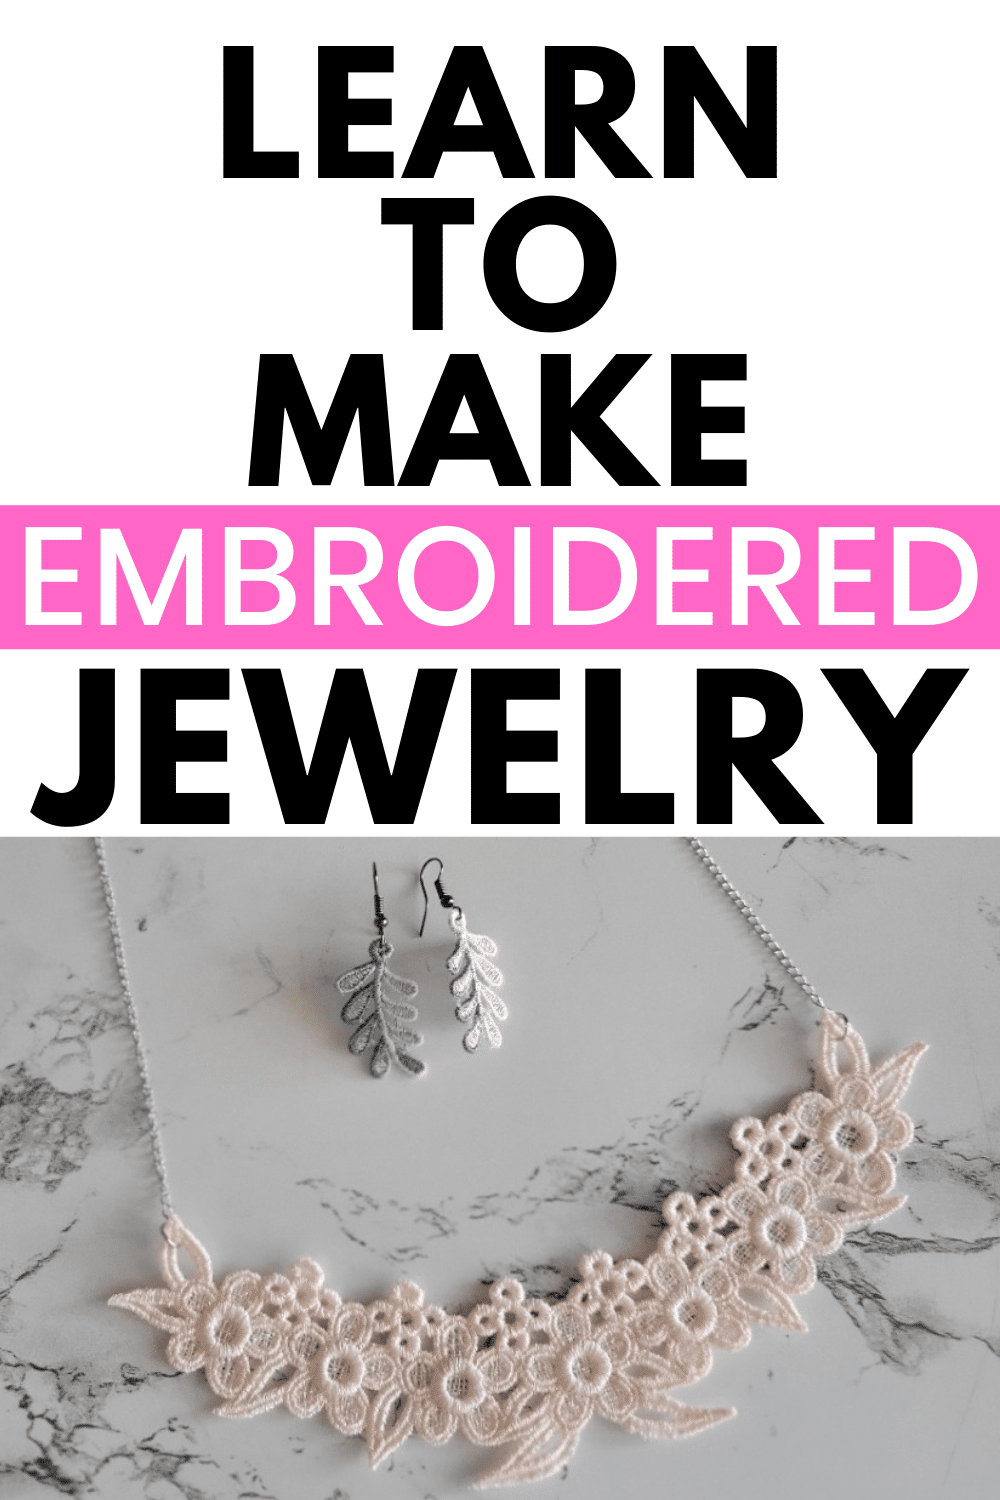
How to Make DIY Embroidered Jewelry
This post may contain affiliate links, which means I’ll receive a commission if you purchase through my links, at no extra cost to you. I sometimes receive free products for review. Please read disclosure for more information.
Of my new favorite things to embroider with my machine is jewelry! There’s nothing more exciting than spending a few minutes making a custom jewelry piece to spark conversation about my embroidery hobby.
And, many modern machine embroidery necklace and earring designs are actually now super stylish and not tacky. I mean, J.Crew even sells beaded, embroidered earrings these days.
Want to learn how to make embroidered jewelry (think earrings, necklaces, rings, etc.) and where to find some great designs? Keep reading to learn more!
Types of Machine Embroidered Jewelry
The sky’s the limit when it comes to embroidering jewelry!
Nonetheless, here are some popular statement pieces to embroider to get your creative juices flowing.
1. Embroidered Earrings
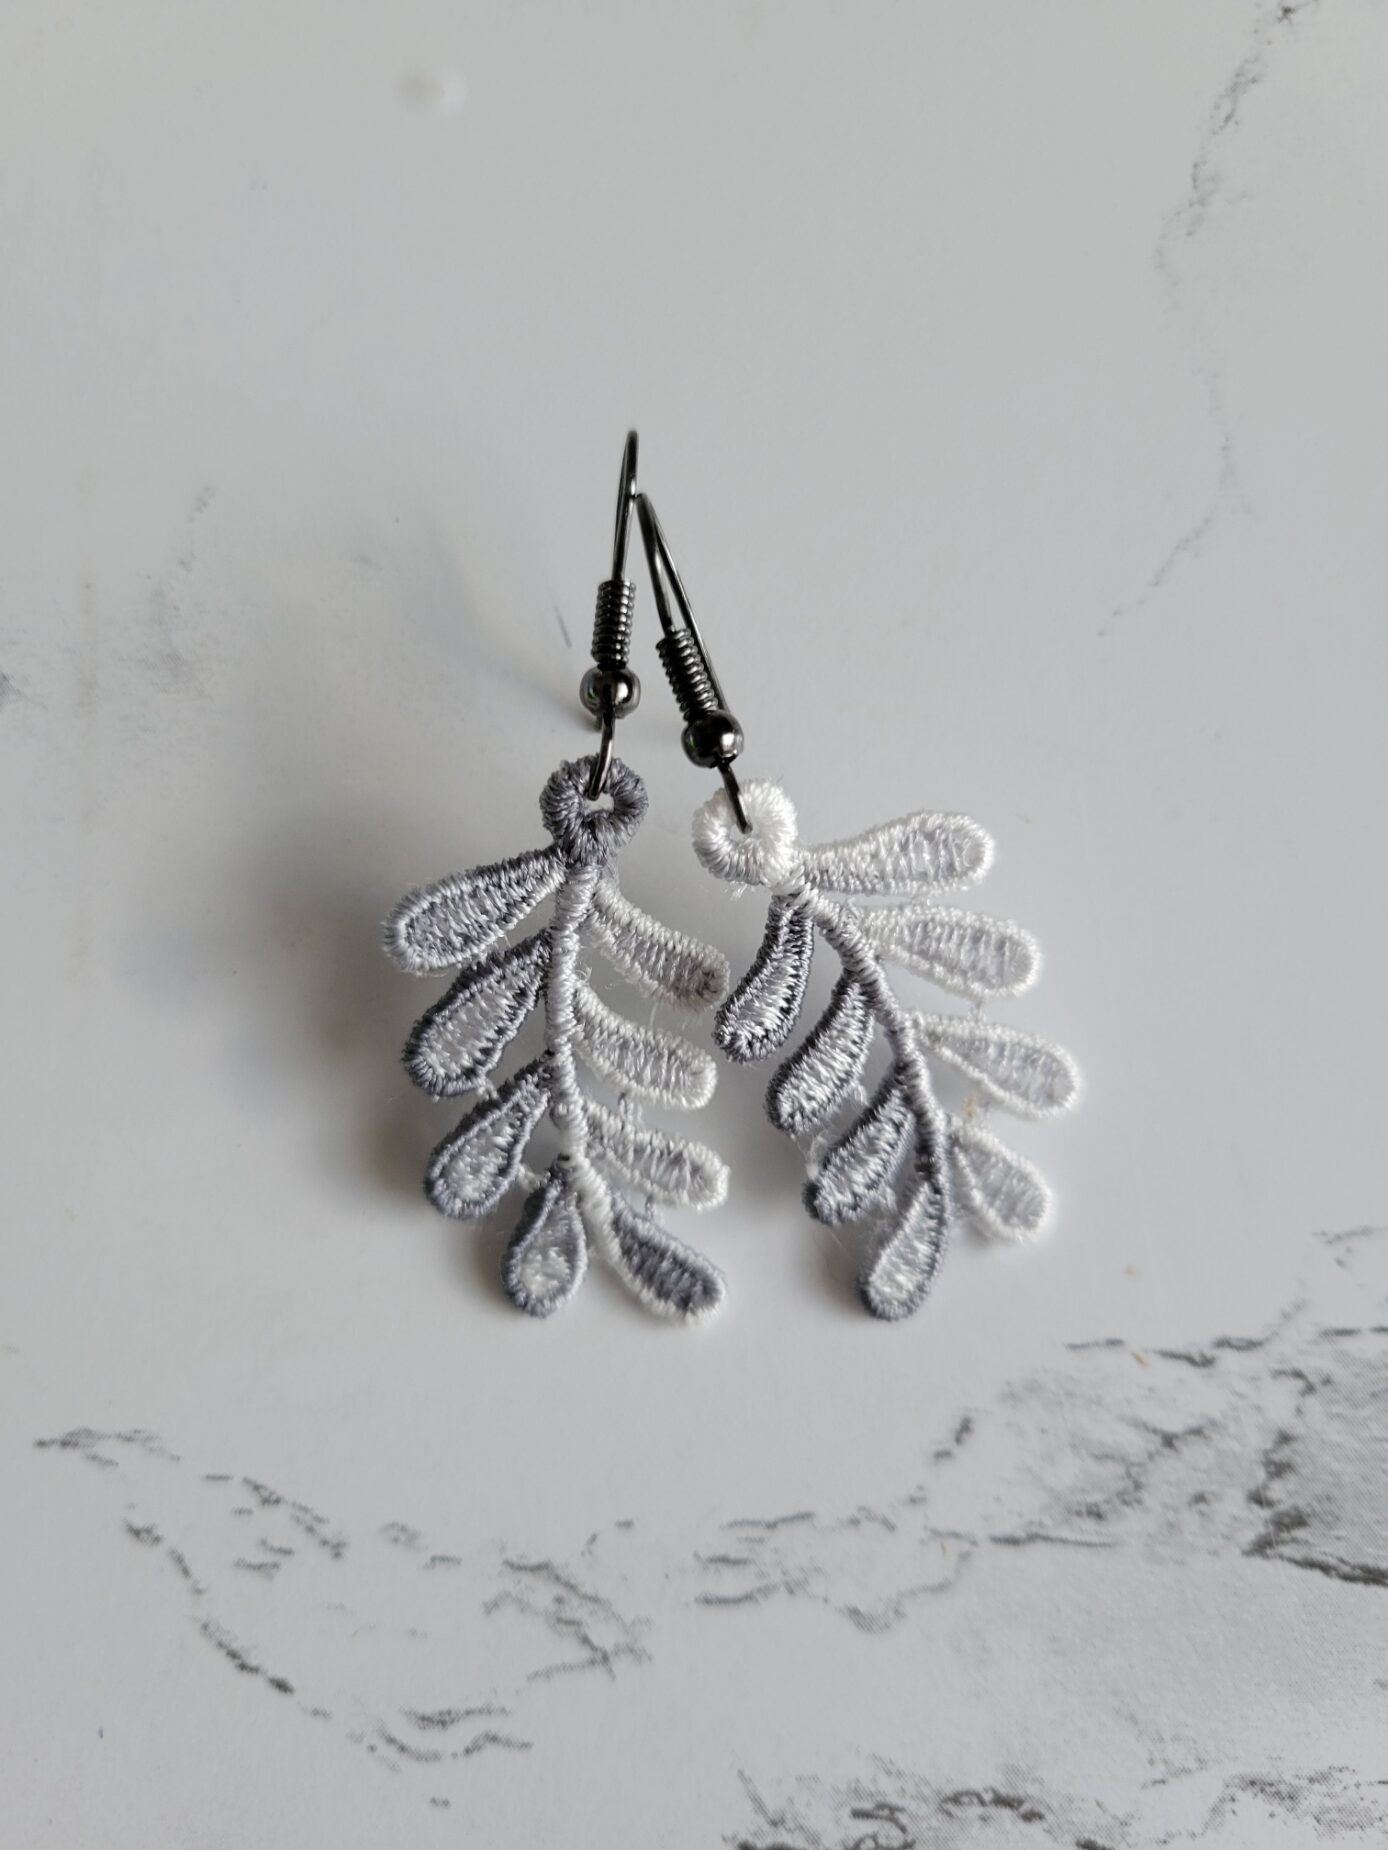
DIY embroidered earrings are the easiest to make!
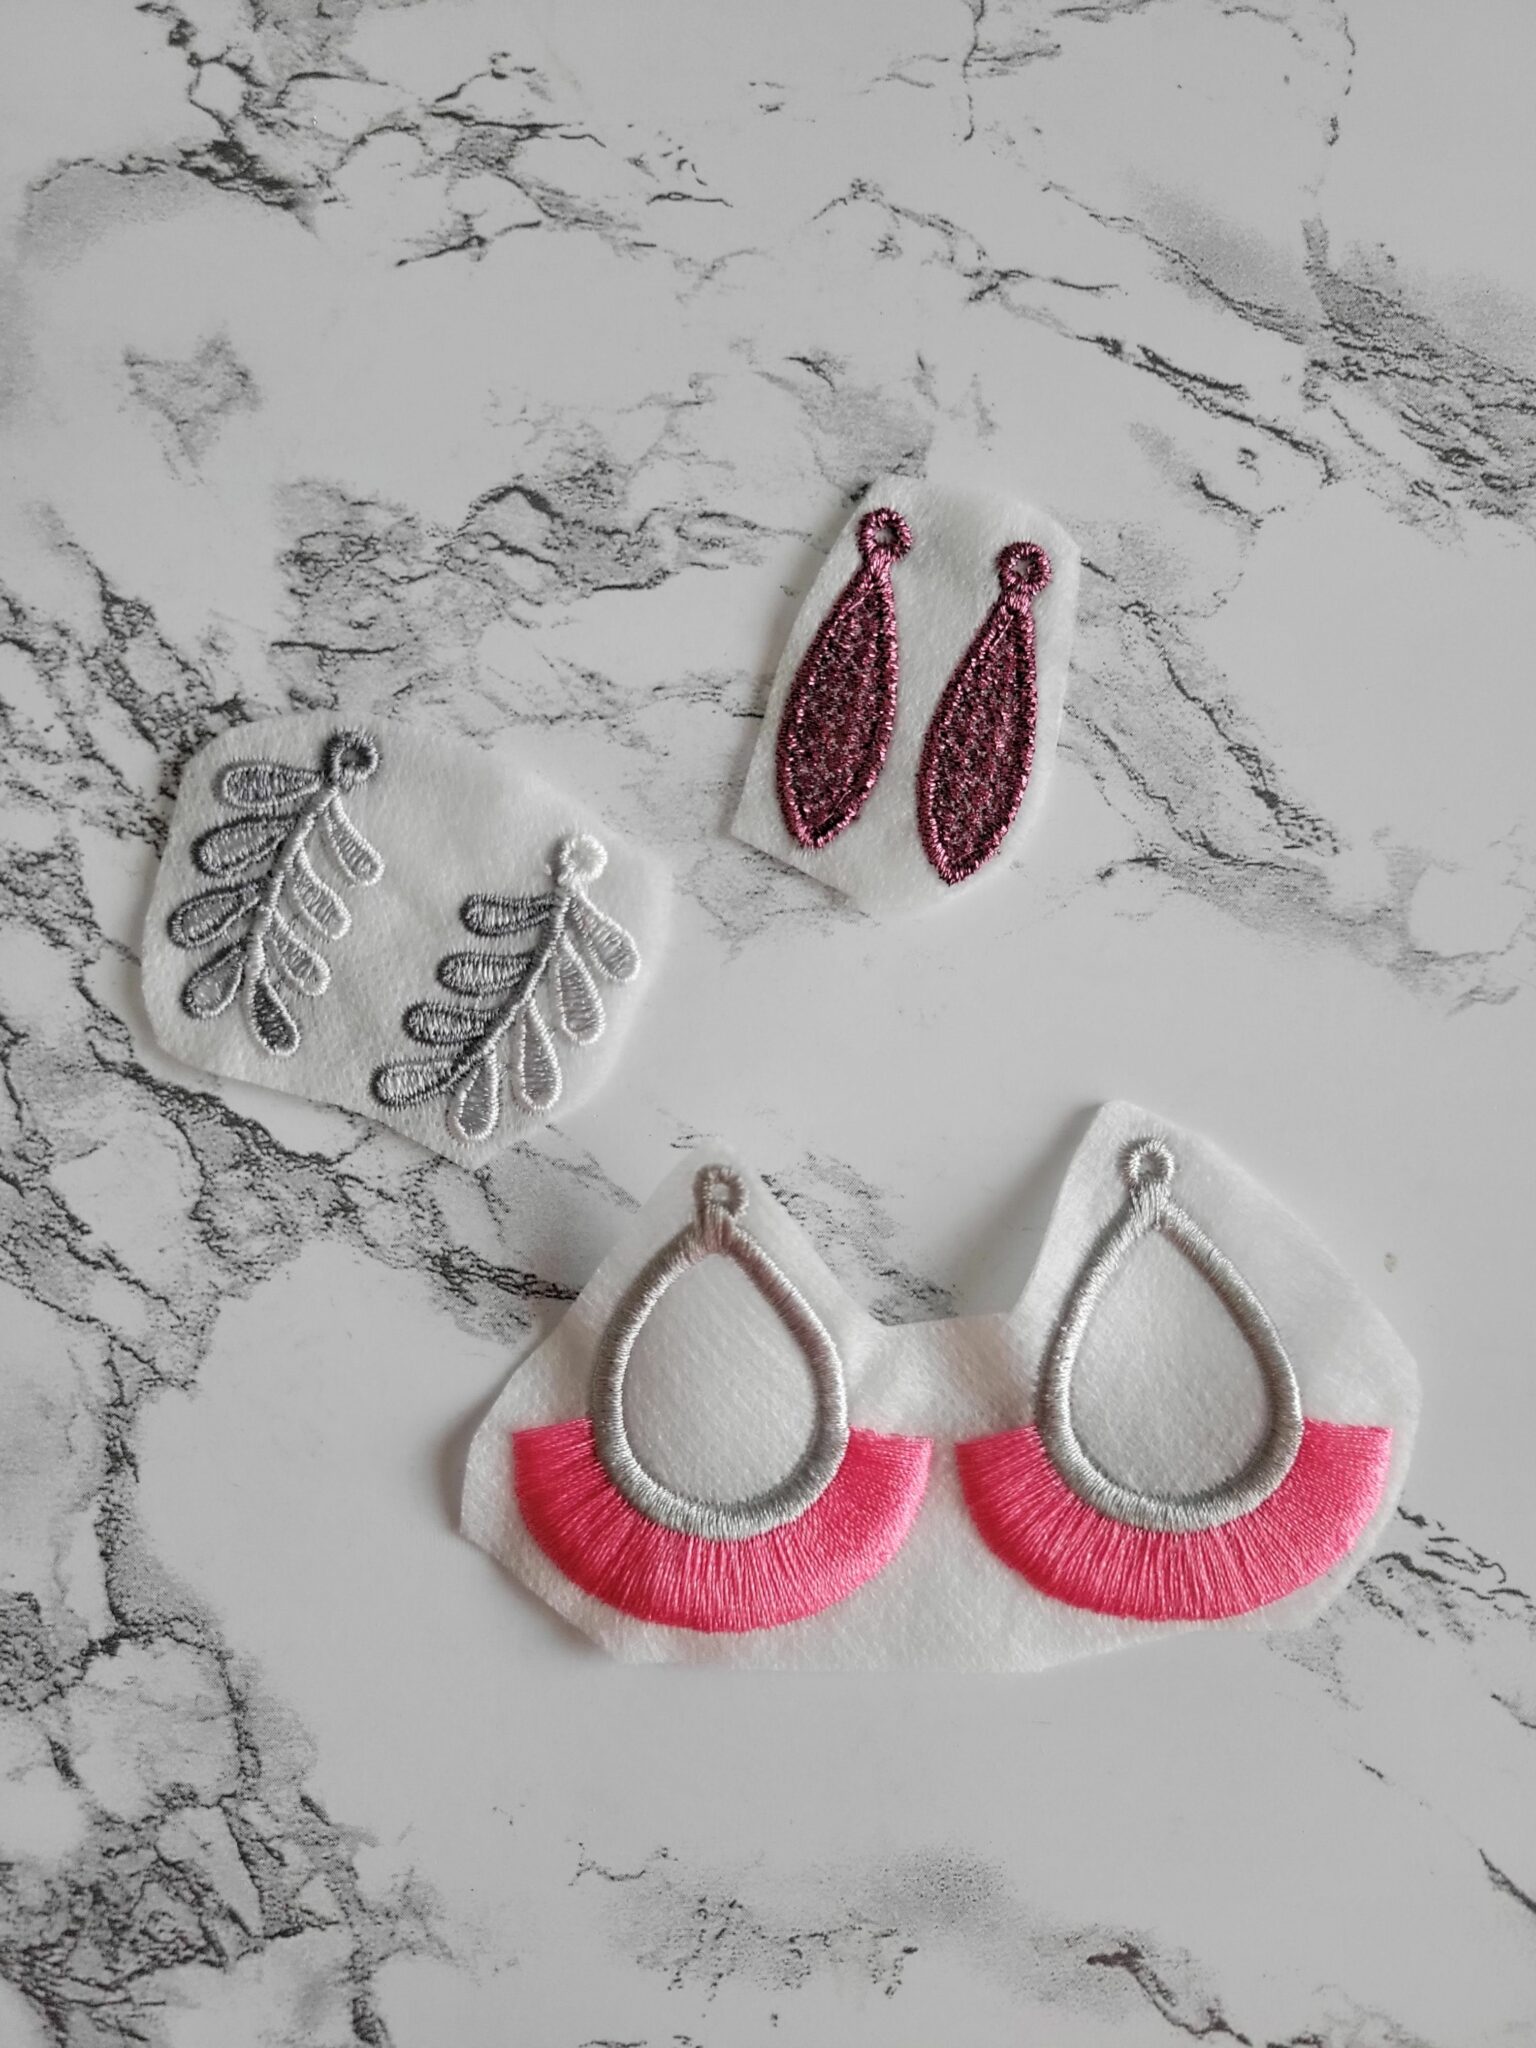
You can create them entirely from embroidery thread (free-standing lace earrings) like the above earrings I made using dime’s Just Earrings collection.
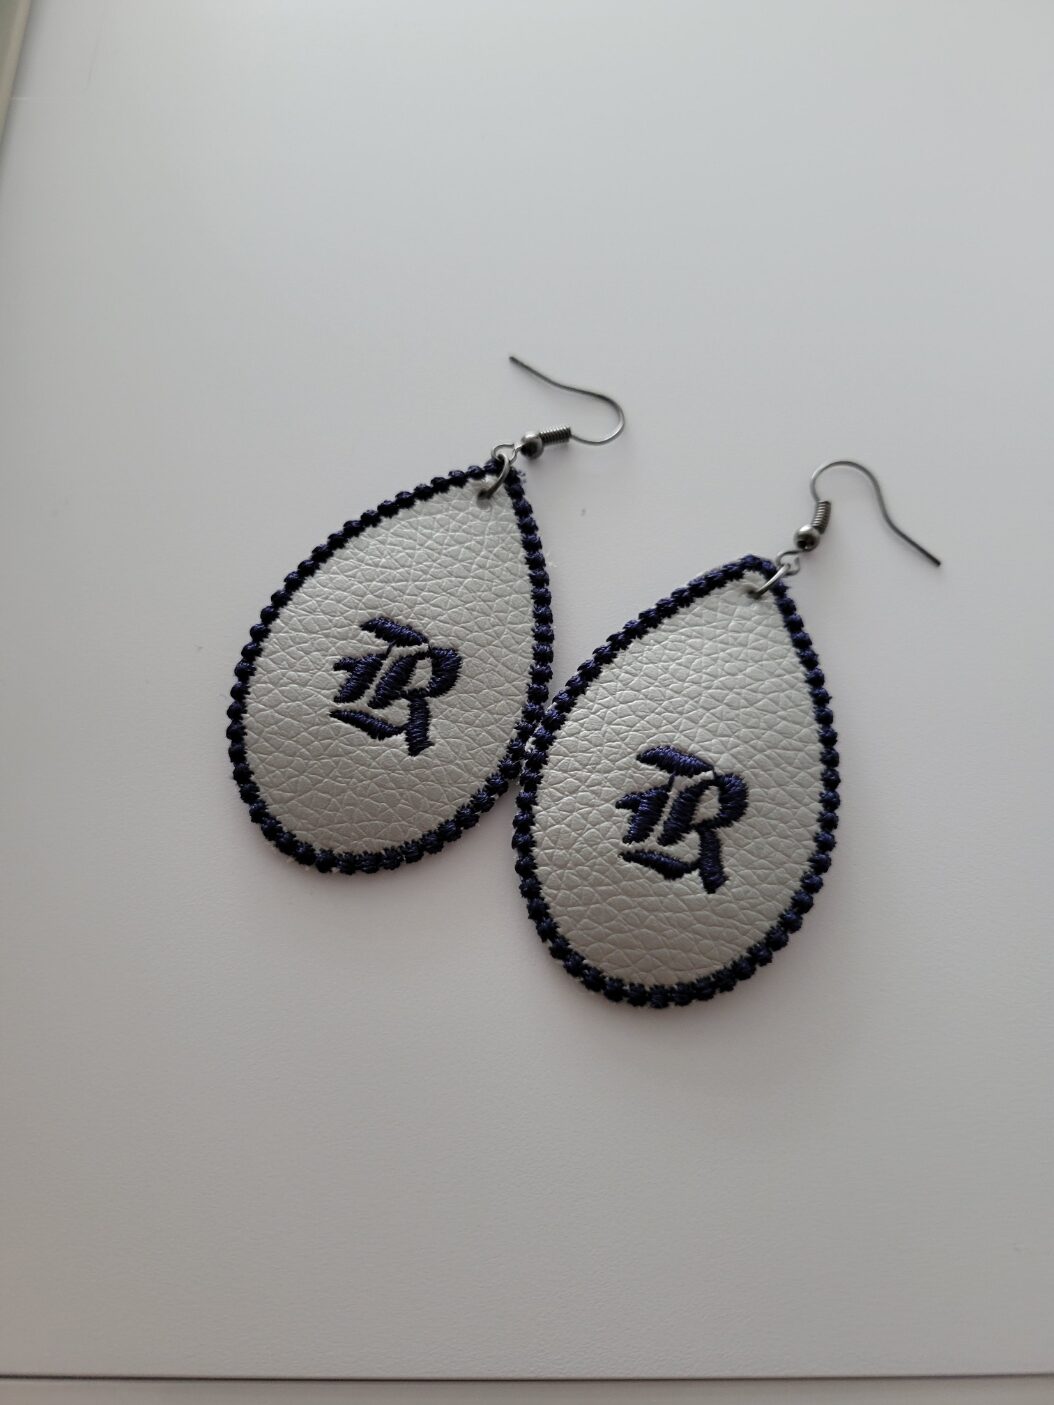
Or, you can embroider on a base shape.
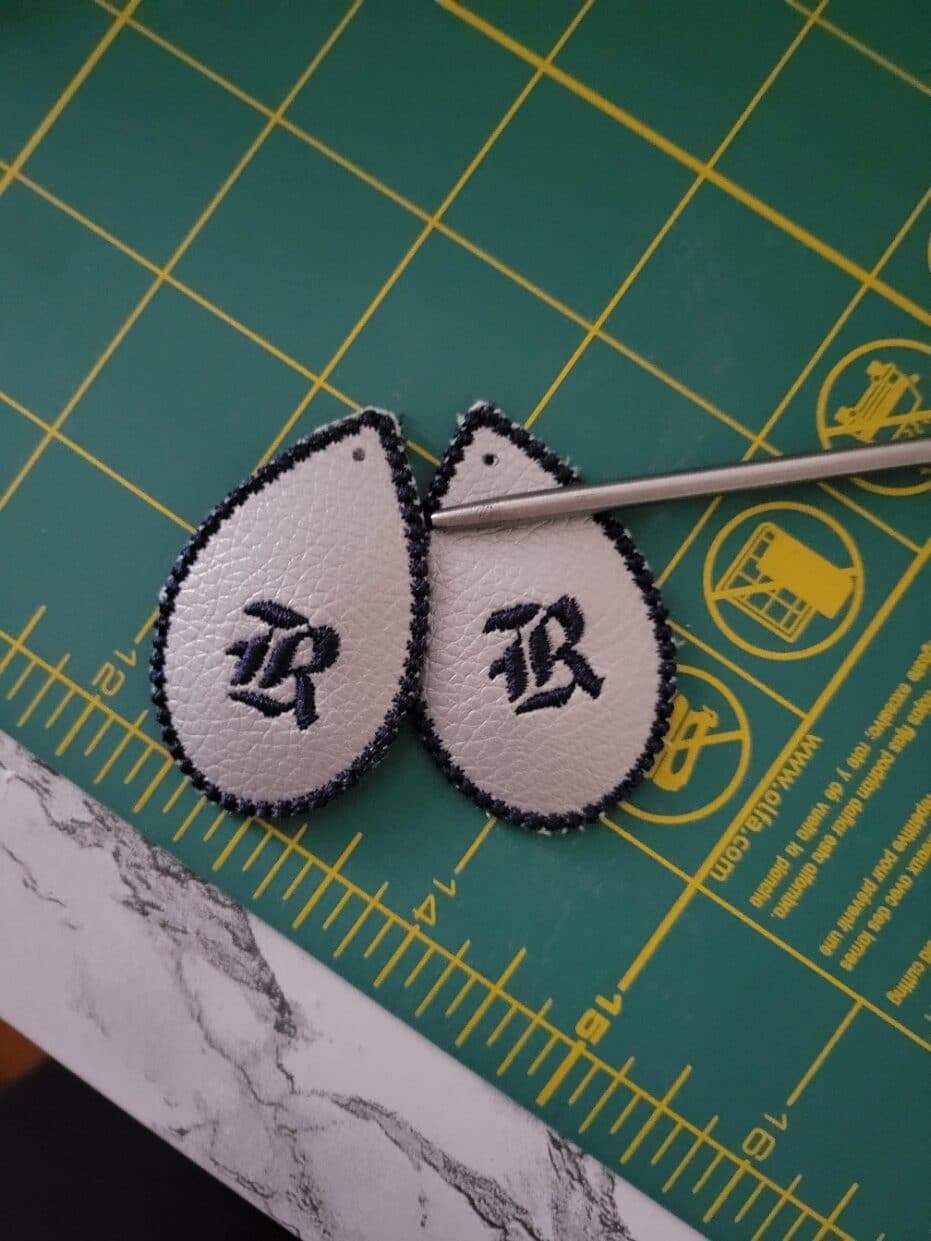
For instance, creating tear-drop embroidery earrings is easy! I trim in the hoop or use my Cricut Maker to cut faux leather teardrop shapes (learn all the fun ways a Cricut Maker and embroidery machine work together!) and then embroider a border and design directly onto faux leather.
2. Embroidered Necklaces
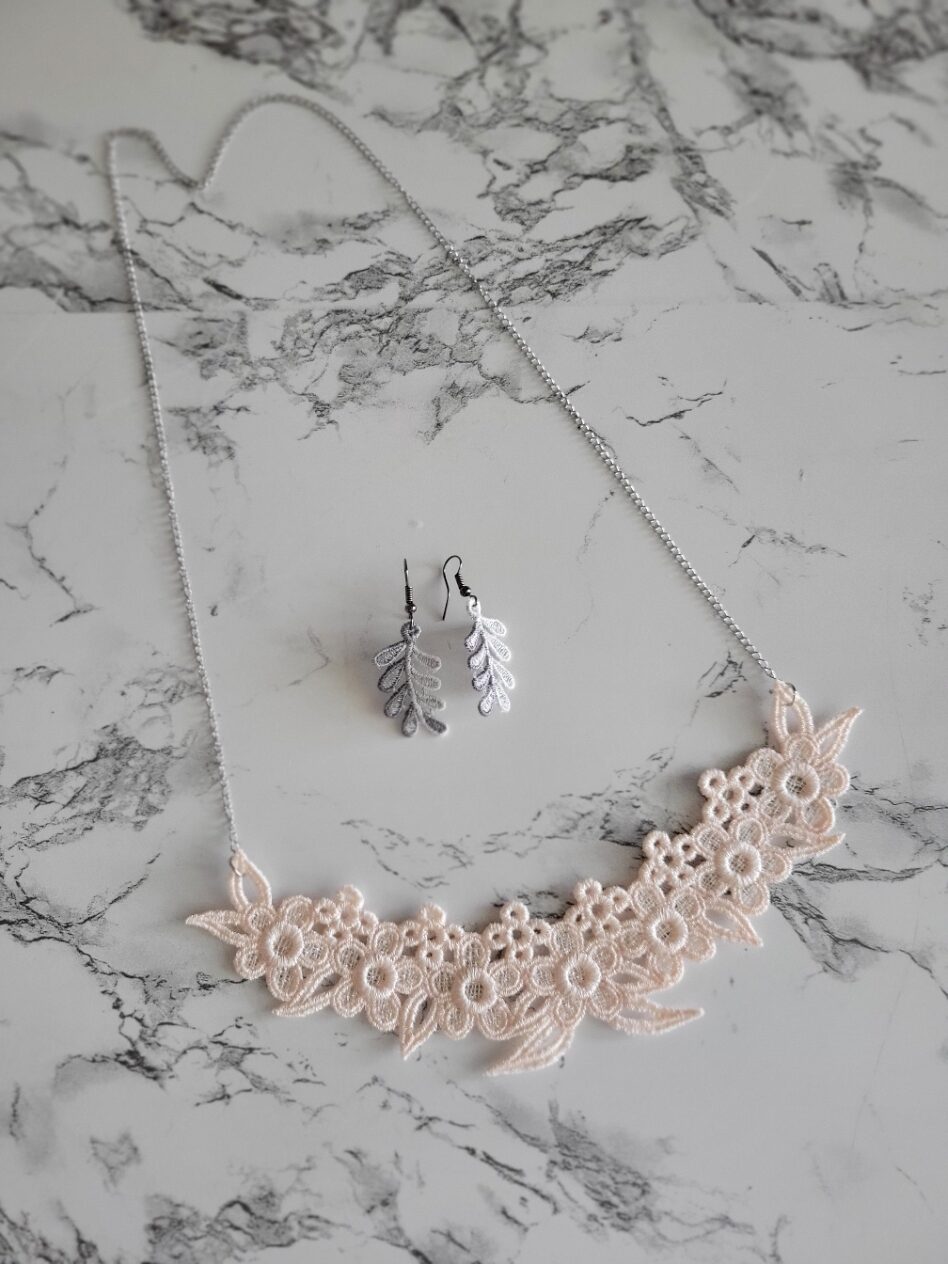
While you can embroider on ribbon or other sturdy, woven fabrics, one of my favorite ways to create embroidered necklaces is using free-standing lace necklace designs.
The above necklace was created using Anita Goodesign’s Lace Necklaces design package, which is the most extensive collection of necklace embroidery designs I’ve found yet.
The great thing about the FSL methods is you can also use many FSL necklace embroidery designs as free-standing lace accents on blouses and other clothes!
3. Embroidered Bracelets
Use an FSL embroidery bracelet design or embroider onto leather or your favorite fabric to create a one-of-a-kind embroidered bracelet or wrist cuff.
4. Rings and More
If you start browsing, there are even FSL ring embroidery designs and other options out there!
Machine Embroidery Jewelry Designs
So you want to start embroidering jewelry but don’t know where to begin? Pick a suitable design first!
Here are some cute jewelry options to embroider:
- 18 in-the-hoop FSL earrings from Embroidery Super Deal
- dime’s Just Earrings Collection (They also have a necklace collection!)
- Creative Fabrica has many options, like these geranium earrings. They also have a large freebies section.
- FSL earrings with fringe
- Anita Goodesign (The lace necklace designs I own are just one of many jewelry designs on this site.)
- FSL jewelry set (matching earrings and necklace)
- Embroidery Library has necklaces, bracelets, and earrings also!
- OESD is a great place to look as well. Check out their in-the-hoop bracelets as a start.
Supplies for Creating Embroidered Jewelry
After you’ve grabbed a design, you need all the necessary supplies.
Here are the supplies you need for embroidering jewelry with a machine.
When embroidering thread-only jewelry, the process is like embroidering free-standing lace. Thus, the supplies for the embroidery portion are as follows:
- Embroidery machine and smallest hoop to fit jewelry design
- Needle: 75/11 embroidery needle
- Stabilizer: 2 layers of heavy-duty water-soluble stabilizer (like Sulky Ultra Solvy)
- Thread: Most designs are digitized for 40wt polyester or rayon embroidery thread. Match the bobbin thread color to the top thread color.
- Scissors and basic embroidery supplies
If embroidering onto fabric, make sure to purchase a good-quality fabric that will tolerate stitching and complement the “look” you’re going for. Leather, faux leather, and marine vinyl fabrics are commonly used for earrings and bracelets.
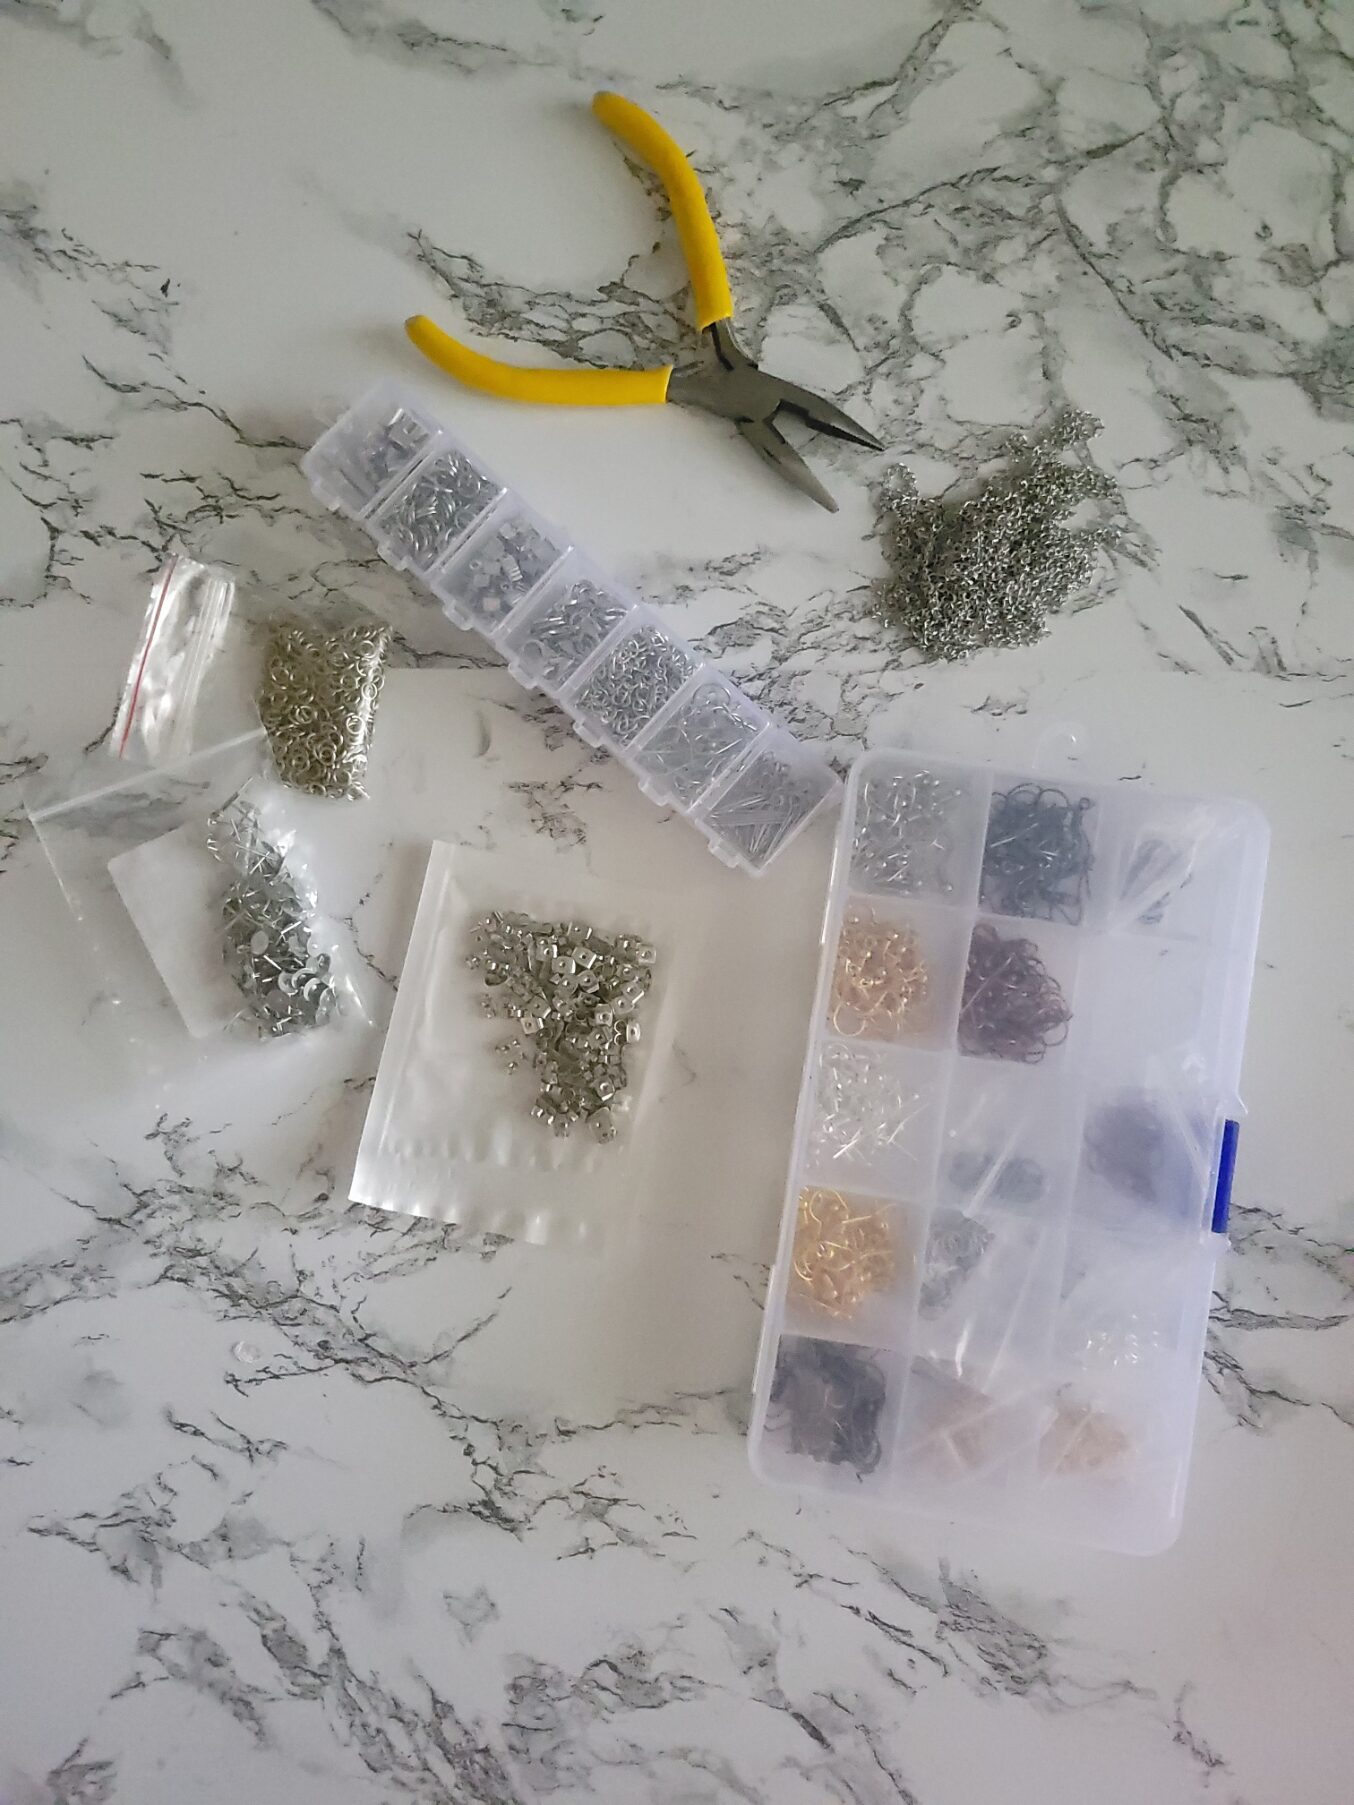
Next, gather jewelry-making supplies to use after you’ve embroidered the design. I inherited several of my supplies from my grandmother and purchased the rest in bulk online.
Depending on the type of embroidered jewelry you plan to make, consider these essential jewelry-making accessories:
- Jewelry-making tools (think pliers, etc.)
- Earring Hooks, studs, and more (consider a set)
- Necklace clasps, chains, beads, jump rings, etc.
- Bracelet snaps, clasps, and other supplies
How to Make Embroidered Jewelry (Free-Standing Lace Types)
While many embroidery designs come with detailed instructions for stitching and construction, not all do.
Thus, here’s a quick overview of making free-standing lace embroidered jewelry. (Embroidering onto fabric follows after this section.)
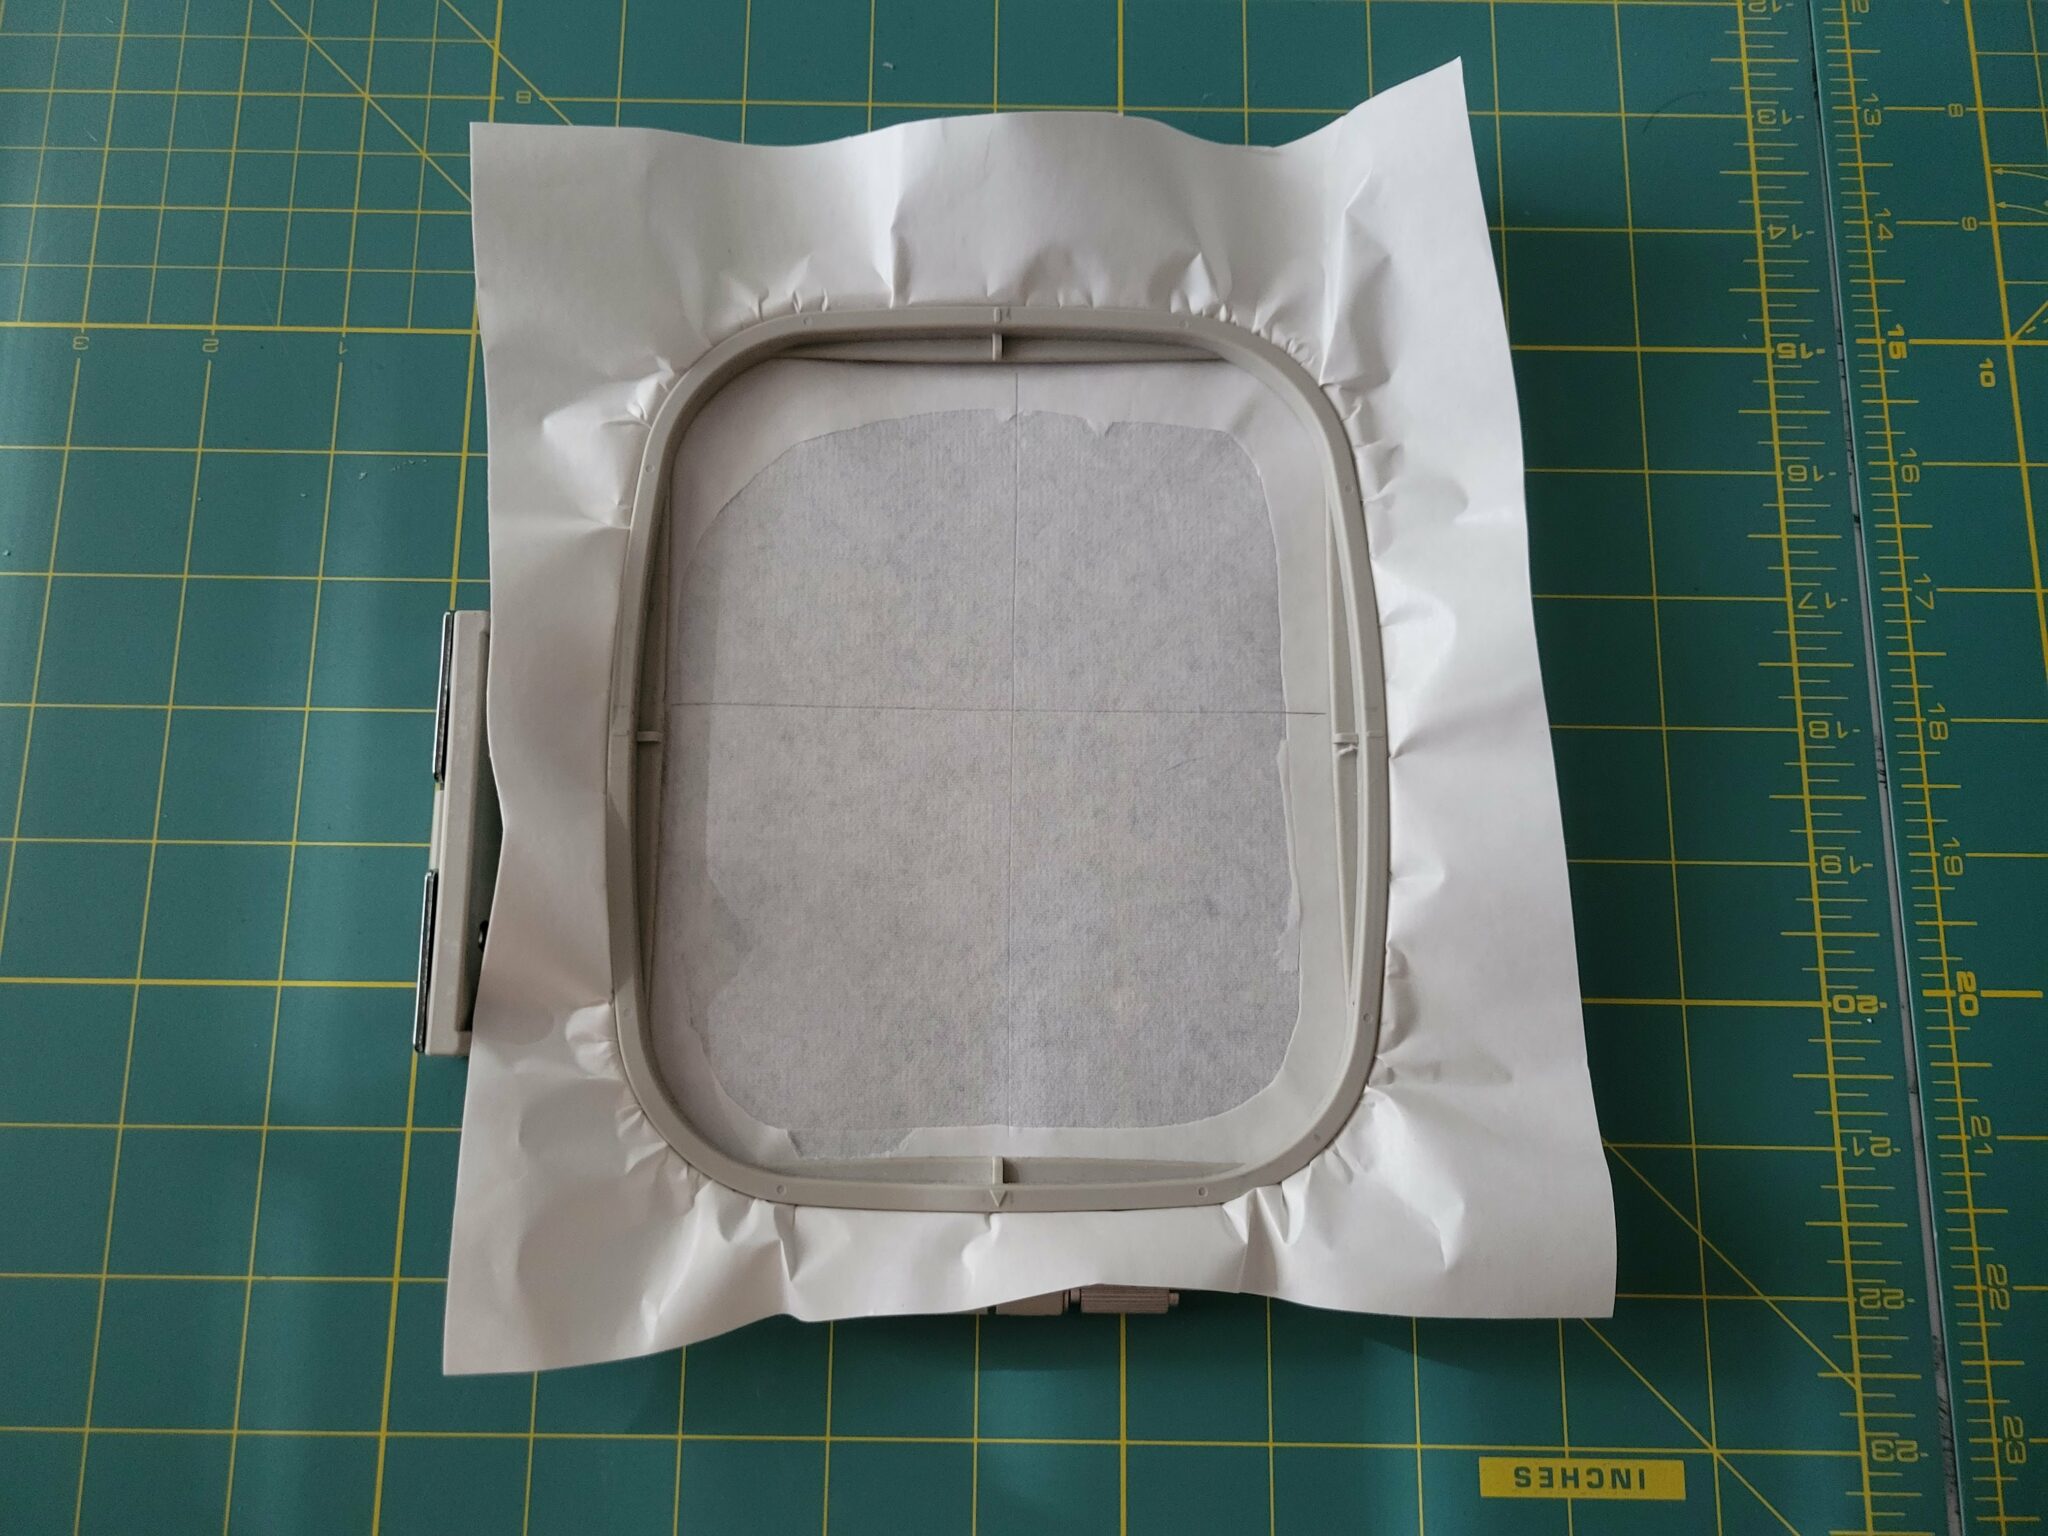
1. Hoop Stabilizer
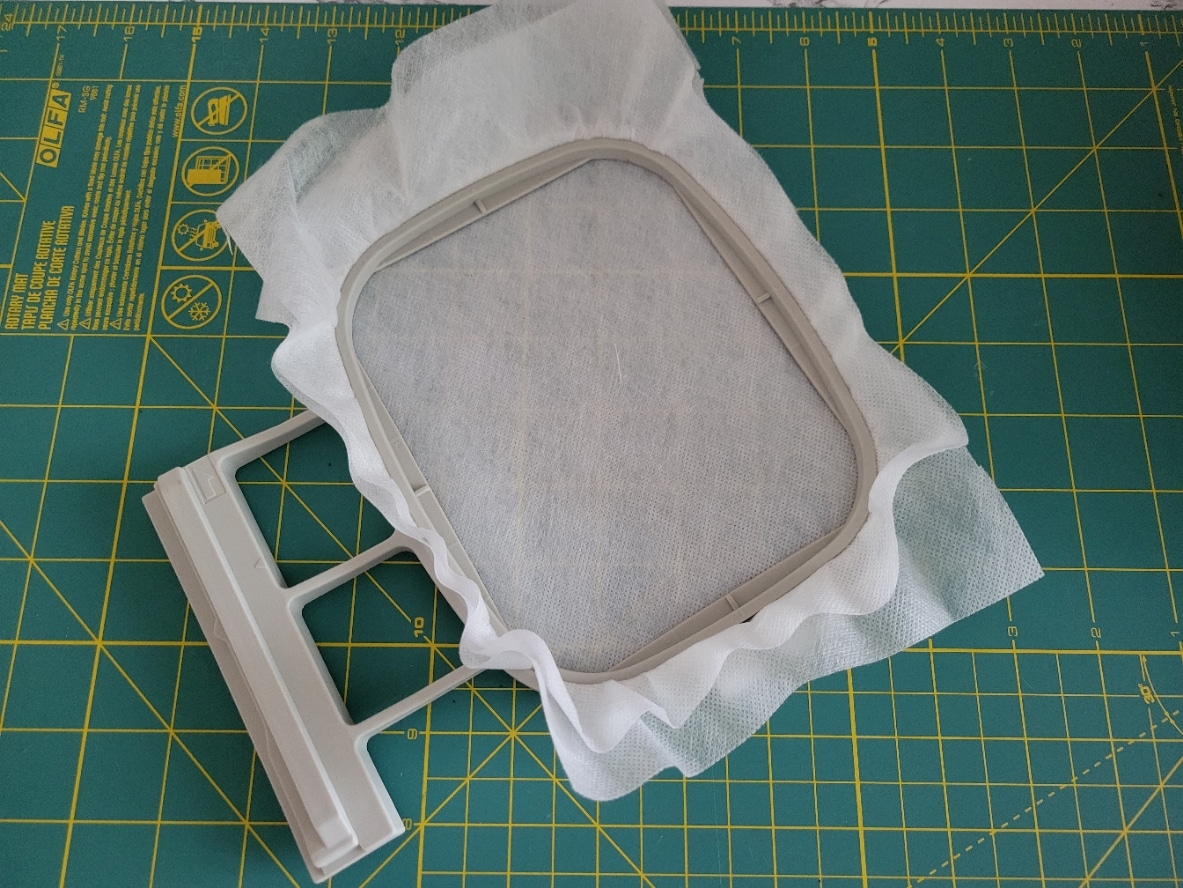
First, hoop two layers of heavy-duty water-soluble (wash-away) stabilizer.
The fibrous or thick filmlike varieties work as long as they’re heavy-duty. For most designs, thin film-like toppers (like Sulky Solvy) won’t cut it.
Also, choose the smallest hoop to fit the design for the best results. If your jewelry designs are too stitch-heavy, you also might want to avoid stitching multiple designs in one hooping.
2. Load Hoop and Prep the Machine
Load the bobbin in the same color thread as the top thread if the jewelry will be viewed from the front and back.
You may need to adjust machine settings if your machine prefers a different weight bobbin thread than what you’re using.
For instance, my Brother Luminaire works best with 60wt bobbin thread, but I use the 40wt thread for both top and bottom threads when creating free-standing lace jewelry.
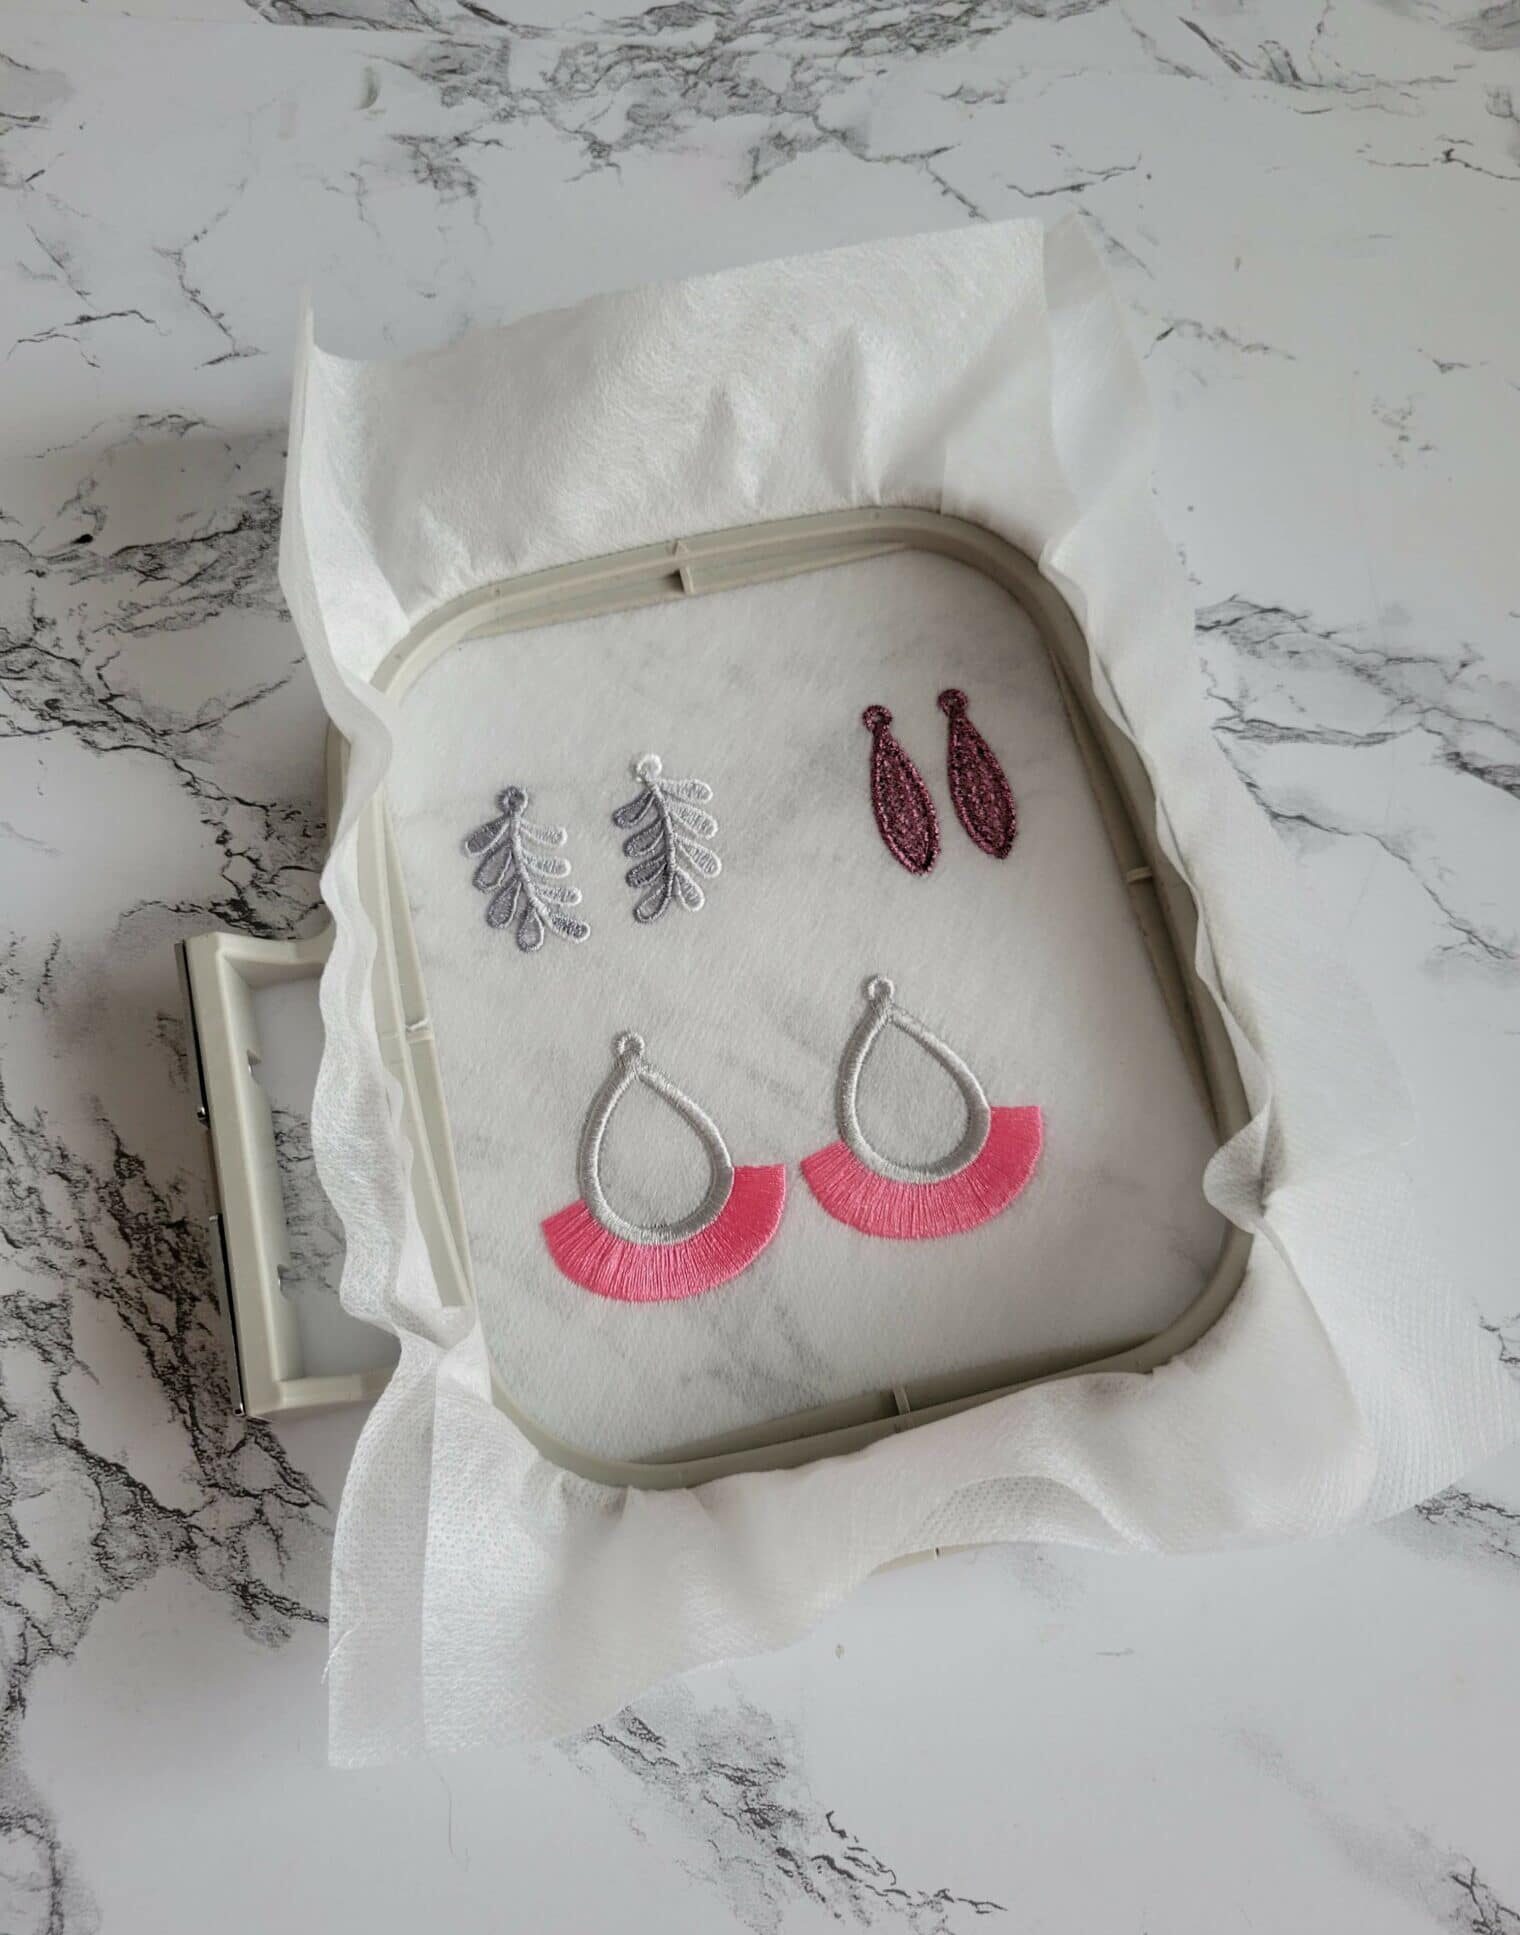
3. Create the Jewelry
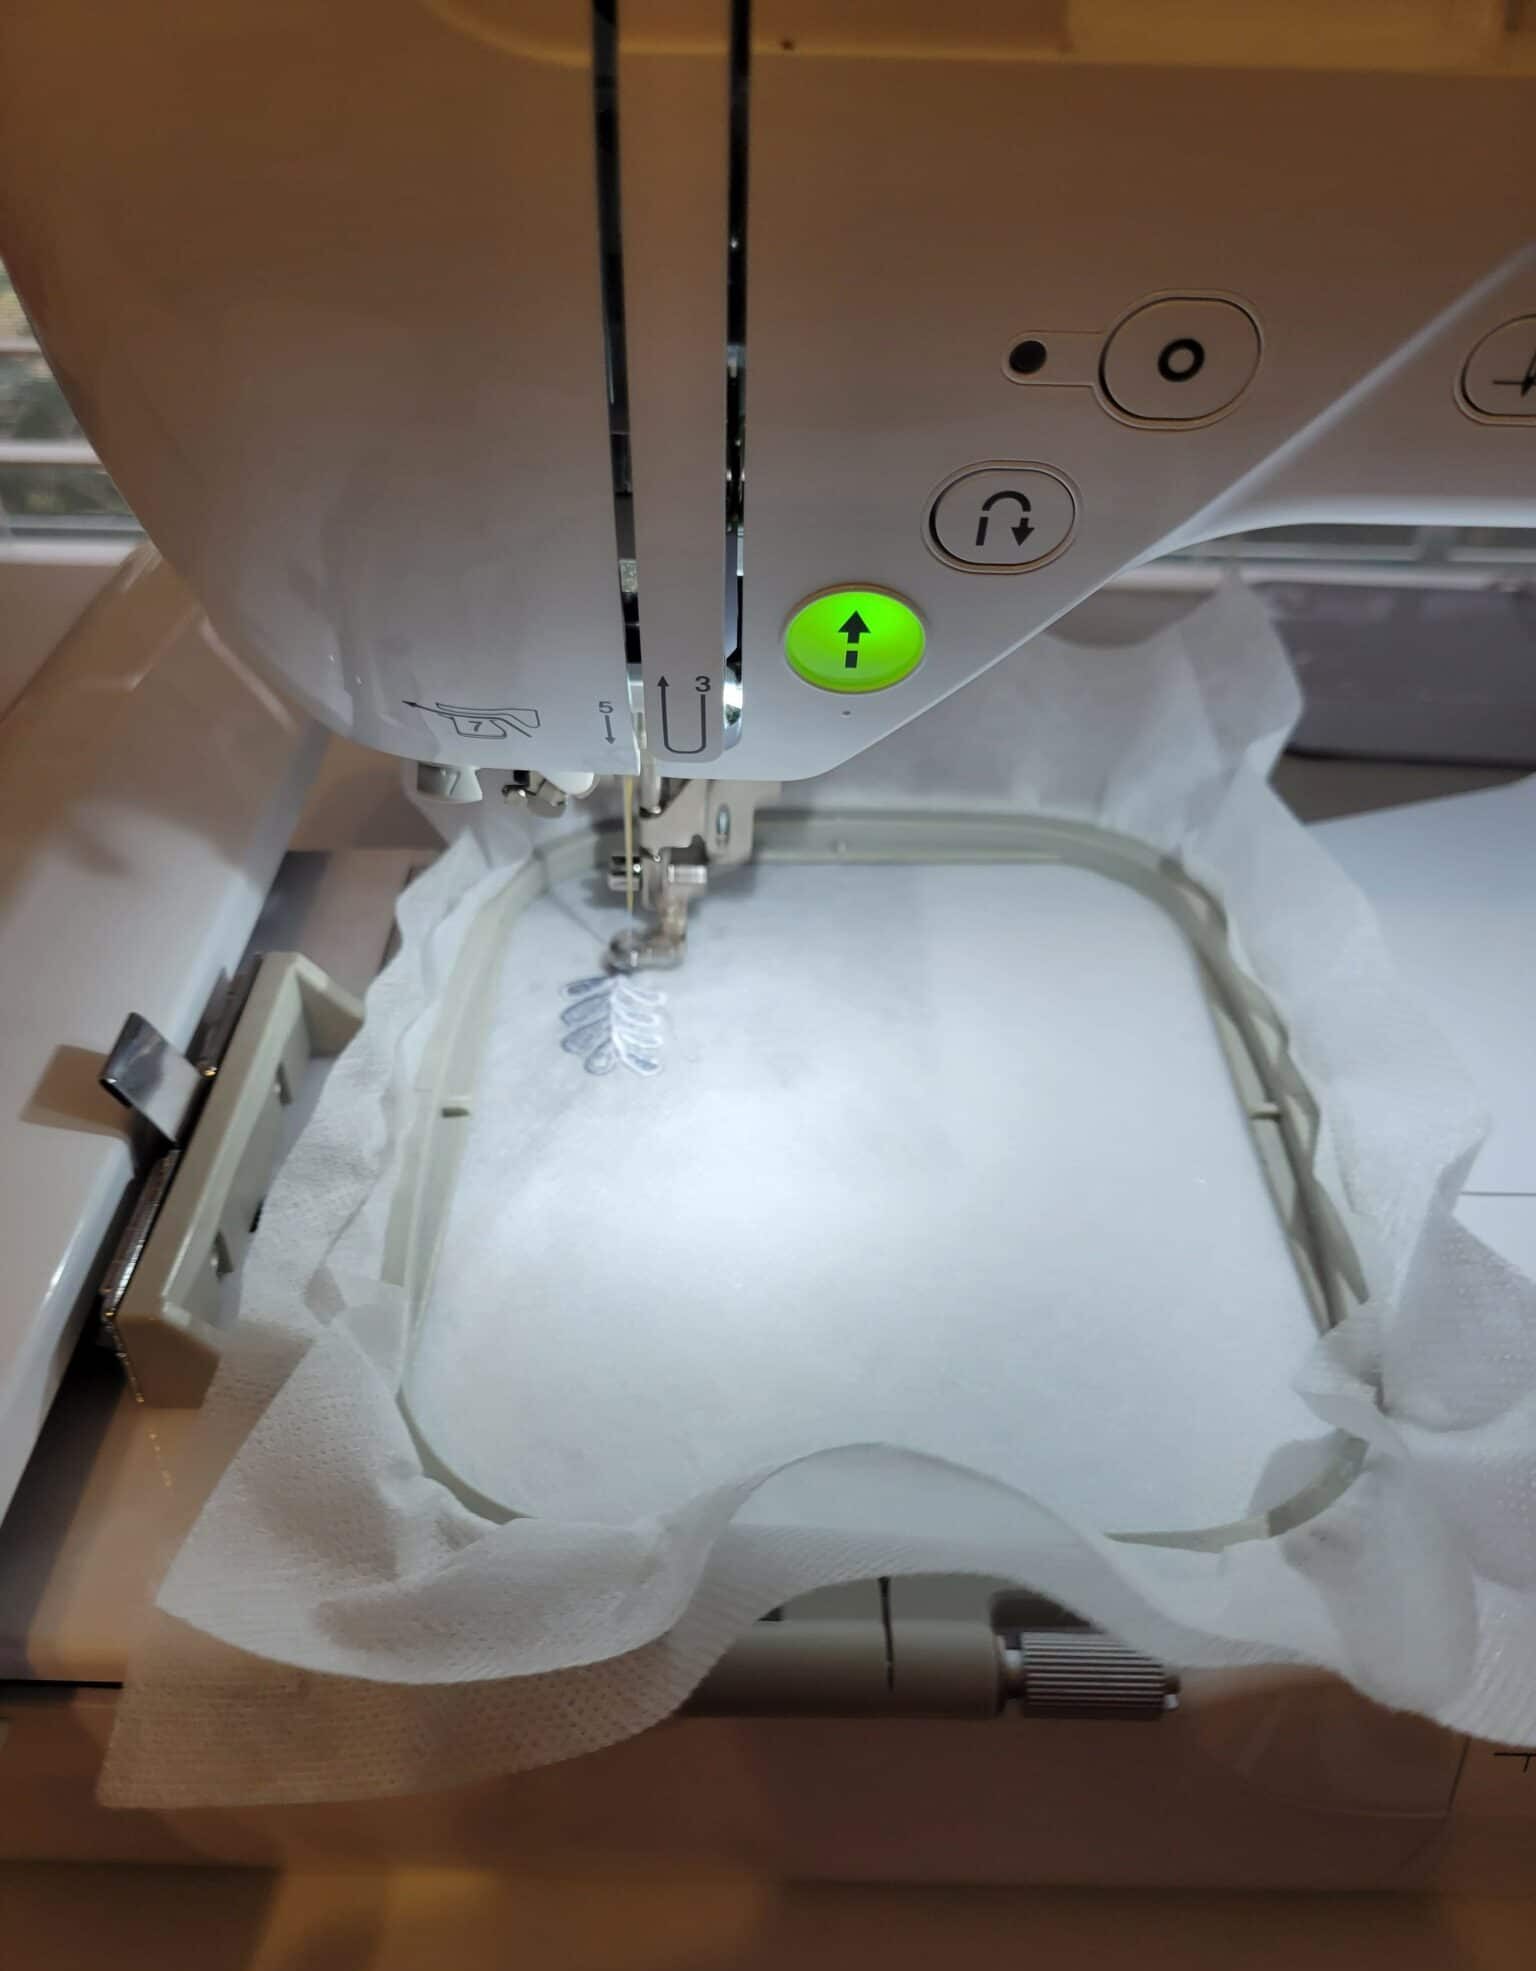
Next, start the embroidery and watch the process begin!
When the jewelry is done, remove the hoop, and release the wash-away stabilizer.
Then, trim close to the edge of the jewelry. Remove the rest of the stabilizer by running the jewelry under tap water. Let dry and shape as needed along the way.
4. Turning Embroidery Into Wearable Jewelry
Finish up by adding clasps, hooks, jump rings, or whatever accessories you need.
Rather than reinvent the wheel, here are two great tutorials from other blogs about attaching hooks to faux leather earrings and working with necklace ends!
How to Embroider on Base Fabric (DIY Embroidered Earrings Example)
If you don’t want jewelry made with just thread, consider adding stitches to a sturdy base material.

One of my favorite base materials to use is faux leather.
It’s sturdy enough to hold stitches without puckering, and it comes in many colors. (I have a big box of 30 small color swatches I’m constantly grabbing from for projects.)
Now, here’s a quick tutorial on how to make embroidered earrings with a machine.
Stitching and Digitizing Jewelry Embroidery Designs
When I digitize designs for jewelry using a base fabric like faux leather, I act like I’m creating applique or making patches with an embroidery machine.
Below is a picture overview of the embroidery process.
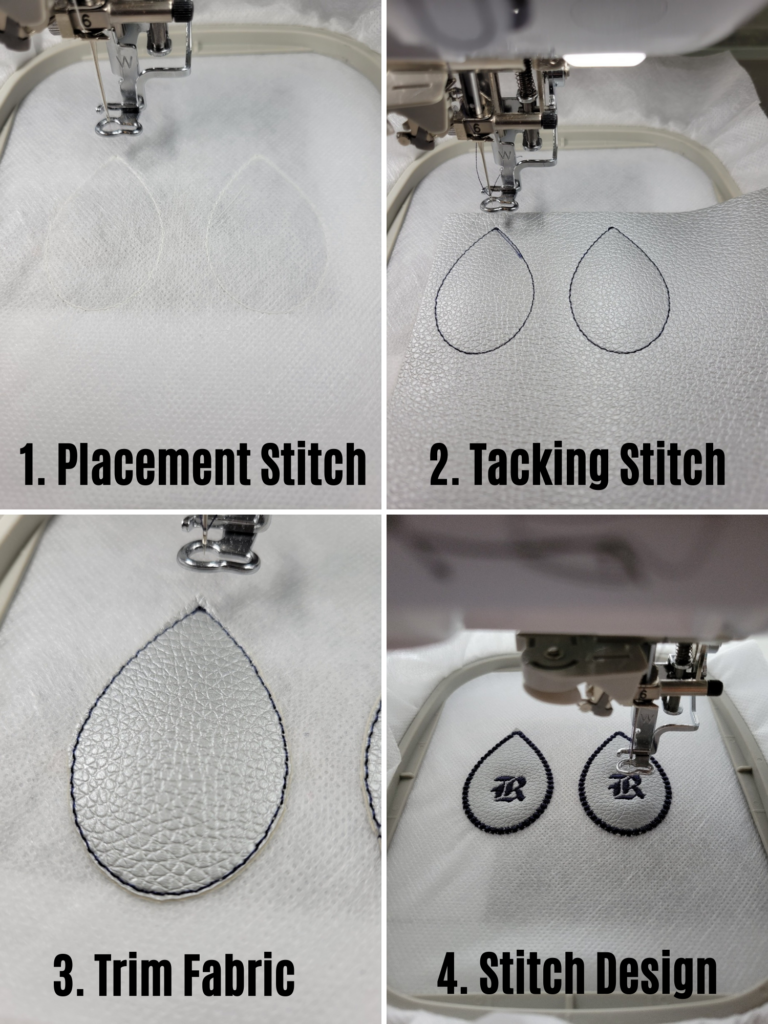
First, to create embroidered earrings, start with stitching a placement line on the stabilizer. Cover the stitching line with the earring base material.
Then, stitch the tacking line (running stitch or triple running stitch) to adhere the base material to the stabilizer. Trim the fabric borders with embroidery scissors. (Of course, you can create an SVG file slightly larger than the tacking line and have a fabric cutter create the design if you don’t want to trim.)
3. Finally, stitch any interior designs and finish off with the border stitch, which can be a simple satin stitch or a more decorative stitch like the candle-wicking knot border I used above.
And lastly, if you don’t want the back of the embroidery designs to be visible on the back of the earring, before adding the final border stitch, place a piece of the same fabric right side facing away from stabilizer underneath your hoop. Tack it down with a running stitch, trim, and finish up.
Stabilizer Selection
If I use a simple border design that’s not too stitch-heavy, sticky tear-away stabilizer is my preferred stabilizer.
It makes it easy to place the base material, and there’s little worry that the faux leather moves during stitching. One downfall, though, is it can be tricky and time-consuming to pick the stabilizer pieces away from the back of the embroidery design when finished.
Now, for more dense satin stitch borders, you may need to use a few layers of wash-away stabilizer instead to prevent the jewelry from popping out when stitched. Tear-away stabilizer just can’t handle dense satin borders. (Don’t forget to ensure the base material is water-safe!)
Finishing Up
After embroidering, poke a hole and add any necessary hardware for your earrings, necklaces, and bracelets.
And that’s it! You’ve created beautiful embroidered jewelry with your machine.
Now wear it out and impress your friends!